Home>Production & Technology>Surround Sound>How To Hook Up Surround Sound To TV Without HDMI
Surround Sound
How To Hook Up Surround Sound To TV Without HDMI
Published: December 23, 2023
Learn how to connect surround sound to your TV without HDMI. Step-by-step guide to achieve immersive audio experience.
(Many of the links in this article redirect to a specific reviewed product. Your purchase of these products through affiliate links helps to generate commission for AudioLover.com, at no extra cost. Learn more)
Table of Contents
Introduction
Surround sound systems have revolutionized the way we experience audio in our homes. They create an immersive environment, allowing us to feel like we’re in the middle of the action while watching movies or listening to music. Traditionally, connecting a surround sound system to a TV required an HDMI cable. However, not all TVs have an HDMI port, especially older models. So, what do you do if you want to enjoy the benefits of surround sound without an HDMI connection?
In this article, we will explore several options for hooking up your surround sound system to your TV without using HDMI. Whether you have an older TV or simply prefer alternative connectivity options, we’ve got you covered.
Before we dive into the different methods, it’s important to note that the availability of connection options may vary depending on your TV and surround sound system’s compatibility. It’s always a good idea to consult the user manuals or manufacturer’s websites for specific instructions.
Now, let’s explore the different ways you can connect your surround sound system to your TV without HDMI:
Option 1: Using Analog Audio Cables
If your TV and surround sound system have RCA or 3.5mm audio jacks, you can connect them using analog audio cables. Here’s how:
- Identify the audio output ports on your TV. These may be labeled as “Audio Out” or “Line Out” and are usually color-coded as red (right channel) and white (left channel).
- Locate the corresponding audio input ports on your surround sound system. These are typically labeled as “Audio In” or “Auxiliary In.”
- Connect one end of the analog audio cable to the audio output ports on your TV, matching the colors of the jacks.
- Connect the other end of the cable to the audio input ports on your surround sound system.
- Switch on your TV and surround sound system. Adjust the audio settings on your TV to output audio through the connected analog audio cables.
Once the connections are made and the audio settings are adjusted, you should be able to enjoy surround sound audio from your TV through your surround sound system. However, keep in mind that analog audio cables may not support high-quality audio formats like Dolby Digital or DTS. If you want to experience the full potential of your surround sound system, consider exploring other options.
Remember to set the volume levels appropriately on both your TV and sound system to achieve the desired audio balance and prevent distortion.
Note: Some newer TVs may not have analog audio output ports. In such cases, you may need to consider alternative connection options.
Option 2: Using Digital Optical Audio Cable
If your TV and surround sound system support it, using a digital optical audio cable can deliver high-quality audio from your TV to your surround sound system. Follow these steps to connect them:
- Locate the digital optical audio output port on your TV. It is usually labeled as “Optical Out” or “Digital Audio Out” and has a square-shaped connector.
- Check if your surround sound system has a digital optical audio input port. It is commonly labeled as “Optical In” or “Digital Audio In.”
- Connect one end of the digital optical audio cable to the optical output port on your TV.
- Connect the other end of the cable to the optical input port on your surround sound system.
- Power on your TV and surround sound system. On your TV, navigate to the audio settings and select the optical output as the audio source.
- Adjust the audio settings on your surround sound system, if necessary, to ensure that it is receiving the audio signal from the optical cable.
Once the connections are established and the audio settings are configured, you should be able to enjoy high-quality surround sound audio from your TV through your surround sound system. The digital optical audio cable supports formats like Dolby Digital and DTS, allowing you to experience immersive audio while watching movies or playing games.
Remember to adjust the volume levels on both your TV and surround sound system for optimal audio balance and clarity.
Note: Not all TVs and surround sound systems have digital optical audio ports. If your devices do not support this option, consider exploring alternative connection methods.
Option 3: Using RCA (Composite) Cables
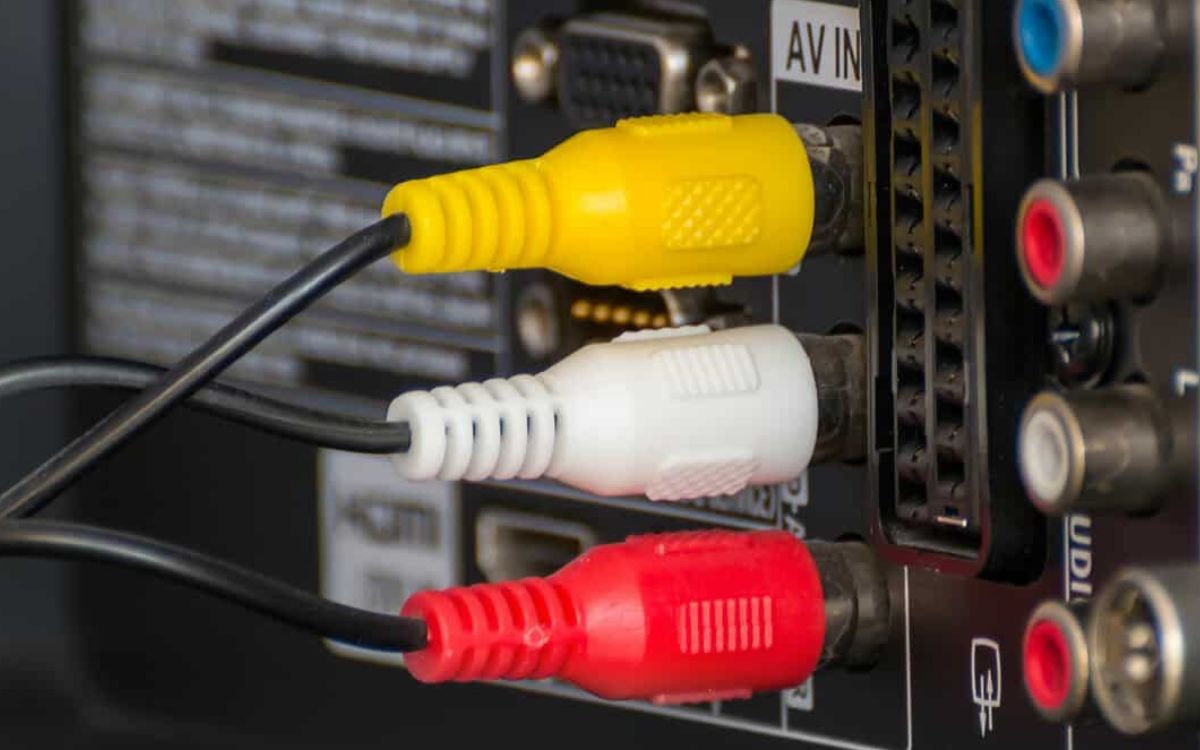
If your TV and surround sound system have RCA (composite) audio jacks, you can use RCA cables to connect them. Here’s how:
- Identify the RCA audio output jacks on your TV. These are usually color-coded as red (right channel) and white (left channel).
- Check if your surround sound system has RCA audio input jacks. Again, these are typically color-coded as red (right channel) and white (left channel).
- Connect one end of the RCA cable to the audio output jacks on your TV, matching the colors of the connectors.
- Connect the other end of the cable to the audio input jacks on your surround sound system.
- Turn on your TV and surround sound system. Adjust the audio settings on your TV to output audio through the RCA cables.
After making the connections and adjusting the audio settings, you should be able to enjoy surround sound audio from your TV through your surround sound system. However, it’s important to note that RCA cables may not provide the highest quality audio experience compared to other connection options.
As with other connection methods, ensure that the volume levels are set appropriately on both your TV and surround sound system to avoid audio distortion or imbalance.
Note: Some modern TVs may not have RCA audio output jacks. In such cases, alternative connection options should be considered.
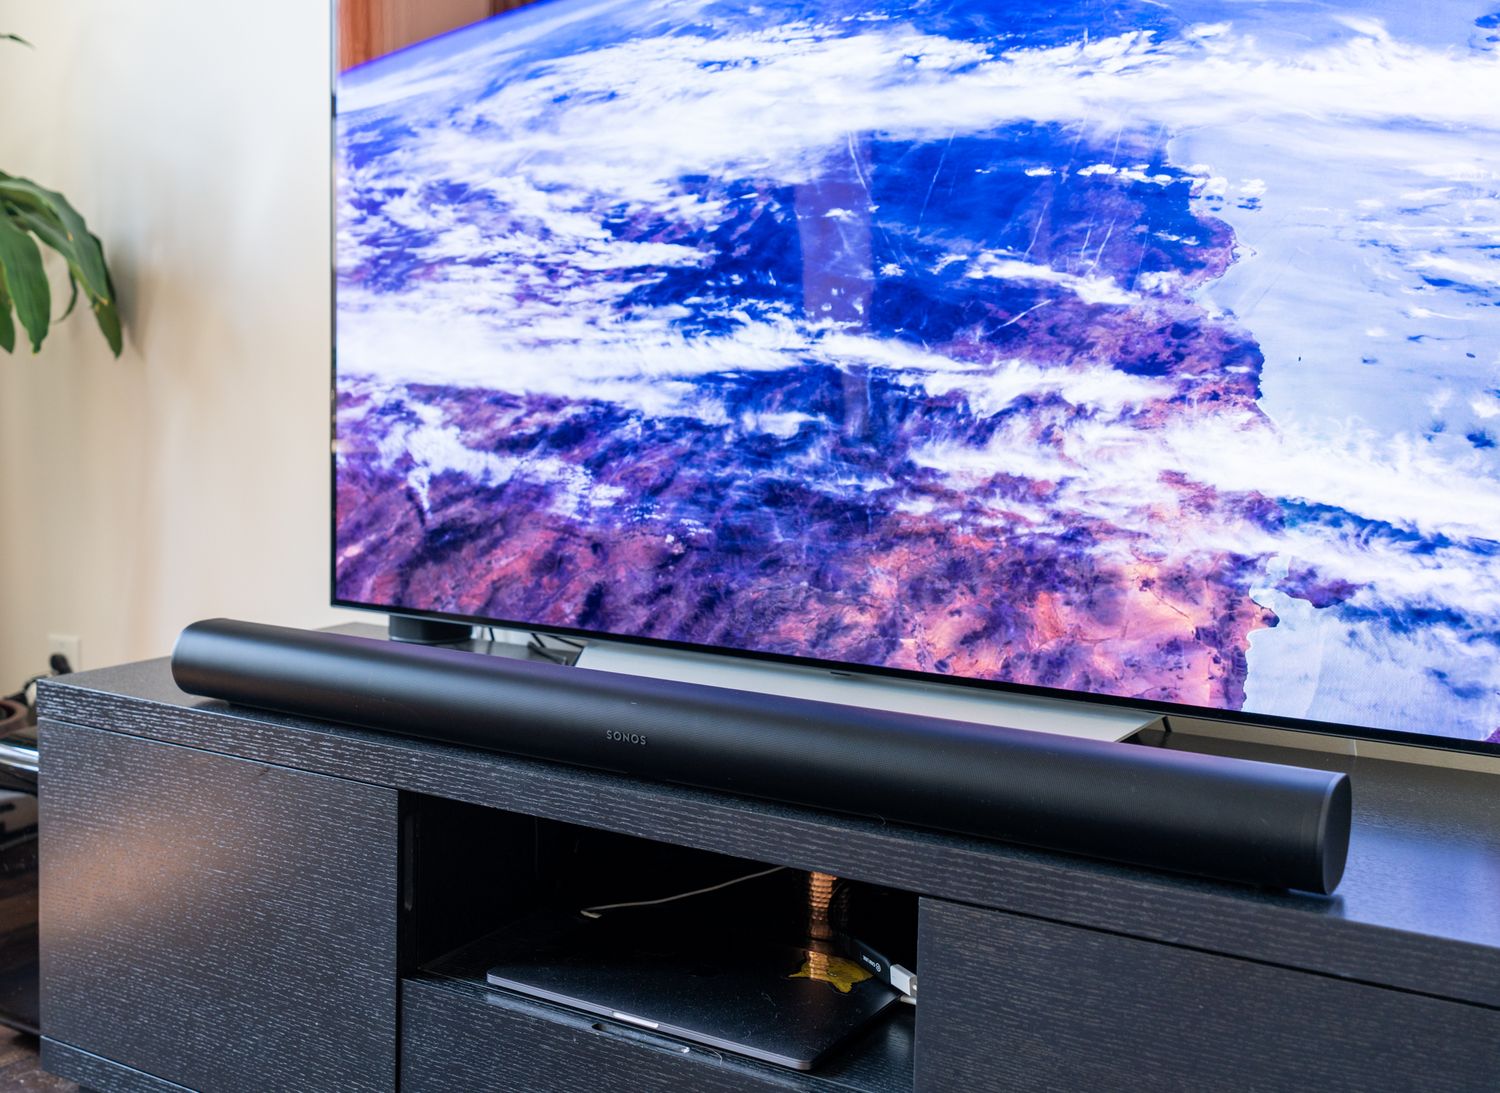
Option 4: Using HDMI ARC (Audio Return Channel)
One of the most convenient and widely used methods to connect a surround sound system to a TV is through HDMI ARC (Audio Return Channel). HDMI ARC allows both audio and video signals to be transmitted through a single HDMI cable. Here’s how you can set it up:
- Check if your TV and surround sound system have HDMI ARC ports. The HDMI ARC port on your TV will typically be labeled as “HDMI ARC” or “ARC.” Your surround sound system should also have an HDMI ARC port.
- Connect an HDMI cable to the HDMI ARC port on your TV.
- Connect the other end of the HDMI cable to the HDMI ARC port on your surround sound system.
- Power on your TV and surround sound system.
- Go to the audio settings on your TV and enable the HDMI ARC feature. This may involve navigating through the TV’s menu options and selecting the appropriate audio output source.
- Make sure your surround sound system is set to the correct HDMI input source to receive the audio signal from the TV.
Once the HDMI ARC connection is established and the settings are configured, your TV and surround sound system will be able to transmit and receive both audio and video signals through the same HDMI cable. This ensures a streamlined setup and eliminates the need for additional audio cables.
HDMI ARC also supports high-quality audio formats like Dolby Digital and DTS, allowing you to experience immersive surround sound while watching movies, playing games, or listening to music.
Note: It’s important to use an HDMI cable that is compliant with the HDMI ARC standard to ensure compatibility and optimal performance.
Conclusion
Having a surround sound system enhances the audio experience when watching TV shows, movies, or even listening to music. While HDMI is a common method of connecting a surround sound system to a TV, it’s not the only option available. In this article, we explored alternative methods for connecting your surround sound system to your TV without using HDMI.
We first discussed using analog audio cables, which can be connected to the RCA or 3.5mm audio jacks on both your TV and surround sound system. While this method is simple and widely supported, it may not provide the highest audio quality.
Next, we explored using a digital optical audio cable, which can deliver high-quality audio signals if your TV and surround sound system have compatible optical ports. This option allows you to experience immersive audio formats like Dolby Digital and DTS.
We also discussed using RCA (composite) cables, which are another analog option that can connect your TV and surround sound system. While RCA cables are widely available, they may not offer the best audio quality compared to other options.
Finally, we explored the HDMI ARC (Audio Return Channel) method, which allows both audio and video signals to be transmitted through a single HDMI cable. HDMI ARC offers convenience and high-quality audio, making it a popular choice for connecting surround sound systems to TVs.
Remember, the availability of these connection options may vary depending on your TV and surround sound system’s compatibility. It’s always a good idea to consult the user manuals or manufacturer’s websites for specific instructions.
Choose the connection method that suits your setup and enjoy immersive surround sound audio from your TV. Whether you’re watching your favorite movies, playing games, or listening to music, a properly connected surround sound system can take your audio experience to the next level.