Home>Production & Technology>Audio Interface>How To Connect Rokit 5 To Audio Interface

Audio Interface
How To Connect Rokit 5 To Audio Interface
Published: February 4, 2024
Learn how to connect your Rokit 5 speakers to an audio interface for enhanced audio quality and a seamless recording experience. Simplify your setup with this step-by-step guide!
(Many of the links in this article redirect to a specific reviewed product. Your purchase of these products through affiliate links helps to generate commission for AudioLover.com, at no extra cost. Learn more)
Table of Contents
Introduction
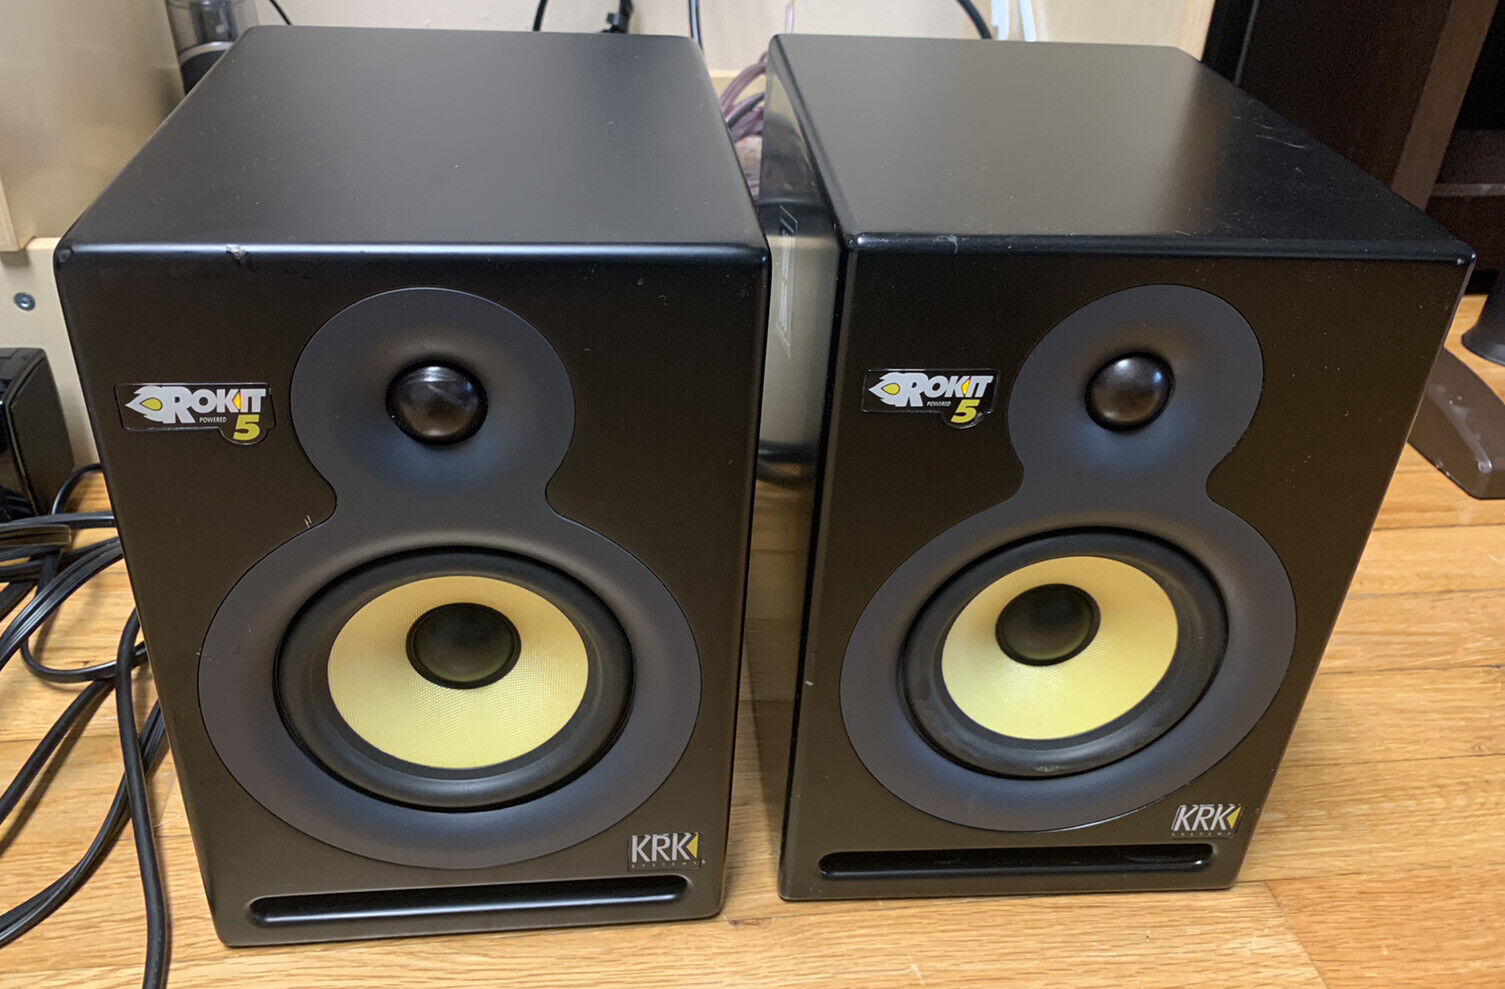
Welcome to the world of audio interfaces and the exciting possibilities they can bring to your audio setup. If you’re looking to connect your Rokit 5 speakers to an audio interface, you’re in the right place. Whether you’re a musician, podcaster, or audio enthusiast, the combination of Rokit 5 speakers and an audio interface can offer a powerful and professional sound reproduction experience.
An audio interface serves as the bridge between your computer or recording device and your speakers. It converts digital audio signals into analog signals that can then be amplified and played back through your speakers. The Rokit 5 speakers, known for their exceptional quality and accuracy, are a popular choice among audio professionals and enthusiasts.
By connecting your Rokit 5 speakers to an audio interface, you can take advantage of the superior sound quality and precise monitoring capabilities that these speakers offer. This setup is especially useful for music production, mixing, and mastering, as it allows you to hear your recordings with clarity and detail.
In this article, we will guide you through the process of connecting your Rokit 5 speakers to an audio interface. We’ll cover everything from gathering the necessary equipment to adjusting the settings to ensure optimal performance. So, let’s dive in and get your Rokit 5 speakers up and running with an audio interface!
Step 1: Gather the necessary equipment
Before diving into the setup process, it’s essential to gather all the necessary equipment to ensure a smooth and hassle-free connection between your Rokit 5 speakers and the audio interface. Here’s a list of the items you’ll need:
- Rokit 5 speakers: These are the main output devices that you’ll be connecting to the audio interface. Make sure they are in good working condition.
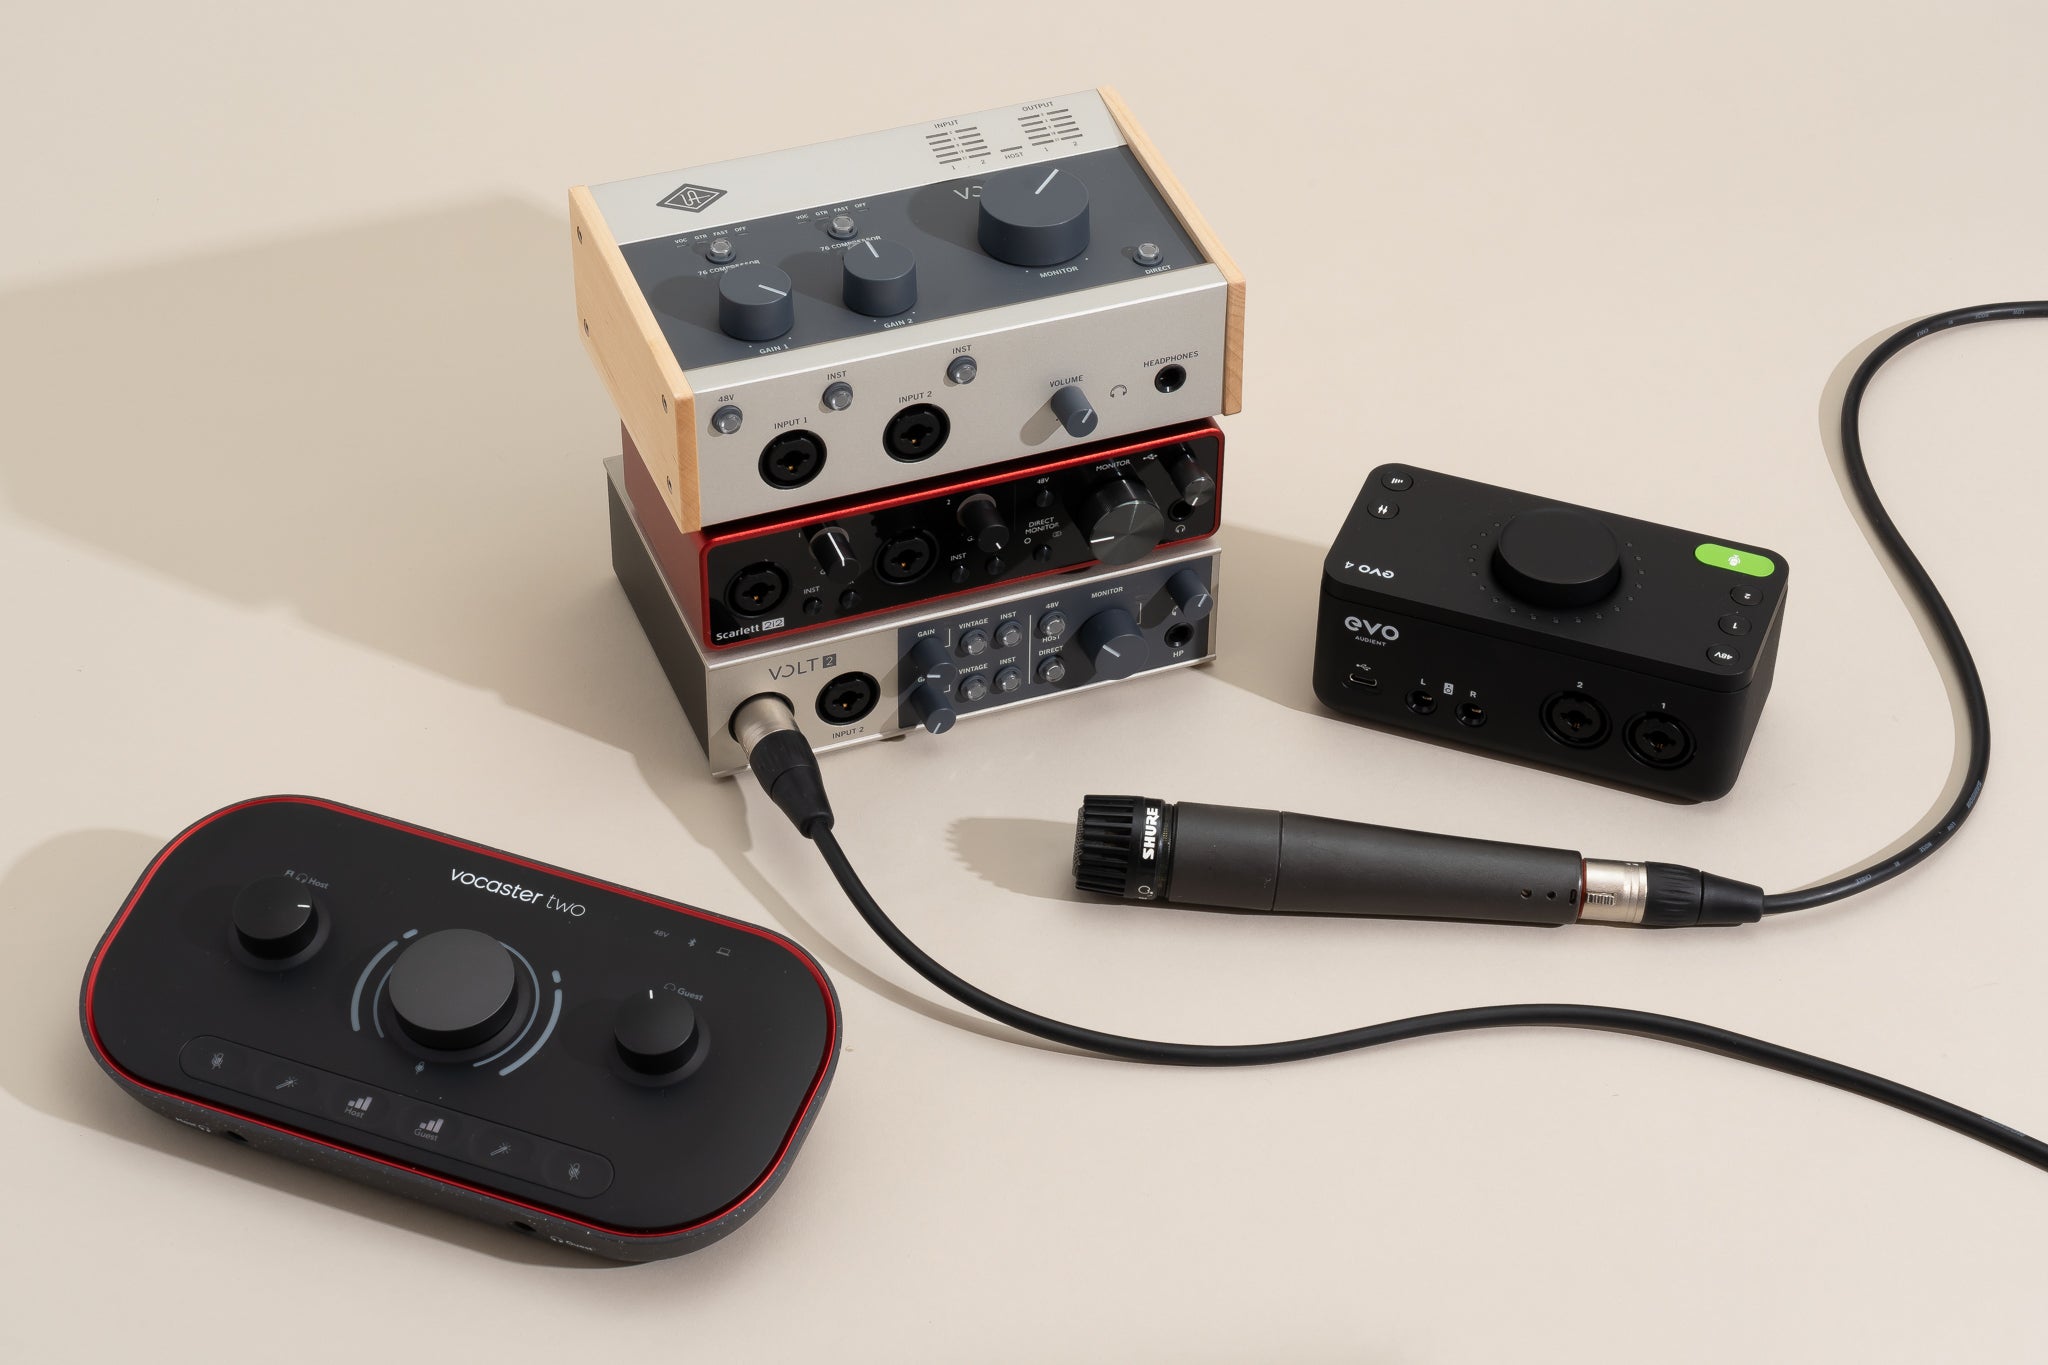
- Audio interface: Choose an audio interface that suits your needs and budget. Ensure that it has the necessary inputs and outputs to connect your speakers.
- Audio cables: Depending on the connections available on both the audio interface and the Rokit 5 speakers, you’ll need the appropriate audio cables. Common options include XLR cables, 1/4″ TRS cables, or RCA cables.
- Power cables: Both the audio interface and the Rokit 5 speakers require power to function. Make sure you have the appropriate power cables for each device.
- Computer or recording device: You’ll need a computer or a recording device to connect to the audio interface. Make sure it is compatible with the audio interface and has the necessary software or drivers installed.
- Optional accessories: Depending on your specific setup requirements, you may need additional accessories like audio adapters, stands or mounts for your speakers, headphones for monitoring, and acoustic treatment for your listening environment.
Ensure that all the equipment is in good working condition and that you have all the necessary cables and accessories. It’s also a good idea to read the manuals or setup guides for your audio interface and Rokit 5 speakers to familiarize yourself with their respective connections and functionalities. With everything ready, you’re now prepared to move on to the next step: setting up the audio interface.
Step 2: Set up the audio interface
Now that you have gathered all the necessary equipment, it’s time to set up the audio interface. Follow these steps to ensure a proper connection:
- Choose a suitable location: Find a stable and accessible location for your audio interface. Ensure that it is close to your computer or recording device and within reach of your Rokit 5 speakers.
- Connect the power: Plug in the power cable of the audio interface into a power outlet. Ensure that the power source is stable and provides the required voltage for the device.
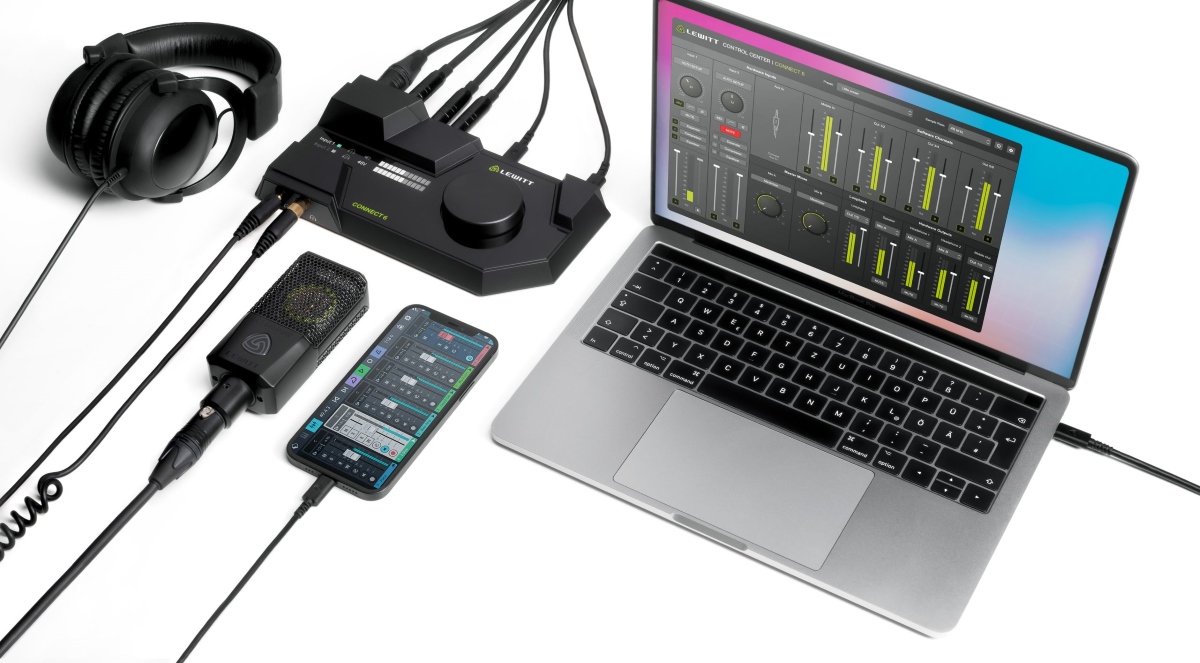
- Connect the audio interface to your computer: Depending on the audio interface, you will need to connect it to your computer using a USB, Thunderbolt, or Firewire cable. Plug one end of the cable into the corresponding port on the audio interface and the other end into an available USB or Thunderbolt port on your computer.
- Install the necessary software/driver: In some cases, you may need to install specific software or drivers for the audio interface to ensure compatibility with your computer. Check the manufacturer’s instructions or website for the required software and follow the installation process.
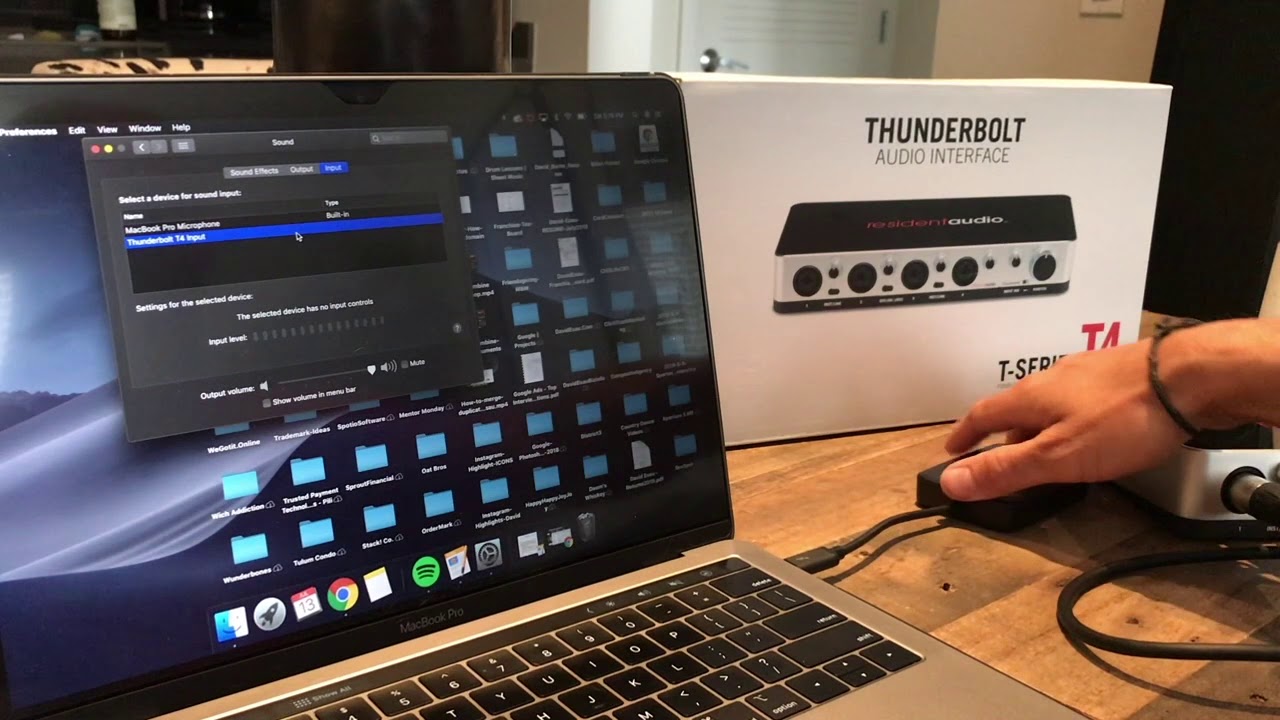
- Configure audio settings: Once the software or driver is installed, you may need to configure the audio settings on your computer to recognize the audio interface. This usually involves selecting the audio interface as the default input and output device in your computer’s sound settings. Refer to the user manual or manufacturer’s instructions for detailed steps on configuring the settings.
With the audio interface properly set up and connected to your computer, you’re now ready to move on to the next step: connecting your Rokit 5 speakers to the audio interface.
Step 3: Connect the Rokit 5 speakers to the audio interface
Now that your audio interface is set up and connected to your computer, it’s time to connect your Rokit 5 speakers to the audio interface. Follow these steps:
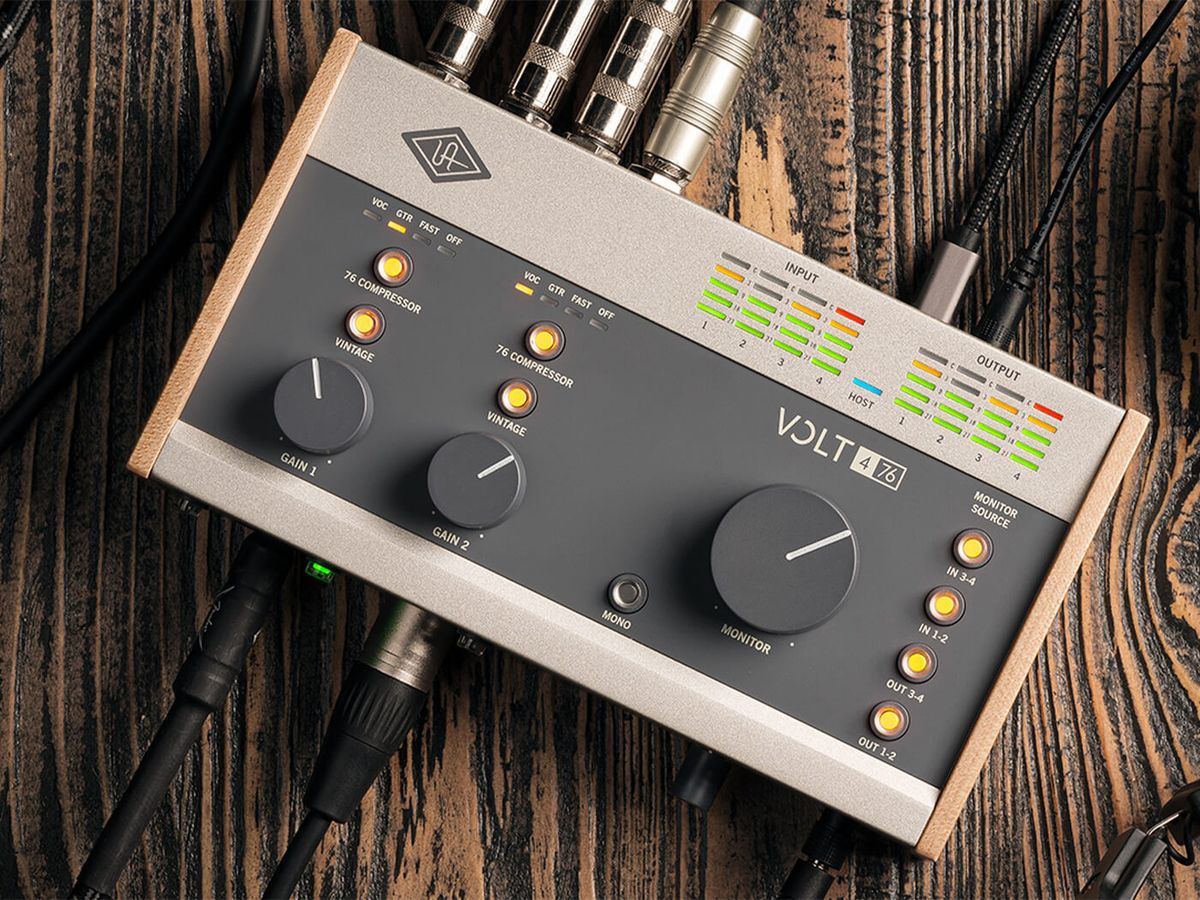
- Locate the audio outputs on the audio interface: Look for the appropriate audio output ports on your audio interface. These can be labeled as “Line Out,” “Monitor Out,” or something similar, depending on the model.
- Identify the audio input ports on your Rokit 5 speakers: Take a look at the back of your Rokit 5 speakers and find the audio input ports. These are usually labeled as “Line In” or “Aux In.”
- Choose the appropriate audio cables: Depending on the available ports on both the audio interface and the Rokit 5 speakers, select the appropriate audio cables. Common options include XLR, 1/4″ TRS, or RCA cables.
- Connect the audio cables: Plug one end of the audio cable into the audio output port on the audio interface and the other end into the corresponding audio input port on the Rokit 5 speakers. Make sure the plugs are securely inserted to ensure a stable connection.
- Repeat the process for multiple speakers: If you have more than one Rokit 5 speaker, repeat the previous steps for each speaker. This usually involves connecting each speaker to a separate audio output on the audio interface.
Once you have successfully connected your Rokit 5 speakers to the audio interface, you have completed the physical connection. However, to ensure optimal performance, there are a few more adjustments to make. Let’s move on to Step 4 to fine-tune the settings.
Step 4: Adjust the settings
Now that your Rokit 5 speakers are connected to the audio interface, it’s essential to make some adjustments to ensure optimal performance. Follow these steps to adjust the settings:
- Volume control: Begin by setting the volume control on the audio interface or the Rokit 5 speakers to the minimum level. This step prevents any sudden loud sounds that could potentially damage your hearing or the speakers.
- Audio routing: Depending on your audio interface, you may need to configure the audio routing settings. Use the software or drivers provided with your audio interface to assign the audio outputs to the connected Rokit 5 speakers.
- Calibrating the speakers: Consider using a calibration tool or software that can help you fine-tune the frequency response of your Rokit 5 speakers. This calibration ensures that the speakers accurately reproduce the audio signal and compensate for any potential acoustic anomalies in your listening environment.
- Balancing the stereo image: Use the pan or balance controls on your audio interface or within your software to adjust the stereo imaging of your Rokit 5 speakers. This step ensures that the audio signals coming from both speakers are correctly balanced and aligned.
- LED indicators: Pay attention to the LED indicators on your Rokit 5 speakers. Different colored lights can indicate various states, such as power on/off, signal presence, or clipping. Familiarize yourself with the meaning of these LED indicators to monitor the performance of your speakers.
Take your time to fine-tune these settings according to your preferences and the requirements of your audio projects. Experiment with different volume levels, audio routing configurations, and stereo balance to find the perfect setup for your needs.
Once you have adjusted the settings to your satisfaction, you’re ready for the final step: testing the connection.
Step 5: Test the connection
After setting up and adjusting the settings for your Rokit 5 speakers and audio interface, it’s crucial to test the connection to ensure everything is working correctly. Follow these steps to test the connection:
- Play audio: Open your preferred audio software or media player on your computer and play a test audio file or a piece of music that you are familiar with. Ensure that the volume on your audio interface and Rokit 5 speakers is set to an appropriate level.
- Observe sound playback: Listen carefully to the sound playback from your Rokit 5 speakers. Pay attention to the overall clarity, detail, and stereo imaging. Are the speakers reproducing the audio accurately? Do you notice any distortion, imbalance, or issues with the sound quality?
- Test different audio sources: Try playing audio from various sources, such as different music genres, movies, or podcasts. This step helps you evaluate the speakers’ performance across different audio content and ensures they can accurately reproduce a range of frequencies and dynamics.
- Check for latency: When working with live audio recording or software instruments, pay attention to any noticeable latency in the audio playback. Latency refers to the delay between when you play a sound and when you hear it through the speakers. Lower latency ensures a more seamless and responsive audio experience.
- Make necessary adjustments: If you encounter any issues during the testing phase, make the necessary adjustments to address them. This may involve fine-tuning the settings, revisiting the audio routing configuration, or consulting the user manuals for troubleshooting guidance.
By thoroughly testing the connection between your Rokit 5 speakers and the audio interface, you can ensure that you are getting the best possible audio performance and accuracy. Take the time to listen critically and make any necessary adjustments until you are satisfied with the results.
With the testing complete and the connection successfully established, you are now ready to enjoy the exceptional sound quality and immersive experience provided by your Rokit 5 speakers connected to the audio interface. Whether you’re creating music, editing sound, or simply enjoying your favorite audio content, this setup will elevate your audio experience to new heights.
Congratulations on setting up your Rokit 5 speakers with an audio interface. Happy listening and creating!
Conclusion
The process of connecting your Rokit 5 speakers to an audio interface opens up a world of possibilities for creating, mixing, and enjoying high-quality audio. By following the steps outlined in this article, you have successfully set up a professional sound reproduction system that combines the precision and accuracy of the Rokit 5 speakers with the versatility and connectivity of an audio interface.
By gathering the necessary equipment, setting up the audio interface, connecting the Rokit 5 speakers, adjusting the settings, and testing the connection, you have ensured a seamless and optimal audio experience. The Rokit 5 speakers, known for their exceptional sound quality and accuracy, paired with a reliable audio interface, provide you with the tools to create, mix, and master your audio projects with confidence.
Remember to take your time to fine-tune the settings, experiment with different audio sources, and monitor the performance of your Rokit 5 speakers. This will allow you to fully harness the capabilities of your setup and achieve the best possible results.
Whether you’re a musician, podcaster, or audio enthusiast, the combination of Rokit 5 speakers and an audio interface is a powerful tool that can elevate your audio production to new heights. Enjoy the precise sound reproduction, immersive experience, and creative possibilities that this setup offers.
Now that you are equipped with the knowledge to connect your Rokit 5 speakers to an audio interface, it’s time to unleash your creativity and passion for audio. Let the music play, the podcasts inspire, and the sounds come to life through the synergy of your Rokit 5 speakers and the audio interface.
Happy listening and creating!

