Home>Production & Technology>Audio Interface>How To Connect Studio Monitor To Computer Without An Audio Interface

Audio Interface
How To Connect Studio Monitor To Computer Without An Audio Interface
Published: February 4, 2024
Learn how to connect studio monitors to your computer without an audio interface. Discover alternative methods for optimal audio quality.
(Many of the links in this article redirect to a specific reviewed product. Your purchase of these products through affiliate links helps to generate commission for AudioLover.com, at no extra cost. Learn more)
Table of Contents
Introduction
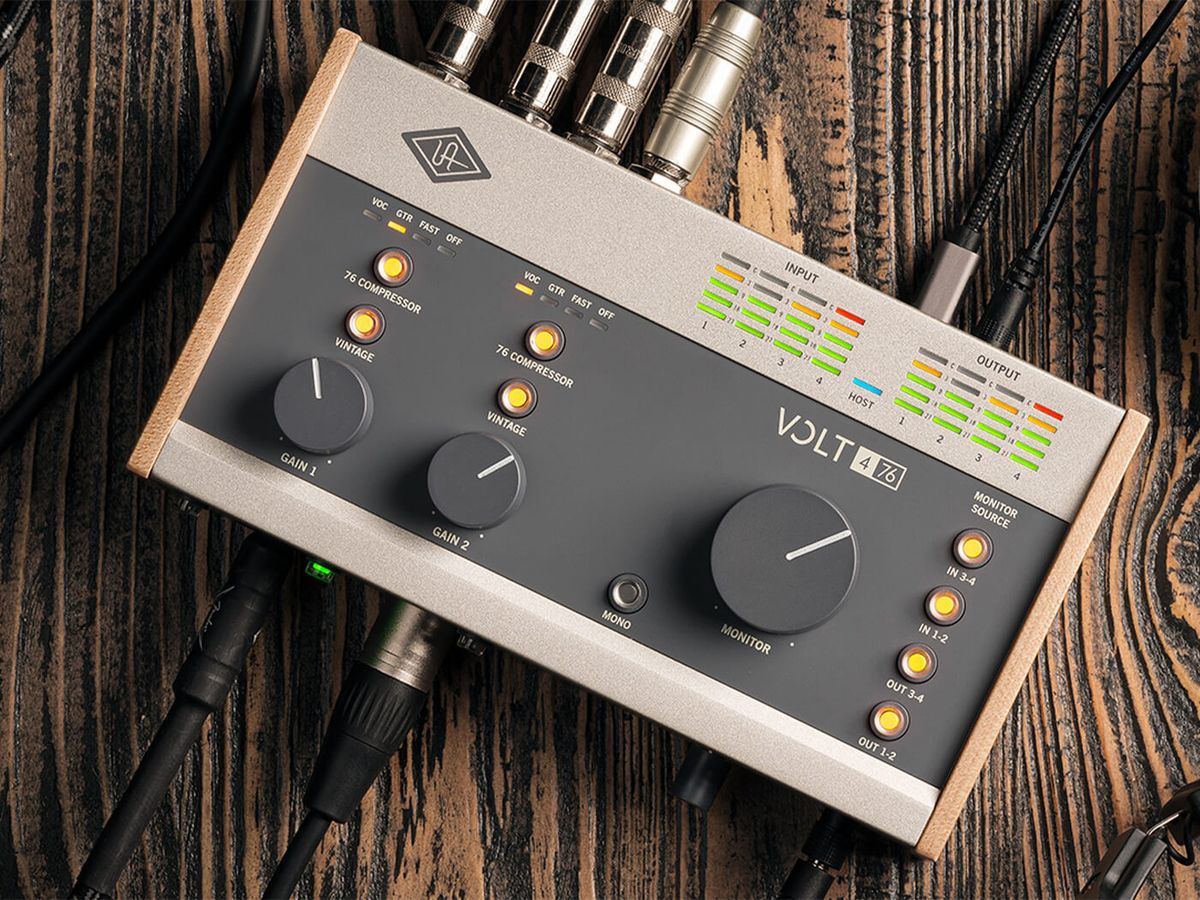
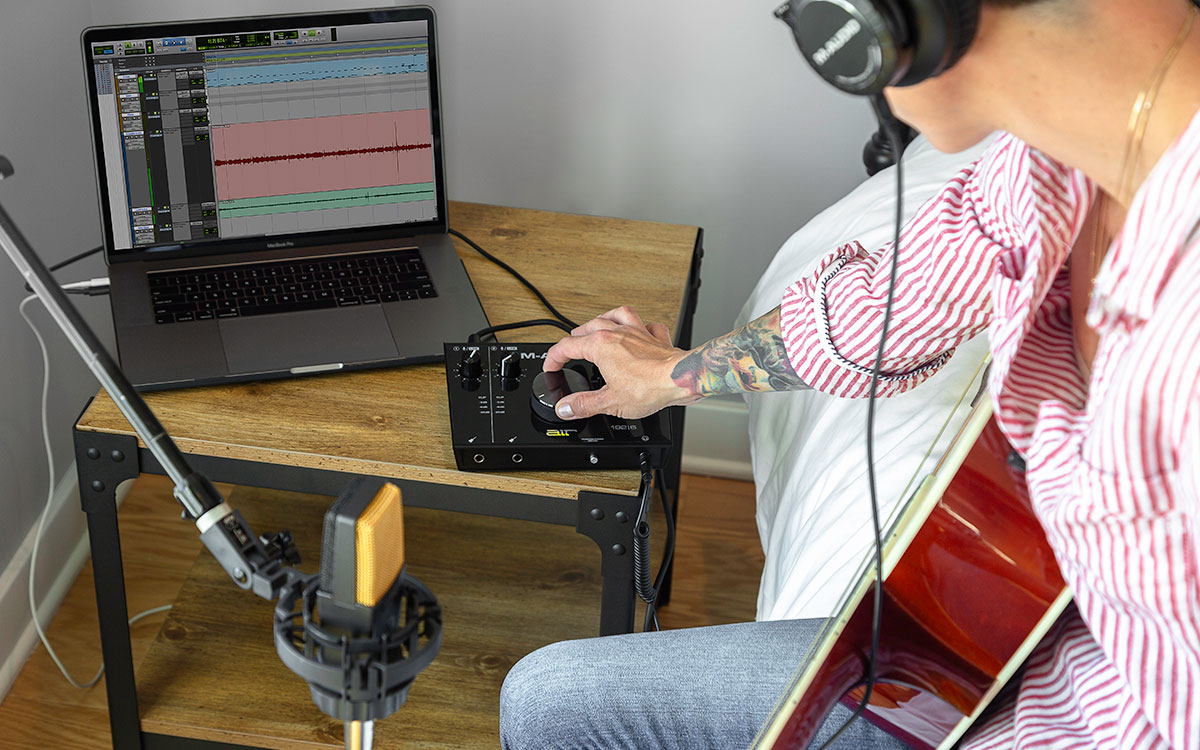
When it comes to setting up a professional studio or home recording space, having the right equipment is crucial. One essential piece of gear is an audio interface. An audio interface serves as the bridge between your computer and your studio monitors, allowing you to accurately monitor and control the sound. However, there may be situations where you need to connect your studio monitors to your computer without an audio interface.
Whether you’re on a tight budget or facing a temporary inconvenience, there are several alternative methods you can use to connect your studio monitors directly to your computer. In this article, we will explore various methods to help you achieve this connection without sacrificing audio quality or performance.
Before we dive into the different methods, it is important to note that having an audio interface is still the recommended way to connect your studio monitors to your computer. An audio interface not only provides better sound quality, but also offers additional functionality and features. However, if you find yourself without an audio interface, these alternative methods can serve as a temporary solution.
It’s always a good idea to understand the limitations and compromises you might encounter when using these methods. While they may not offer the same level of precision and control as an audio interface, they can still be handy in certain situations.
In the following sections, we will explore four different methods to connect your studio monitors to your computer without an audio interface. These methods include:
- Using a direct connection
- Utilizing a headphone output
- Utilizing a line output
- Utilizing a USB DAC (Digital-to-Analog Converter)
Now, let’s dive into the details of each method and learn how to connect your studio monitors to your computer without an audio interface.
Method 1: Using a Direct Connection
One of the simplest ways to connect your studio monitors to your computer without an audio interface is by using a direct connection. This method involves connecting your studio monitors directly to the computer’s audio output ports. While this method may not offer the same level of control or sound quality as an audio interface, it can still work effectively for basic audio playback.
Here’s how you can set up a direct connection:
- Identify the audio output ports on your computer. Most computers have a 3.5mm headphone jack or separate audio output ports.
- Check the input options on your studio monitors. Depending on the model, your monitors may have RCA, TRS, or XLR inputs.
- Obtain the necessary cables or adapters to connect your computer to the studio monitors. For example, if your computer has a 3.5mm headphone jack and your monitors have TRS inputs, you’ll need a 3.5mm to TRS cable.
- Connect one end of the cable or adapter to the audio output port on your computer.
- Connect the other end of the cable or adapter to the corresponding input on your studio monitor.
- Repeat the process for the second monitor if you have a stereo pair.
- Adjust the volume levels on your computer and studio monitors to ensure a balanced sound.
It is important to note that using a direct connection may impose some limitations. For instance, you may encounter issues with latency, limited control over volume and sound settings, and potential interference from electromagnetic signals. However, for basic audio playback or casual listening, this method can suffice.
It is worth mentioning that the sound quality of a direct connection is highly dependent on the quality of the computer’s onboard audio. If you find the sound to be unsatisfactory, you may consider investing in an external audio interface for better results.
That concludes the first method for connecting your studio monitors to your computer without an audio interface. Next, we will explore an alternative method utilizing the headphone output.
Method 2: Utilizing a Headphone Output
If your computer does not have dedicated audio output ports, or if you prefer a different approach, you can connect your studio monitors to the headphone output. While this method may not offer the same level of control as an audio interface, it can still provide a convenient solution for audio playback.
Here’s how you can set up this method:
- Locate the headphone output on your computer. It is commonly found on laptops, desktop computers, or audio interfaces.
- Check the input options on your studio monitors and ensure compatibility. If your monitors have a headphone input or an unbalanced 3.5mm TRS input, this method will work well.
- Obtain the necessary cable or adapter to connect the headphone output to your studio monitors. A 3.5mm TRS to 3.5mm TRS cable or an adapter may be required.
- Connect one end of the cable or adapter to the headphone output on your computer.
- Connect the other end of the cable or adapter to the corresponding input on your studio monitor.
- Repeat the process for the second monitor if you have a stereo pair.
- Adjust the volume levels on your computer and studio monitors to achieve the desired sound.
While utilizing the headphone output can be an easy and straightforward solution, it is important to be aware of its limitations. The headphone output is typically optimized for headphone listening rather than driving studio monitors. As a result, the sound quality may not be as accurate or precise as with an audio interface. Additionally, you may encounter issues with latency and limited control over audio settings.
If you find that the headphone output method does not meet your requirements, you may consider exploring other options, such as utilizing a line output, as we will discuss in the next section.
Method 3: Utilizing a Line Output
Another method to connect your studio monitors to your computer without an audio interface is by utilizing a line output. This method can provide a higher quality audio signal compared to the headphone output, offering improved sound accuracy and control.
Here’s how you can set up this method:
- Check if your computer or audio device has a line output. It is usually a set of RCA or TRS jacks, labeled as “Line Out” or “Audio Out”.
- Inspect the input options on your studio monitors. Most monitors have RCA, TRS, or XLR inputs.
- Obtain the necessary cable or adapter to connect the line output to your studio monitors. For example, if your computer has RCA line outputs and your monitors have TRS inputs, you’ll need an RCA to TRS cable.
- Connect one end of the cable or adapter to the line output on your computer or audio device.
- Connect the other end of the cable or adapter to the corresponding input on your studio monitor.
- Repeat the process for the second monitor if you have a stereo pair.
- Adjust the volume levels on your computer and studio monitors to achieve the desired sound.
Utilizing a line output can offer advantages such as better sound quality, reduced latency, and improved control over audio settings. The line output is designed specifically for driving audio devices like studio monitors, ensuring a cleaner and more accurate signal transfer.
However, it’s important to note that not all computers or audio devices have a line output. If your device does not have this feature, you may need to explore other options, such as using a USB DAC, as we’ll discuss in the next section.
By utilizing a line output, you can achieve a higher level of audio fidelity compared to the previous methods. However, an audio interface is still the preferred choice for professional studio setups, as it offers more advanced features and greater control over the sound. Now, let’s move on to exploring the last method: utilizing a USB DAC.
Method 4: Utilizing a USB DAC (Digital-to-Analog Converter)
If you’re looking for a more advanced and high-quality solution to connect your studio monitors to your computer without an audio interface, utilizing a USB DAC (Digital-to-Analog Converter) is a great option. A USB DAC acts as an external sound card that converts digital audio signals from your computer into analog signals that can be accurately reproduced by your studio monitors.
Here’s how you can set up this method:
- Purchase a USB DAC that is compatible with your computer and studio monitors. There are various options available on the market, ranging from entry-level to high-end models.
- Connect the USB DAC to an available USB port on your computer.
- Connect the audio outputs from the USB DAC to the corresponding inputs on your studio monitors. Depending on the outputs of the DAC and the inputs of your monitors, you may need RCA, TRS, or XLR cables.
- Install any necessary drivers or software for the USB DAC. Most modern USB DACs are plug-and-play and do not require additional drivers.
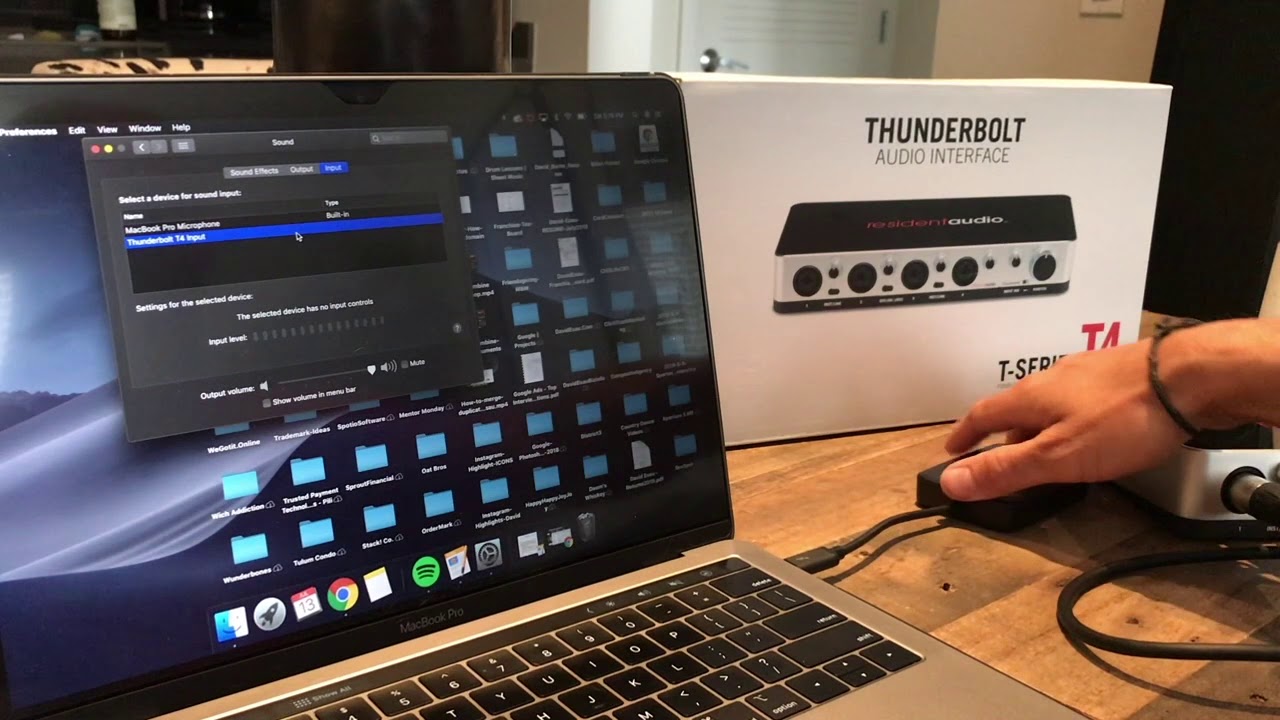
- Configure your computer’s audio settings to use the USB DAC as the default audio output device.
- Adjust the volume levels on your computer and studio monitors to achieve the desired sound.
Utilizing a USB DAC offers several benefits. These devices are designed to provide high-quality audio reproduction with improved sound clarity and detail. USB DACs also typically offer additional features like headphone outputs, volume control, and support for different audio formats.
However, it’s important to select a USB DAC that is suitable for your needs and budget. Higher-end models often offer better audio quality and more advanced features, but they come at a higher cost. It’s advisable to research and read reviews to find the best USB DAC for your specific requirements.
By utilizing a USB DAC, you can achieve studio-grade audio quality and accuracy, making it an excellent alternative to an audio interface when connecting your studio monitors to your computer.
Now that we have explored various methods to connect your studio monitors to your computer without an audio interface, let’s summarize the key points in the next section.
Conclusion
Connecting your studio monitors to your computer without an audio interface is indeed possible, thanks to the alternative methods we’ve discussed in this article. While an audio interface remains the recommended choice for optimum sound quality and control, these methods can serve as temporary solutions or budget-friendly options.
In the first method, using a direct connection, you can connect your studio monitors directly to your computer’s audio output ports. This method is simple and straightforward but may have limitations in terms of sound quality and control.
The second method involves utilizing the headphone output, which can be found on most computers and audio devices. While it offers convenience, be mindful of its limitations in terms of sound accuracy and control.
In the third method, utilizing a line output, you can achieve better sound quality and control compared to the headphone output. However, not all computers or audio devices have a line output, so this method may not be suitable for everyone.
The fourth method is utilizing a USB DAC, which offers the highest level of audio fidelity and control. USB DACs act as external sound cards, converting digital audio signals into analog signals for accurate reproduction. This method is ideal for those seeking professional-grade sound quality.
Before settling on a specific method, consider your requirements, budget, and the level of control and fidelity you desire. It’s also worth mentioning that upgrading to an audio interface in the future is highly recommended for a more comprehensive and professional setup.
We hope this article has provided you with valuable insights and solutions for connecting your studio monitors to your computer without an audio interface. Choose the method that best fits your needs, and enjoy your audio playback and creative projects with confidence!

