Home>Production & Technology>Audio Interface>How To Connect Your Studio Monitors To Your Audio Interface

Audio Interface
How To Connect Your Studio Monitors To Your Audio Interface
Modified: February 17, 2024
Learn how to properly connect your studio monitors to your audio interface for optimal sound quality and performance. Find step-by-step instructions and tips for setting up your audio interface.
(Many of the links in this article redirect to a specific reviewed product. Your purchase of these products through affiliate links helps to generate commission for AudioLover.com, at no extra cost. Learn more)
Table of Contents
Introduction
Welcome to the world of audio production! As an aspiring musician, podcaster, or content creator, having a reliable and high-quality audio interface is essential. Whether you’re connecting studio monitors for accurate monitoring or hooking up other audio devices, understanding how to set up and connect your studio monitors to your audio interface is crucial for achieving professional sound quality.
In this comprehensive guide, we will walk you through the step-by-step process of connecting your studio monitors to your audio interface. By the end of this article, you’ll have a clear understanding of how to set up your equipment properly and ensure optimal sound reproduction.
Before we dive into the technical details, let’s briefly discuss what an audio interface is and why it’s integral to your audio production setup. An audio interface serves as the intermediary between your computer and your audio devices, allowing you to capture and playback audio signals with superior quality and minimal latency.
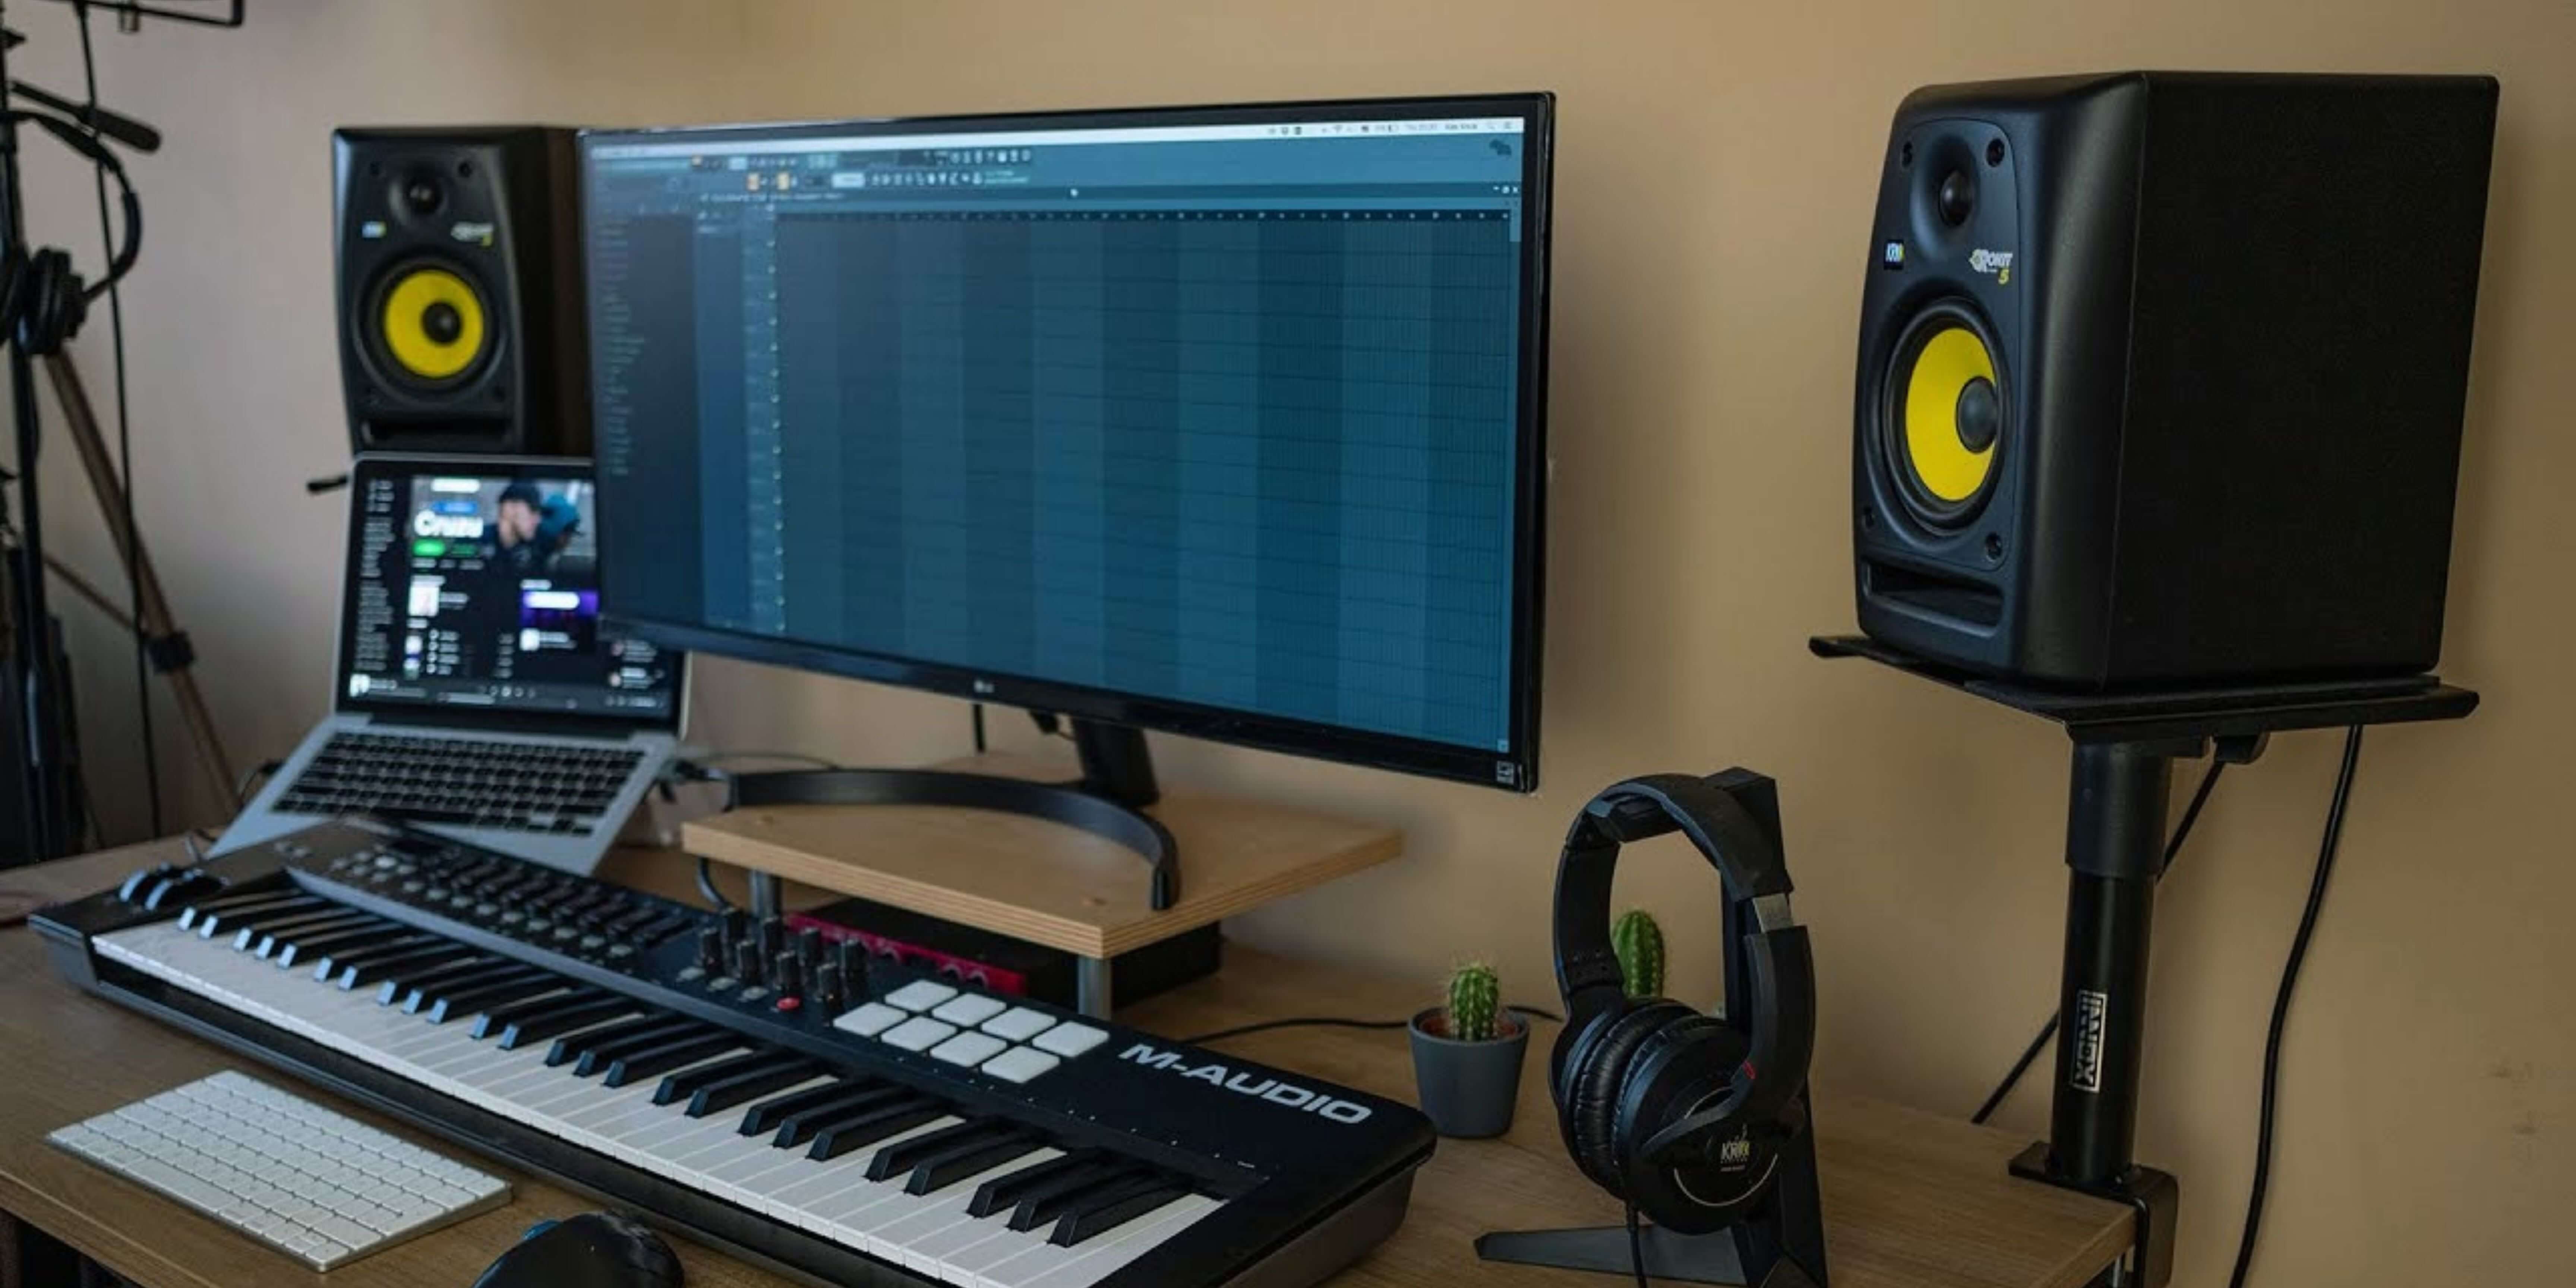
When it comes to studio monitors, they are designed to reproduce sound accurately and faithfully, enabling you to hear your recordings, mixes, and music as they truly are. Connecting your studio monitors to your audio interface is a crucial step in creating a professional monitoring environment, where you can make critical decisions about your audio with confidence.
Now that you have a basic understanding of the importance of an audio interface and studio monitors, let’s move on to the step-by-step process of connecting them for optimal audio playback and monitoring.
Step 1: Gather the Necessary Cables and Equipment
Before you can start connecting your studio monitors to your audio interface, it’s essential to gather the necessary cables and equipment. Here’s a list of items you’ll need:
- Studio Monitors: Choose a pair of high-quality studio monitors that best suit your needs. Make sure they have the appropriate inputs, such as XLR, 1/4″ TRS, or RCA, to connect to your audio interface.
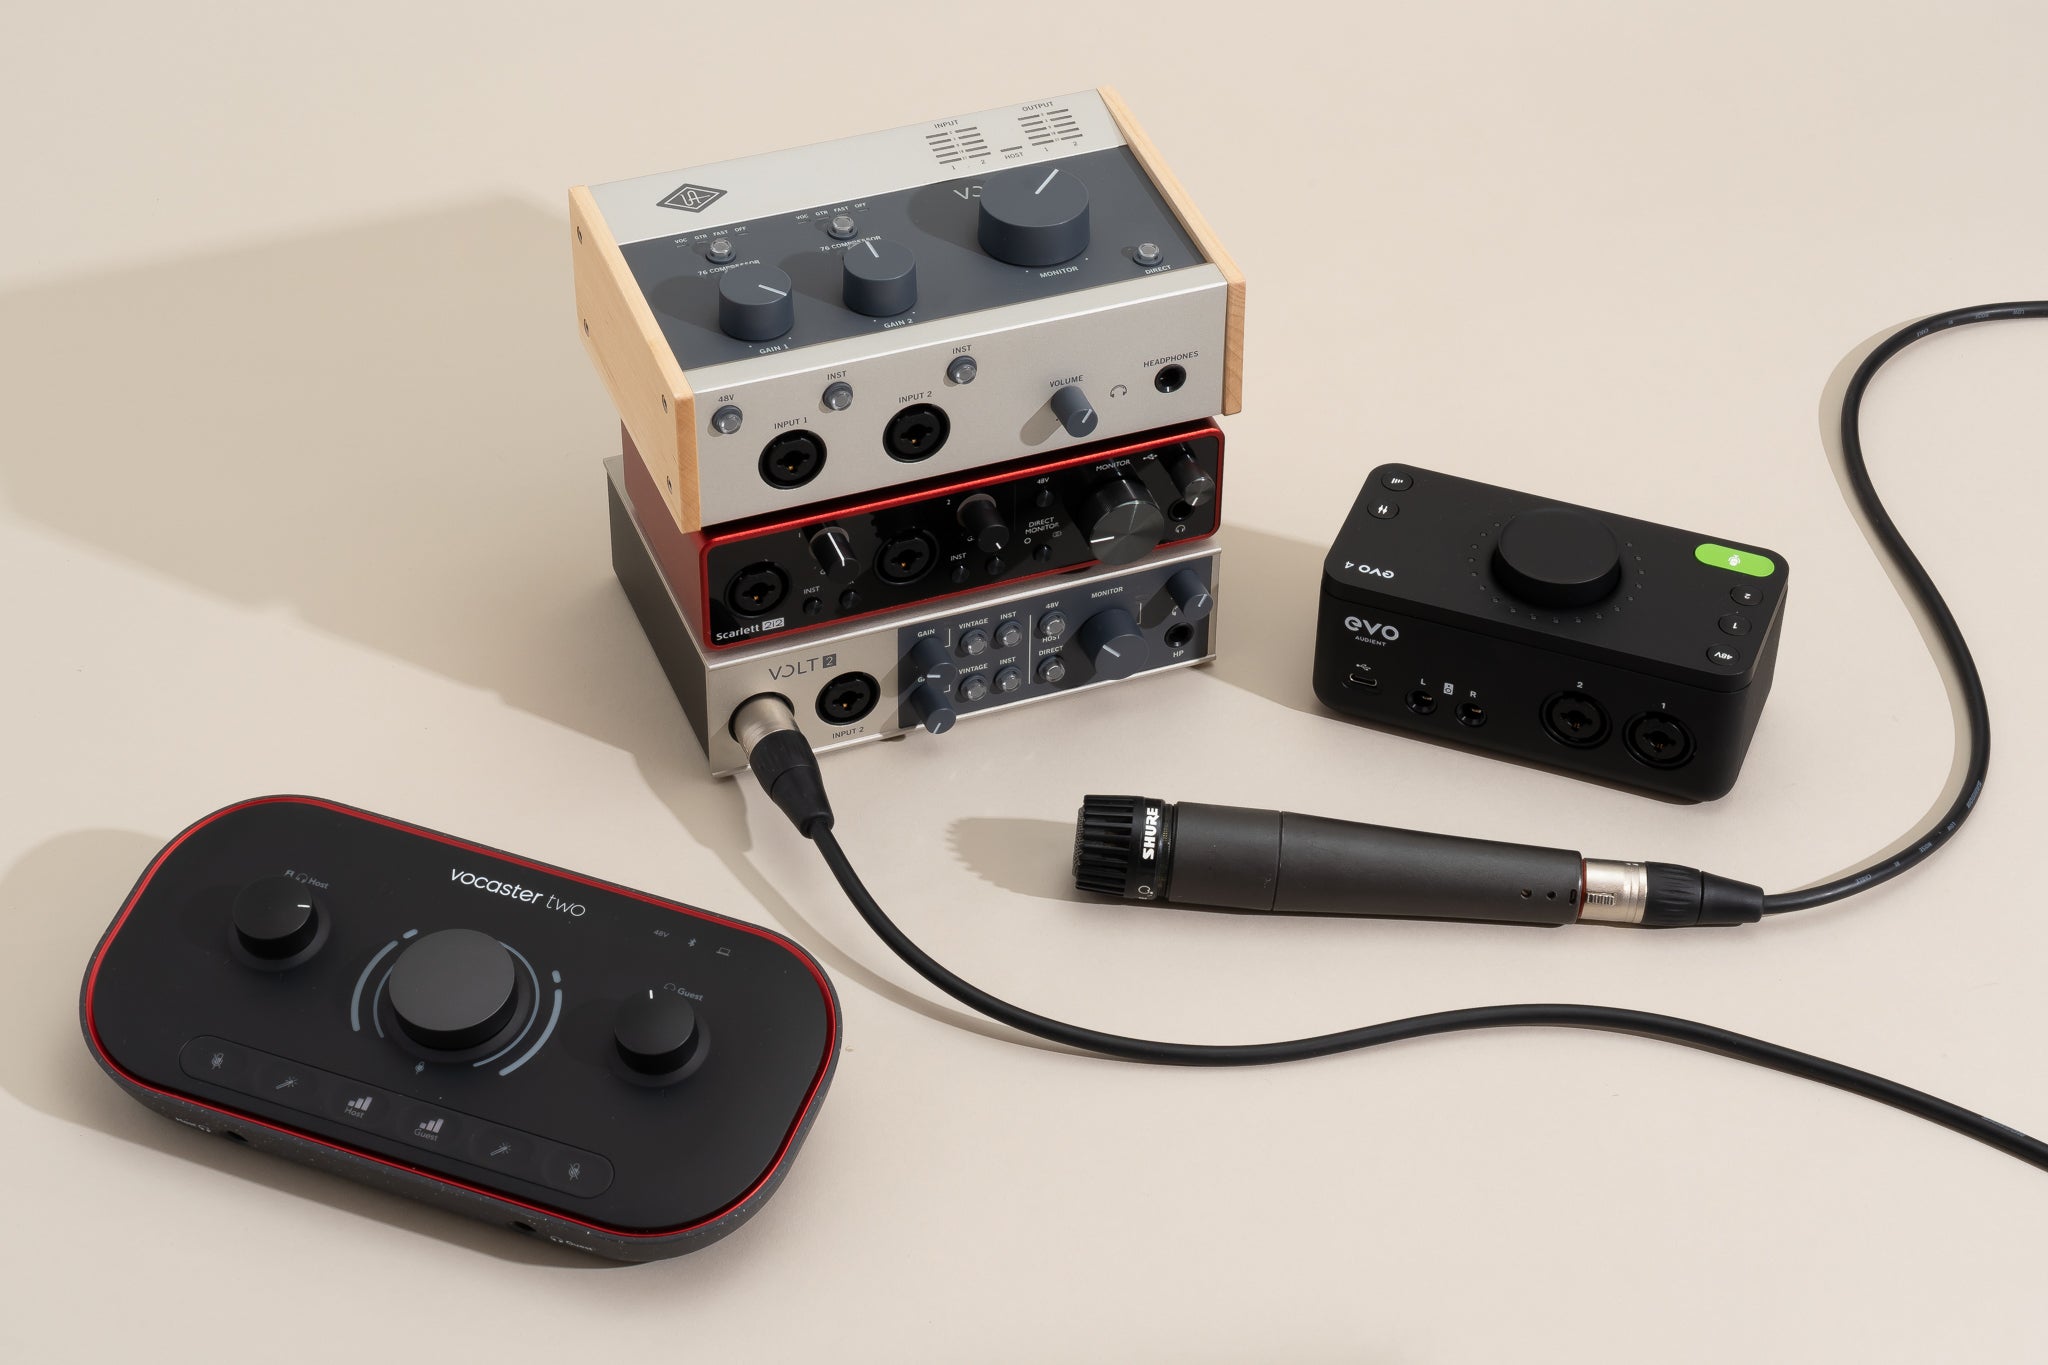
- Audio Interface: Select an audio interface that meets your specifications and requirements. Look for one with the appropriate number and type of outputs to accommodate your studio monitors.
- Cables: Depending on the inputs and outputs on your studio monitors and audio interface, you’ll need the appropriate cables. Common options include XLR cables, 1/4″ TRS cables, or RCA cables.
- Power Cords: Ensure that you have the necessary power cords for both your studio monitors and audio interface. This will vary depending on the specific models you’re using.
Once you’ve gathered all the necessary items, you’re ready to move on to the next step of setting up your audio interface.
Step 2: Set Up Your Audio Interface
Now that you have all the necessary cables and equipment, it’s time to set up your audio interface. Follow these steps to ensure a proper setup:
- Place your audio interface in a convenient location near your computer or recording setup. Ensure that it’s within reach so that you can easily access the controls and make adjustments as needed.
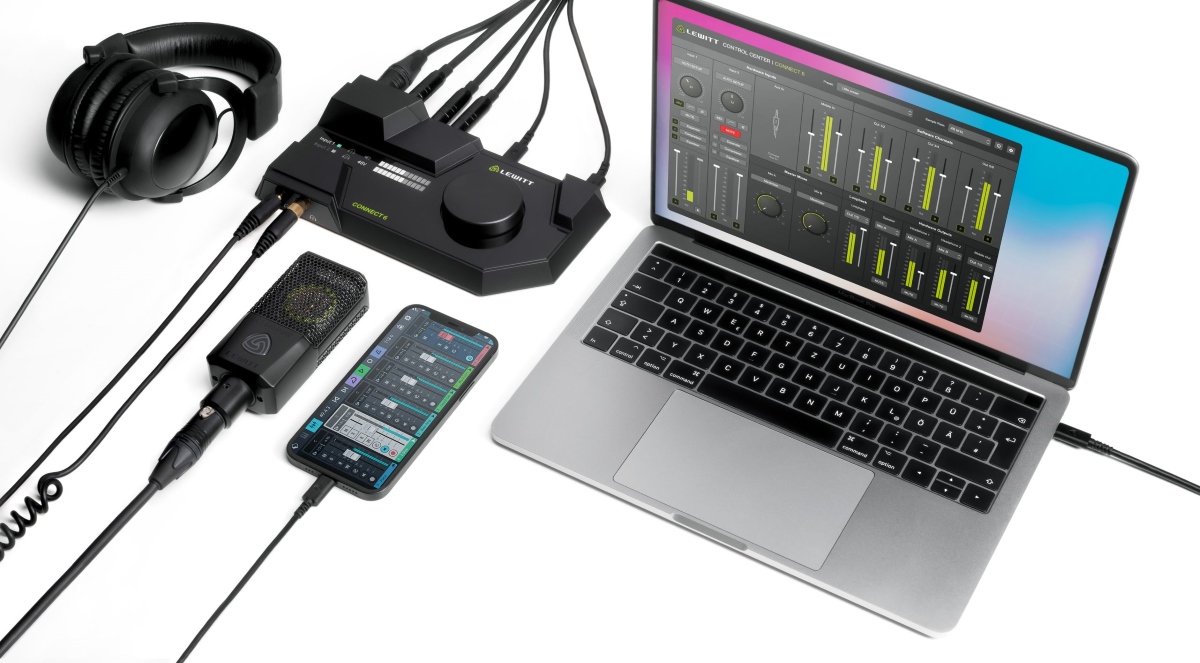
- Connect your audio interface to your computer using a USB, Thunderbolt, or Firewire cable, depending on the interface’s specifications and the available ports on your computer.
- Next, connect the power cord to your audio interface and plug it into a power outlet. Make sure you use the correct power cable and follow the manufacturer’s instructions for powering on the device.
- Once your audio interface is powered on, you may need to install the necessary drivers or software. Check the manufacturer’s website for the latest drivers and follow the installation instructions provided.
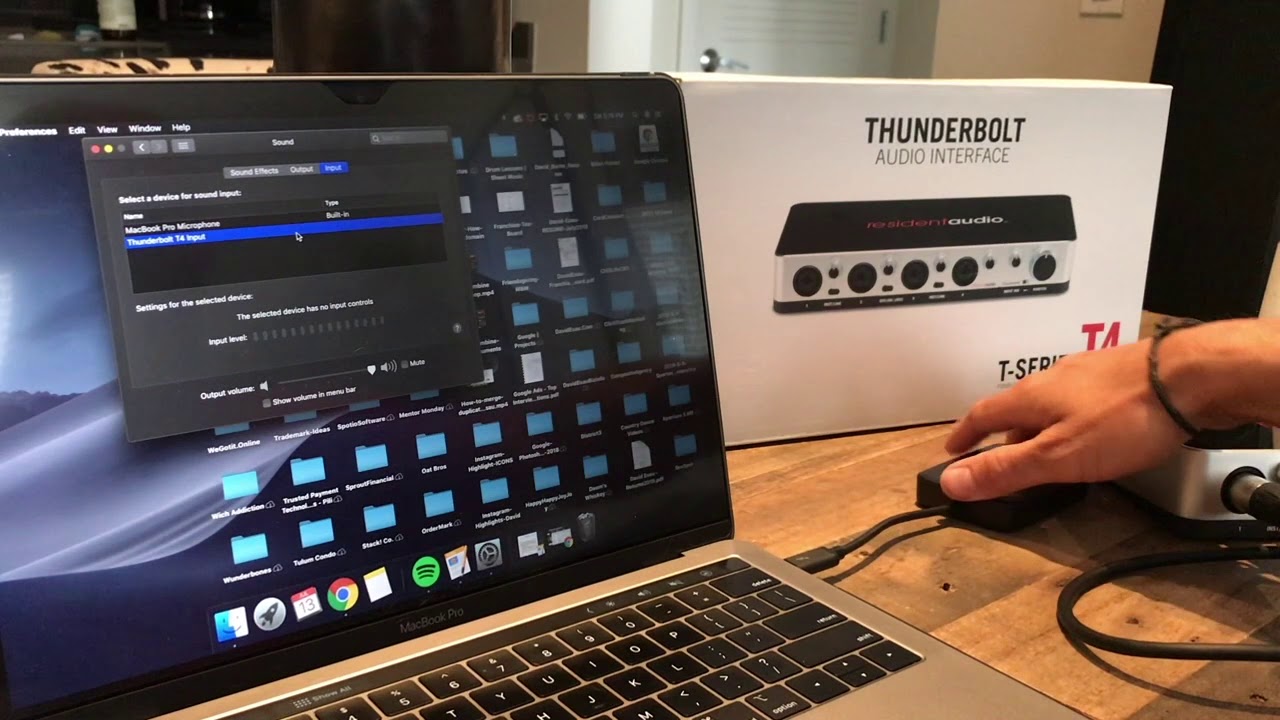
- Now, you’ll want to adjust the settings on your computer to recognize your audio interface. Go to the sound settings or control panel on your computer and select your audio interface as the default input and output device.
- If your audio interface has multiple inputs and outputs, you may need to configure them in the settings or control panel as well. Refer to the user manual of your specific audio interface for detailed instructions on how to set up the inputs and outputs.
- Lastly, make sure to check the sample rate and buffer size settings on your audio interface and adjust them accordingly to optimize the performance and minimize latency. Higher sample rates and smaller buffer sizes generally provide better audio quality but may require more processing power from your computer.
With your audio interface properly set up, you’re now ready to connect your studio monitors and start enjoying professional sound quality. In the next step, we’ll guide you through the process of connecting your studio monitors to your audio interface.
Step 3: Connect the Studio Monitors to Your Audio Interface
Now that your audio interface is set up, it’s time to connect your studio monitors. Follow these steps to ensure a proper connection:
- Identify the outputs on your audio interface labeled specifically for studio monitors. These outputs are usually labeled as “Main Out” or something similar.
- Depending on the inputs on your studio monitors, choose the appropriate cables. For example, if your studio monitors have XLR inputs, use XLR cables. If they have 1/4″ TRS or RCA inputs, use the corresponding cables.
- Connect one end of the cables to the outputs on your audio interface and the other end to the inputs on your studio monitors. Ensure that the connections are secure and tight.
- If your studio monitors have multiple inputs, such as XLR and 1/4″ TRS, choose one input and use the corresponding cable. Avoid connecting multiple inputs simultaneously, as this can lead to signal degradation or improper sound reproduction.
- Repeat the process for the second studio monitor, making sure to connect it to the appropriate outputs on your audio interface.
- Double-check all the connections to ensure they are correctly plugged in and secure.
With your studio monitors successfully connected to your audio interface, you’re now ready to move on to the next step of adjusting the volume levels on your system.
Step 4: Adjust the Volume Levels
Now that your studio monitors are connected to your audio interface, it’s important to adjust the volume levels for optimal listening experience. Follow these steps to adjust the volume levels effectively:
- Start by setting the volume controls on your audio interface to their default or neutral positions. This ensures that you have a balanced starting point.
- Launch your audio recording or playback software and load a track or project that you’re familiar with. It’s best to choose something that has a wide dynamic range and covers different frequencies.
- Gradually increase the volume on your audio interface to a comfortable level. Avoid setting the volume too high initially to prevent potential damage to your hearing or your studio monitors.
- Pay attention to the balance between the left and right channels. Adjust the individual volume controls on your studio monitors as necessary to achieve a symmetrical and accurate stereo image.
- Listen carefully to the playback and make note of any inconsistencies or distortions. If you encounter any issues, check the connections, cables, and settings on your audio interface and studio monitors.
- If your audio interface has additional built-in controls for EQ or other sound adjustments, experiment with them to find the optimal settings for your listening environment and personal preferences. Make subtle adjustments and listen to the impact they have on the sound.
- Take breaks and give your ears some rest during the adjustment process. Prolonged listening sessions can lead to ear fatigue, which can affect your judgment when adjusting the volume levels.
- Once you’re satisfied with the volume levels and overall sound quality, make a note of the settings so that you can easily recreate the setup in the future.
By carefully adjusting the volume levels on your audio interface and studio monitors, you can ensure accurate monitoring of your audio and create a balanced listening environment for your productions or creative projects.
Now that you’ve calibrated your volume levels, it’s time to move on to the final step: testing and calibrating your studio monitors.
Step 5: Test and Calibrate Your Studio Monitors
After connecting and adjusting the volume levels of your studio monitors, it’s essential to test and calibrate them to ensure accurate and reliable sound reproduction. Follow these steps to test and calibrate your studio monitors:
- Play a reference track or audio material that you’re familiar with and represents the kind of sound you want to achieve in your own productions.
- Listen attentively to the audio playback and take note of any discrepancies or inconsistencies in the sound. Pay attention to the balance, frequency response, and overall tonal accuracy.
- Make small adjustments to the positioning of your studio monitors. Experiment with the distance from the wall, the angle, and the height to find the sweet spot where you achieve the best sound imaging and clarity.
- If available, use a calibration microphone or software designed for monitor calibration. These tools can analyze the frequency response of your studio monitors and help you make precise adjustments.
- Refer to the user manual or guidance provided by the manufacturer of your studio monitors for any specific calibration instructions.
- Take note of any necessary EQ adjustments to compensate for room acoustics or monitor placement. Some audio interfaces may have built-in EQ controls that you can utilize for this purpose.
- Test your studio monitors with a variety of audio material, including different genres, instruments, and vocals. This will give you a better understanding of how accurately your monitors reproduce different types of audio.
- Consider seeking professional help from an audio engineer or acoustician if you’re unsure about your monitor calibration. They can provide invaluable insights and assistance in achieving the most accurate sound reproduction.
By testing and calibrating your studio monitors, you ensure that you’re hearing your audio content as accurately as possible. This helps you make informed decisions during the production process and improves the overall quality of your work.
Congratulations! You have successfully connected, adjusted, and calibrated your studio monitors. With your audio interface and studio monitors properly set up, you can now create, mix, and produce your music or podcasts with confidence, knowing that you’re hearing your audio in true fidelity.
Remember to regularly check and maintain your equipment to ensure optimal performance and enjoy the best possible sound quality throughout your creative journey.
Happy creating!
Conclusion
Setting up and connecting your studio monitors to your audio interface is a crucial step to achieve professional sound quality in your audio productions. By following the step-by-step process outlined in this guide, you have learned how to gather the necessary equipment, set up your audio interface, connect your studio monitors, adjust the volume levels, and test and calibrate your monitors for optimal sound reproduction.
Remember that each component in your setup plays a vital role in the overall audio quality, so investing in high-quality studio monitors and an audio interface that meets your needs is essential. Additionally, take the time to properly set up and calibrate your studio monitors to ensure accurate, balanced, and reliable audio playback.
Regularly check and maintain your equipment, as well as stay updated with the latest software and driver updates to ensure optimal performance. Keep in mind that achieving the perfect sound quality may require some trial and error, experimentation, and adjustments to suit your listening environment and personal preferences.
By following these guidelines, you can create a monitoring environment that empowers you to make informed decisions, accurately assess your audio production, and deliver high-quality content to your audience.
Now it’s time to unleash your creativity, and let your audio productions shine through your well-connected and calibrated studio monitors!

