Home>Production & Technology>Audio Interface>How To Use Audio Interface With Canon DSLR
Audio Interface
How To Use Audio Interface With Canon DSLR
Published: February 5, 2024
Learn how to enhance the audio quality of your Canon DSLR with an audio interface. Get step-by-step instructions on connecting and using audio interface for improved sound.
(Many of the links in this article redirect to a specific reviewed product. Your purchase of these products through affiliate links helps to generate commission for AudioLover.com, at no extra cost. Learn more)
Table of Contents
Introduction
Welcome to the world of audio interfaces and Canon DSLRs! If you’re a content creator, filmmaker, or vlogger, you understand the importance of high-quality audio to complement your visual content. While Canon DSLRs are known for their exceptional video capabilities, their built-in microphones might not always meet your audio requirements.
This is where audio interfaces come into play. An audio interface is a device that connects to your camera and allows you to record high-quality audio from external microphones. It acts as a bridge between your camera and the microphones, providing superior sound quality and control over audio settings.
In this article, we will explore the world of audio interfaces and guide you on how to use them with your Canon DSLR. We’ll explain the key concepts, help you choose the right audio interface for your needs, and provide step-by-step instructions for connecting and adjusting audio settings on your camera.
Whether you’re a beginner or have some experience with audio equipment, this article will equip you with the knowledge and tools you need to elevate your audio game and create professional-quality videos.
So, let’s dive in and unlock the power of audio interfaces for your Canon DSLR!
Understanding Audio Interfaces
Before delving into how to use an audio interface with your Canon DSLR, it’s important to gain a solid understanding of what an audio interface is and how it works.
An audio interface is an external device that connects to your camera and allows you to capture high-quality audio from professional microphones. It serves as the intermediary between your camera and the microphone, enhancing the audio quality and providing additional control over sound settings.
Audio interfaces come in various forms and offer a range of features, but they generally consist of microphone preamps, analog-to-digital converters (ADC), and digital-to-analog converters (DAC). The microphone preamp amplifies the signal from the microphone, ensuring a clean and robust audio input. The ADC converts the analog audio signal from the microphone into a digital format that can be processed and stored by your camera. The DAC performs the reverse process, converting the digital audio signal from your camera back into an analog signal that can be sent to speakers or headphones for monitoring.
One of the main advantages of using an audio interface is the ability to use high-quality external microphones instead of relying on the built-in microphone of your Canon DSLR. External microphones, such as condenser microphones or shotgun microphones, offer superior sound capture, reduced background noise, and better overall audio fidelity.
Additionally, audio interfaces often provide additional features such as gain control, phantom power, headphone monitoring, and multiple input options. These features give you greater flexibility and control over your audio recordings, allowing you to adjust settings on the fly and monitor your audio in real-time.
It’s important to note that not all audio interfaces are compatible with all Canon DSLR models. Some cameras may require specific audio interfaces or adapters to ensure compatibility and optimal performance. Therefore, it is essential to research and choose an audio interface that is compatible with your specific Canon DSLR model.
Now that you have a basic understanding of audio interfaces, let’s move on to the next section: choosing the right audio interface for your Canon DSLR.
Choosing the Right Audio Interface for Your Canon DSLR
When selecting an audio interface for your Canon DSLR, there are a few key factors to consider to ensure compatibility and the best audio quality:
- Compatibility: Check the compatibility of the audio interface with your specific Canon DSLR model. Some interfaces may require specific adapters or cables to connect to your camera, so be sure to verify compatibility before making a purchase.
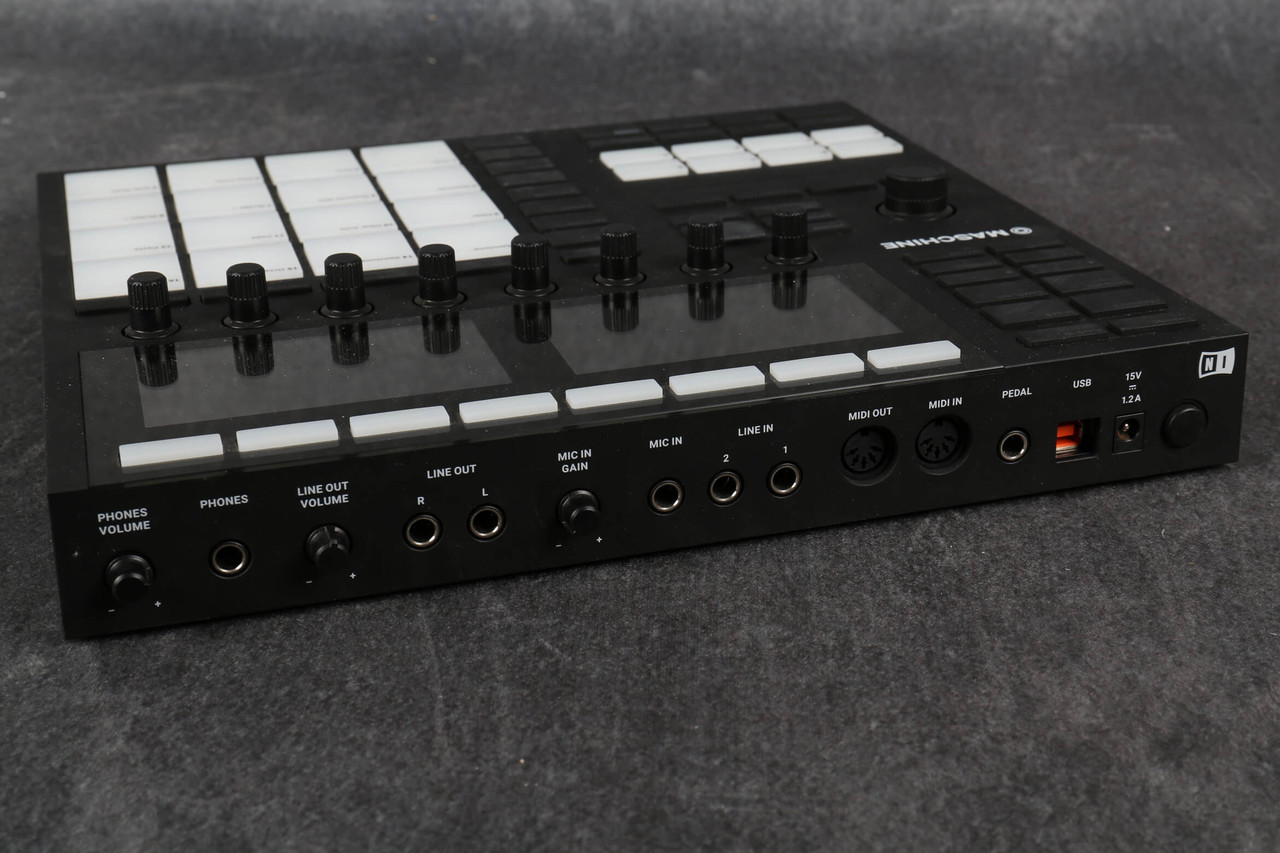
- Input and Output Options: Consider the number and type of inputs and outputs you require. Most audio interfaces offer XLR inputs for professional microphones, and some also include line inputs for additional audio sources. Similarly, check for headphone outputs and speaker outputs for monitoring capabilities.
- Preamp Quality: The quality of the preamps in the audio interface is crucial for capturing clean and noise-free audio. Look for interfaces that offer high-quality preamps with low noise and sufficient gain control for various types of microphones.
- Sampling Rate and Bit Depth: Pay attention to the sampling rate and bit depth supported by the audio interface. Higher sampling rates (such as 48kHz or 96kHz) and bit depths (such as 24-bit) will result in better audio quality and recording accuracy.
- Portability: Consider the size and weight of the audio interface if you need to work on the go. Compact and lightweight interfaces are ideal for portable setups.
- Budget: Set a budget and explore options within your price range. There are audio interfaces available at various price points, so find one that meets your needs without breaking the bank.
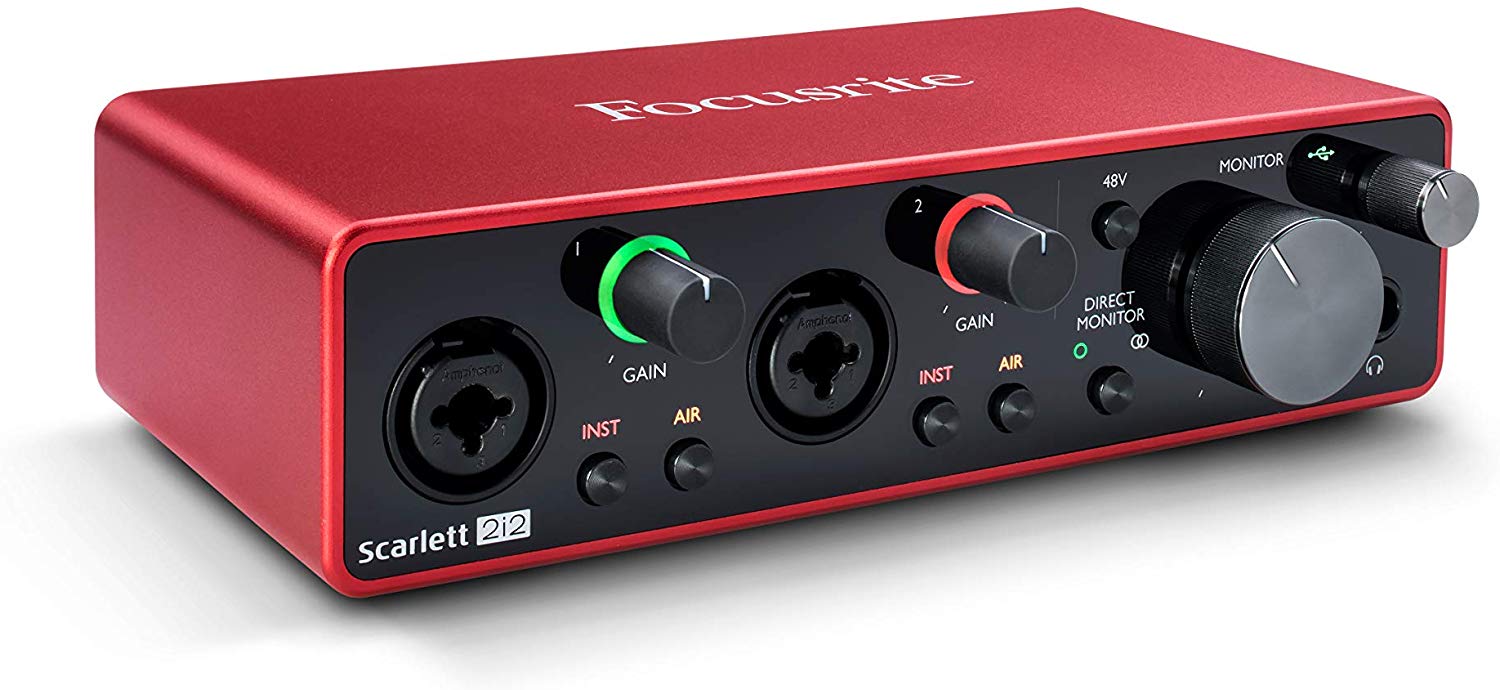
Research different audio interface brands, read reviews, and compare specifications to narrow down your options. Some popular audio interface brands for DSLR videographers include Focusrite, PreSonus, Behringer, and Tascam.
Once you’ve chosen the right audio interface for your Canon DSLR, it’s time to learn how to connect it to your camera and adjust the audio settings. We’ll explore these steps further in the following sections.
Connecting Your Audio Interface to Your Canon DSLR
Connecting your audio interface to your Canon DSLR is a straightforward process. Here are the steps to follow:
- Gather the Necessary Cables and Adapters: Check the inputs and outputs of your audio interface and your Canon DSLR. Depending on the specific models, you may need XLR cables, TRS cables, or adapters to connect them.
- Power Off Your Camera: Before making any connections, ensure that your Canon DSLR is powered off to avoid any potential damage to the camera or the audio interface.
- Locate the Audio Input on Your Camera: On most Canon DSLRs, the audio input will be a 3.5mm TRS jack. It is typically located on the side of the camera near the other IO ports.
- Connect the Output of the Audio Interface to the Camera: Take the appropriate cable and connect the output of your audio interface to the audio input of your Canon DSLR. Ensure a secure connection on both ends.
- Switch on the Audio Interface: Power on your audio interface and make sure it is ready to receive audio input.
- Turn on Your Canon DSLR: Now, power on your Canon DSLR and navigate to the audio settings.
- Select External Microphone as Your Audio Input: In the audio settings menu of your Canon DSLR, choose the option to use an external microphone as your audio input source. This ensures that the camera recognizes and uses the audio signal from your connected audio interface.
- Adjust Audio Levels: Depending on your Canon DSLR model, you may have the option to adjust the audio levels manually or choose from automatic gain control (AGC) settings. Experiment with the audio levels to achieve the desired sound quality.
- Monitor Your Audio: If your audio interface has a headphone output, connect a pair of headphones and monitor the audio while recording. This allows you to detect any issues and make real-time adjustments if needed.
Once you have successfully connected your audio interface to your Canon DSLR, you’re ready to start recording high-quality audio for your videos. In the next section, we’ll explore how to adjust audio settings on your camera to optimize the audio capture.
Adjusting Audio Settings on Your Canon DSLR
Now that your audio interface is connected to your Canon DSLR, it’s time to optimize the audio settings on your camera for the best recording quality. Follow these steps to adjust the audio settings:
- Access the Audio Settings Menu: On your Canon DSLR, navigate to the menu system and find the audio settings. The location of this menu may vary depending on the camera model.
- Select Manual Audio Control: Look for the option to enable manual audio control. This allows you to have full control over the audio levels, preventing automatic gain adjustments that may result in inconsistent or poor-quality audio.
- Adjust the Audio Levels: Once manual audio control is enabled, you will have the option to adjust the audio levels. Using the on-screen meter or audio level indicators, monitor the audio input and aim for optimal levels. Avoid audio levels that are too low, resulting in a weak signal, or too high, causing distortion or clipping.
- Set the Sampling Rate and Bit Depth: In the audio settings menu, you may have the option to select the sampling rate and bit depth for your audio recordings. Choose the appropriate settings based on your requirements. Higher sampling rates and bit depths generally result in better audio quality, but they will also require more storage space on your memory card.
- Monitor the Audio: If your audio interface has a headphone output, connect a pair of headphones and monitor the audio while recording. This allows you to listen for any unwanted noise, distortion, or other issues that may require immediate adjustments.
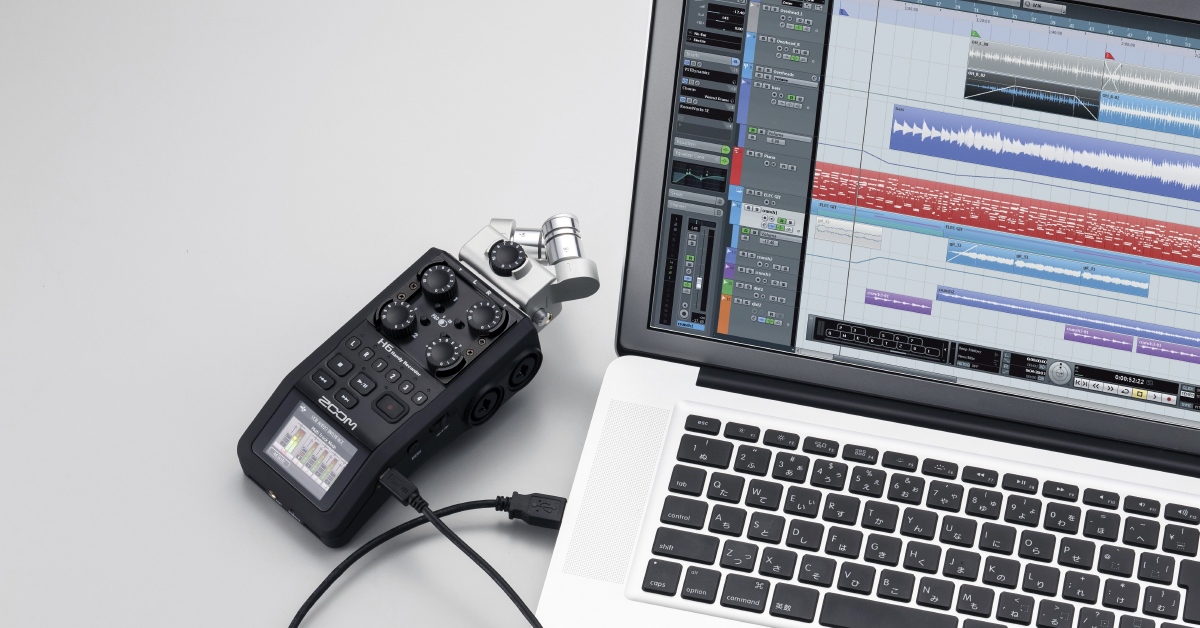
- Consider Using External Audio Recorder: If your Canon DSLR does not have robust audio control options, or if you prefer more advanced audio settings, you may consider using an external audio recorder in conjunction with your audio interface. This allows you to have full control over the recording process and gives you more flexibility in post-production.
Take some time to experiment with different audio settings to find the optimal configuration that suits your needs and the specific shooting environment. Remember to periodically monitor the audio during your recordings to ensure everything is capturing as intended.
With your audio interface properly connected and your audio settings optimized, you are now equipped to capture high-quality audio to complement your stunning visuals.
Troubleshooting Common Issues with Audio Interfaces and Canon DSLRs
While using an audio interface with your Canon DSLR can significantly enhance your audio recording capabilities, you may encounter some common issues along the way. Here are a few troubleshooting tips to help you overcome these challenges:
- No Audio Signal: If you’re not getting any audio signal from your external microphone connected to the audio interface, double-check the connections. Ensure that the cables are securely plugged into both the audio interface and the camera. You may also need to adjust the audio input settings on your camera to ensure it recognizes the external microphone as the audio source.
- Low Audio Levels: If the audio levels are too low, resulting in weak or inaudible recordings, first check the audio input level settings on your camera. Increase the input gain on both the audio interface and the camera to boost the audio signal. Additionally, ensure that your microphone is functioning correctly and that it is positioned close enough to the sound source for optimal audio pickup.
- Audio Distortion or Clipping: When the audio levels exceed the maximum capacity of the recording system, distortion or clipping can occur, resulting in distorted or unpleasant audio. To resolve this issue, reduce the input gain on your audio interface and camera to ensure that the recorded audio remains within acceptable limits. Monitor the audio levels using headphones or the audio level meters on your camera to avoid distortion.
- Noise or Interference: If you’re experiencing unwanted background noise or interference in your audio recordings, there are a few steps you can take to minimize these issues. Ensure that your microphone is properly shielded and away from any potential sources of interference, such as electrical cables or other electronic devices. Additionally, using balanced XLR cables instead of unbalanced cables can help reduce noise problems. Consider using a high-quality windscreen or pop filter to minimize wind noise or plosive sounds caused by speech. Additionally, using a separate audio recording device, such as an external recorder, can often result in cleaner audio captures.
- Compatibility Issues: If you’re experiencing compatibility issues with your audio interface and Canon DSLR, ensure that you’re using the correct cables or adapters for your specific camera model. Some Canon DSLRs may require specific audio adapters or have limited compatibility with certain audio interfaces. Refer to the user manuals or contact the manufacturers for detailed compatibility information.
- Poor Audio Quality: If you’re consistently getting poor audio quality, even after adjusting settings and troubleshooting potential issues, it may be worthwhile to consider upgrading your audio equipment. A higher-quality microphone or audio interface can make a significant difference in the final audio recordings.
Remember, troubleshooting audio issues can be a trial-and-error process. Patience and persistence are key until you achieve the desired audio quality. Don’t hesitate to consult the user manuals, online forums, or seek assistance from professionals to resolve any persistent audio issues you may encounter.
With these troubleshooting tips in mind, you’re now equipped to address common issues that may arise while using an audio interface with your Canon DSLR.
Conclusion
Using an audio interface with your Canon DSLR opens up a world of possibilities for improving the audio quality in your videos. By connecting external microphones and taking advantage of the features and controls offered by audio interfaces, you can capture professional-level audio that complements the high-quality visuals your Canon DSLR delivers.
In this article, we covered the basics of audio interfaces and their role in enhancing audio recording capabilities. We discussed the importance of choosing the right audio interface for your specific Canon DSLR model and highlighted key factors to consider during the selection process.
We also provided step-by-step instructions on how to connect your audio interface to your camera and adjust the audio settings on your Canon DSLR to ensure optimal recording quality. Additionally, we discussed common issues that may arise when using audio interfaces and Canon DSLRs and provided troubleshooting tips to overcome these challenges.
Remember, practice and experimentation are key to achieving the best audio results. Take the time to familiarize yourself with your audio interface and Canon DSLR, and don’t be afraid to test different settings and techniques to find what works best for your specific needs and creative style.
With the knowledge gained from this article, you’re now equipped to harness the power of audio interfaces and elevate the audio quality in your video productions. So go ahead, grab your Canon DSLR, connect an audio interface, and immerse your audience in a captivating audiovisual experience!