Home>Production & Technology>Audio Interface>How To Use Dac With Audio Interface
Audio Interface
How To Use Dac With Audio Interface
Published: February 4, 2024
Learn how to effectively use a DAC with your audio interface to enhance sound quality and improve your overall audio production. Discover tips, tricks, and step-by-step instructions.
(Many of the links in this article redirect to a specific reviewed product. Your purchase of these products through affiliate links helps to generate commission for AudioLover.com, at no extra cost. Learn more)
Table of Contents
Introduction
Welcome to the world of high-quality audio production! If you’re a musician, podcaster, or audio enthusiast, you’ve come to the right place. In this article, we’ll delve into the fascinating world of DACs (Digital-to-Analog Converters) and audio interfaces, and how they work together to enhance your audio experience.
In the digital age, we consume music and audio in various forms – streaming, downloading, or playing from digital devices. While convenient, these digital formats often lack the richness and depth that analog recordings possess. To bridge this gap, we rely on DACs, which convert digital audio signals into analog signals that can be amplified and played through speakers or headphones.
On the other hand, audio interfaces serve as the hub of your recording setup. They provide the necessary connections and features to connect microphones, instruments, and monitors to your computer, ensuring high-quality audio capture and playback. The integration of a dedicated DAC within an audio interface offers a convenient and efficient solution for achieving pristine sound quality.
Whether you’re a musician looking to record your next album, a podcaster aiming for crisp and clear audio, or an audiophile seeking the best listening experience, understanding the connection between a DAC and an audio interface is crucial. Join us as we explore the intricacies of these devices and learn how to set up and optimize their performance.
What is a DAC?
DAC stands for Digital-to-Analog Converter. It is a device that takes in a digital audio signal and converts it into an analog signal. This conversion is necessary because most audio devices, such as speakers and headphones, work using analog signals. However, audio files are typically stored and transmitted in digital formats.
DACs play a crucial role in preserving the fidelity and quality of the audio signal. They are responsible for transforming the digital data into an analog waveform that accurately represents the original sound. This process involves two main components – a digital input and an analog output.
The digital input of a DAC can come from various sources, such as a computer, smartphone, CD player, or streaming device. The digital audio data is typically represented in binary code, with the DAC decoding and translating it into an analog waveform. The resulting analog signal can then be amplified and sent to speakers or headphones for playback.
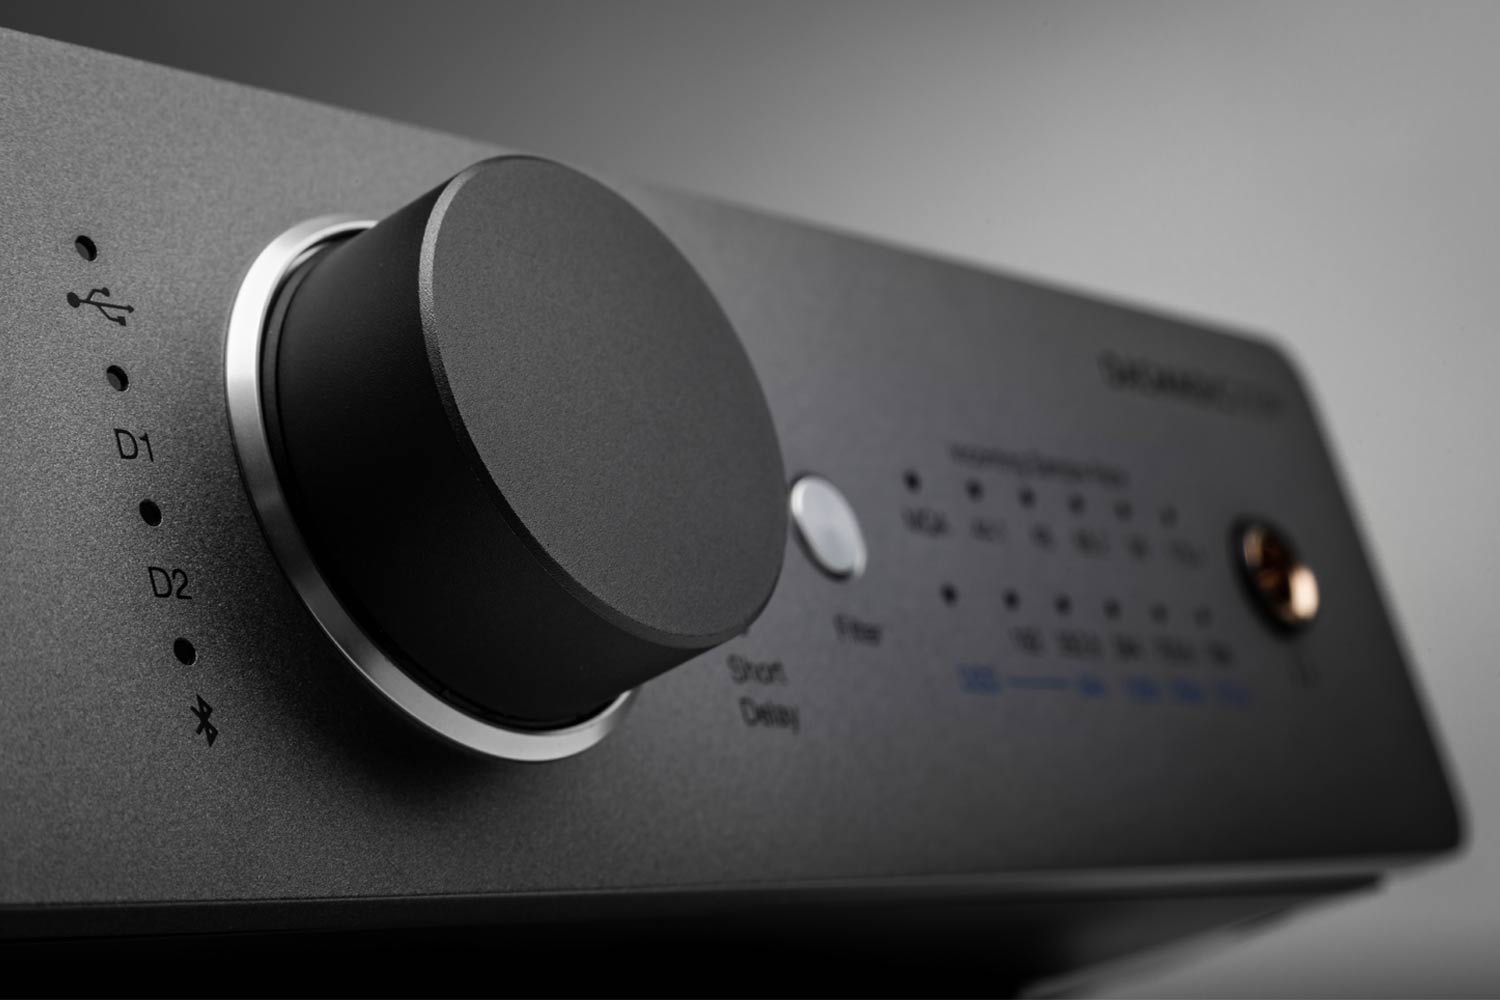
DACs are available in various forms, including standalone units, integrated chips, and even built-in components within audio devices such as audio interfaces, CD players, and amplifiers. Standalone DACs are popular among audiophiles who value high-quality sound and want to have more control over the audio signal chain.
When choosing a DAC, there are several factors to consider. The resolution, also known as bit depth, determines the level of detail and accuracy in the audio reproduction. Common resolutions include 16-bit, 24-bit, and 32-bit. The sample rate, measured in kilohertz (kHz), refers to the amount of audio data processed per second. Higher sample rates, such as 44.1 kHz, 96 kHz, or 192 kHz, can result in better sound quality.
Additionally, the DAC’s output stage, power supply quality, and connectivity options are essential factors to evaluate. Output stage refers to the circuitry responsible for amplifying the analog signal while maintaining low noise and distortion levels. A clean and stable power supply is crucial for accurate signal reproduction. Lastly, the connectivity options should align with your setup, such as having the right inputs and outputs for your audio devices.
Overall, DACs play a vital role in converting digital audio signals into analog forms, ensuring that you can enjoy high-quality sound from your digital sources through your speakers or headphones.
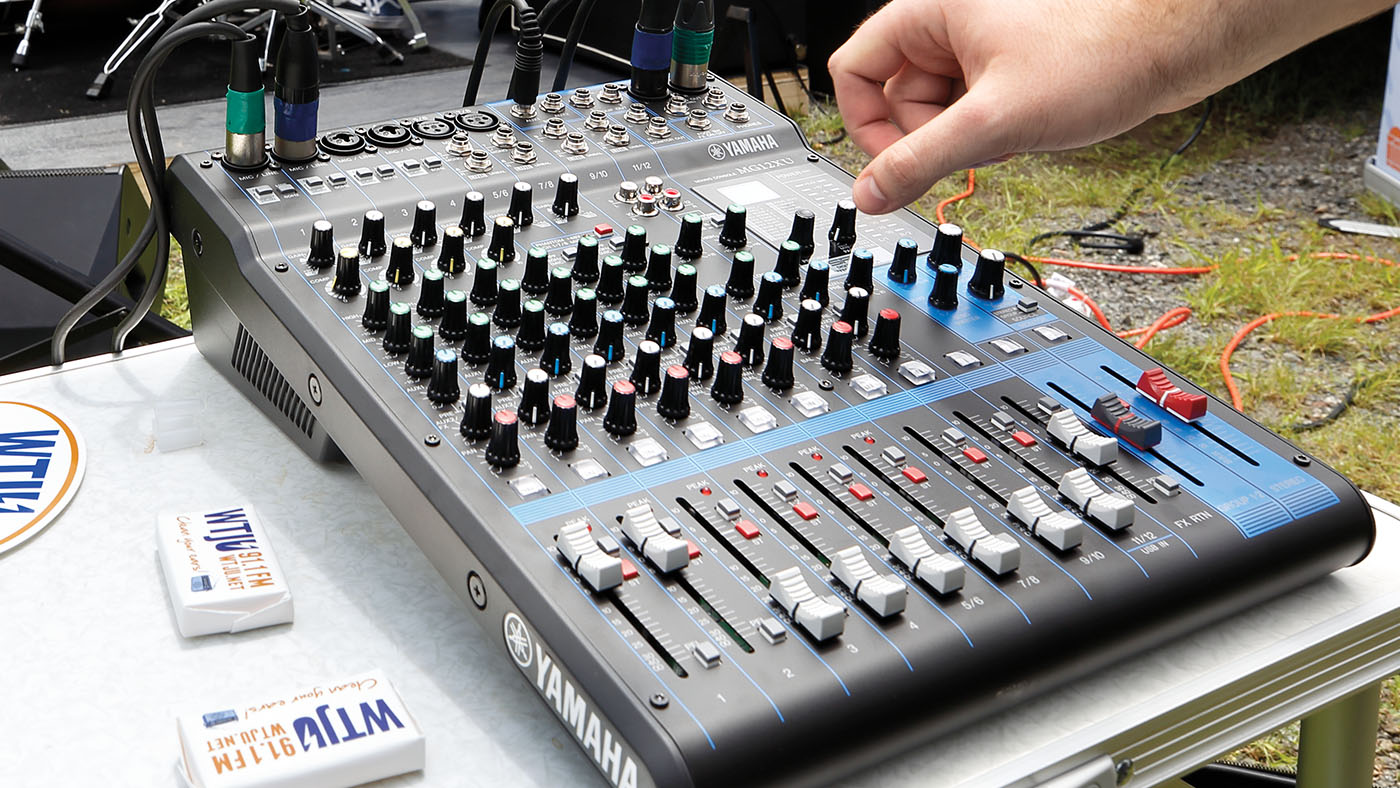
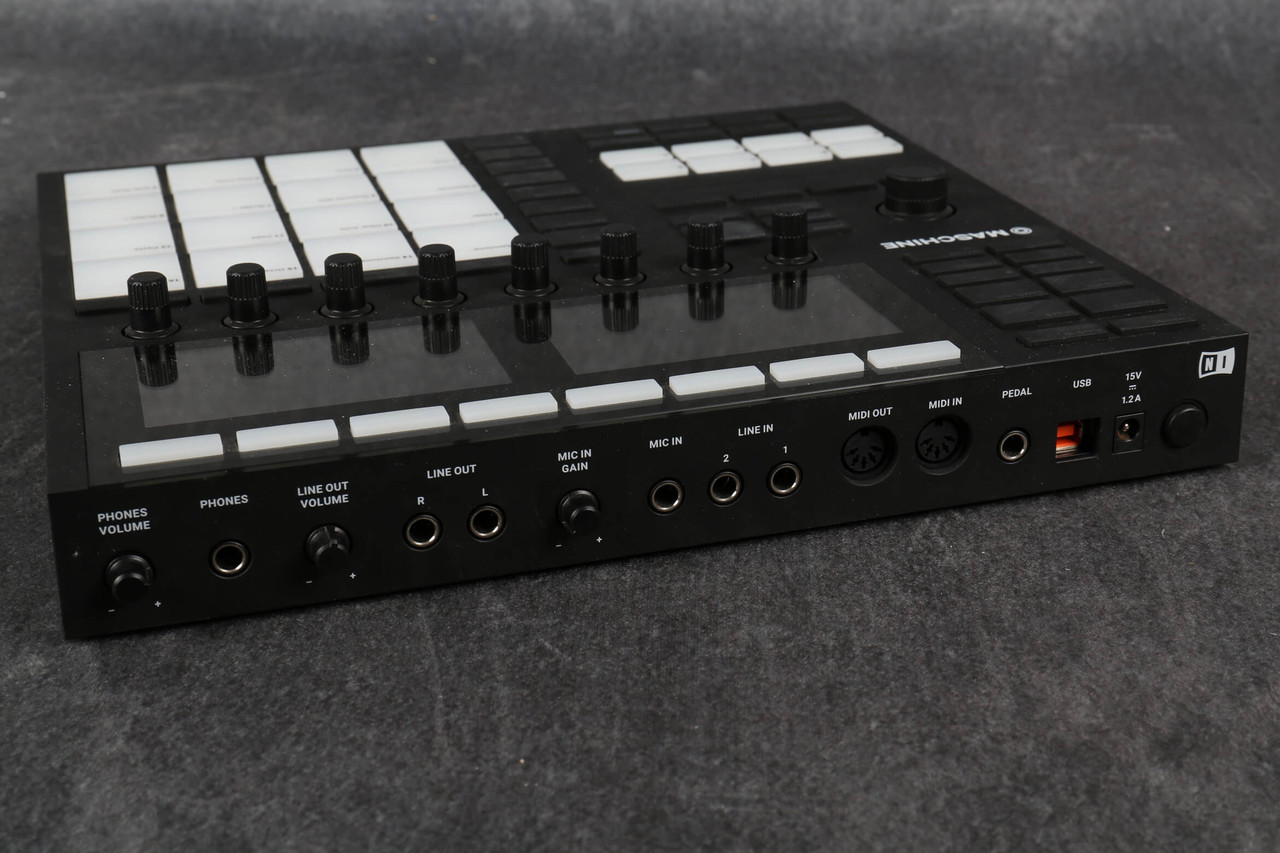
What is an Audio Interface?
An audio interface is a device that connects your audio equipment, such as microphones, instruments, and speakers, to your computer. It serves as the bridge between the analog and digital domains, allowing you to record and playback high-quality audio on your computer.
Audio interfaces come in various shapes and sizes, offering different features and connectivity options depending on your specific needs. They typically connect to your computer via USB, Thunderbolt, or FireWire and provide inputs and outputs for connecting audio devices.
One of the main functions of an audio interface is audio conversion. It converts analog audio signals from microphones or instruments into digital signals that can be processed by your computer. Conversely, it also converts digital audio signals from your computer back into analog signals for playback through your speakers or headphones.
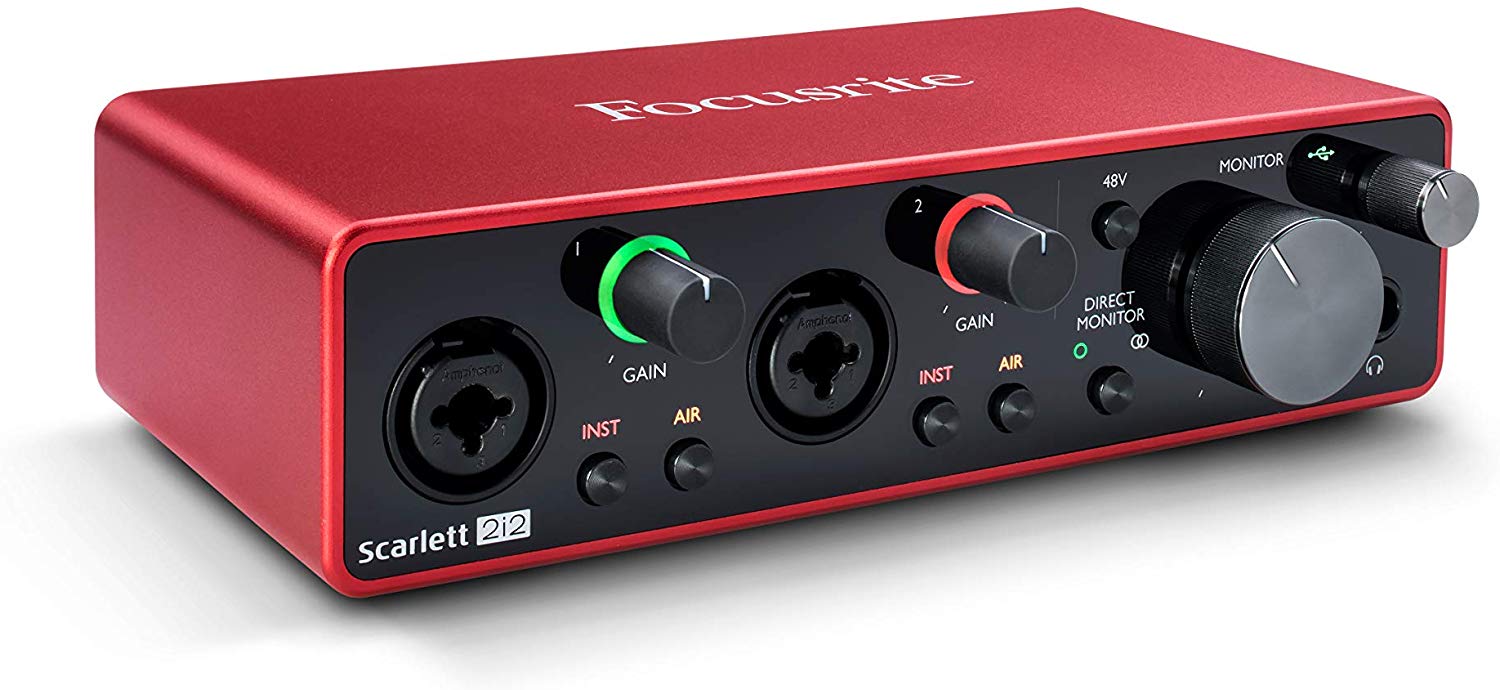
Audio interfaces are designed to provide high-quality audio recording and playback capabilities. They often feature analog-to-digital converters (ADCs) and digital-to-analog converters (DACs) to ensure accurate and faithful reproduction of sound. They also include preamps, which amplify weak microphone signals to line level, allowing for clearer and more professional recordings.
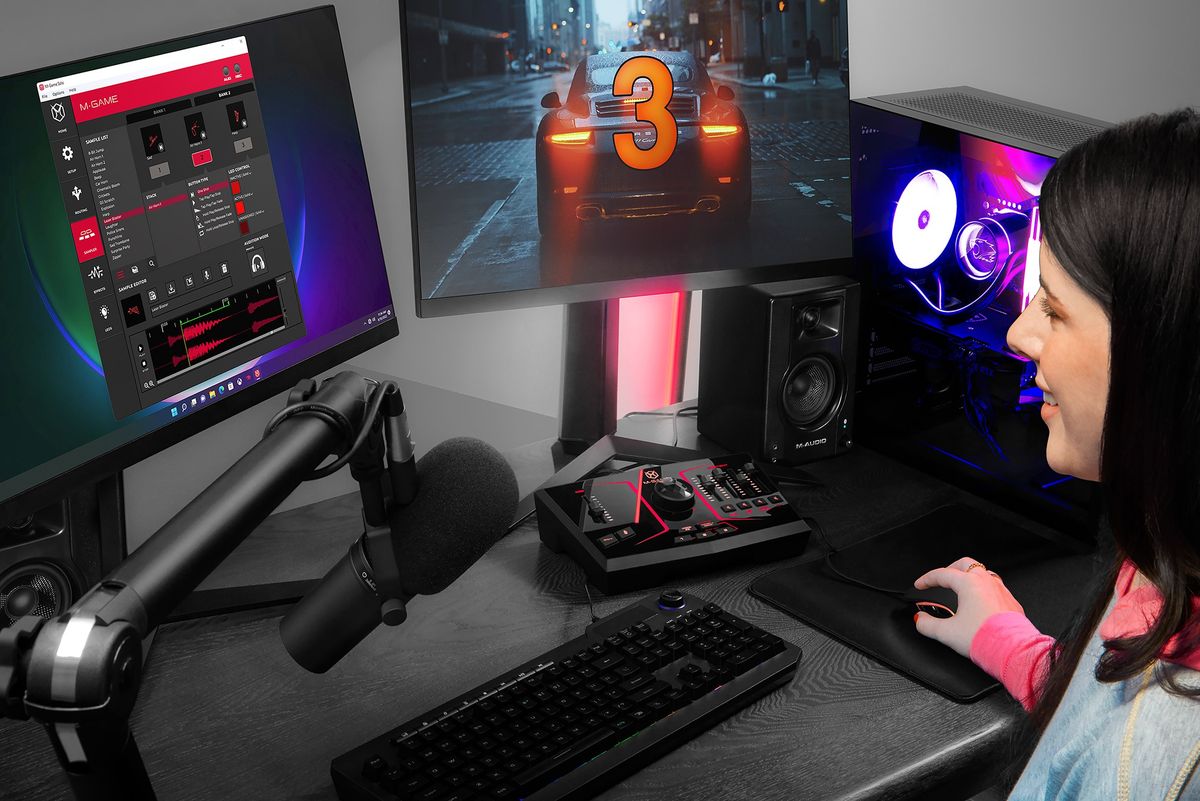
In addition to audio conversion and preamps, audio interfaces may offer other essential features. These can include phantom power, which is useful for powering condenser microphones, MIDI connectivity for connecting MIDI keyboards or controllers, headphone outputs for monitoring audio, and multiple inputs and outputs for recording multiple audio sources simultaneously.
Audio interfaces are commonly used in recording studios, home studios, podcasting setups, and live sound applications. They provide a reliable and efficient way to capture and play back audio with professional-grade sound quality.
When choosing an audio interface, you should consider factors such as the number of inputs and outputs you require, the quality of the preamps and converters, the supported sample rates and bit depths, and the compatibility with your computer operating system. It’s important to choose an audio interface that meets your specific recording and playback needs.
In summary, an audio interface is a crucial tool for anyone involved in audio production. It allows you to connect and control your audio devices, convert analog audio signals to digital and vice versa, and achieve high-quality audio recording and playback on your computer.
Understanding the Connection Between DAC and Audio Interface
The connection between a DAC and an audio interface is a crucial aspect of achieving high-quality audio production. While a DAC converts digital audio signals into analog signals, an audio interface serves as the bridge between your audio devices and your computer. Understanding how these two components work together is essential for optimizing your audio setup.
When using a DAC with an audio interface, the digital audio signal from your computer is sent to the DAC for conversion into an analog signal. This analog signal is then passed through the audio interface’s inputs, such as microphone preamps or line inputs, to capture and process the audio. The audio interface performs any necessary amplification, equalization, or other processing tasks before sending the signal back to your computer.
The role of the DAC within the audio interface is critical in achieving accurate and high-fidelity sound reproduction. A high-quality DAC ensures that the analog signal produced from the digital source maintains its integrity, resulting in clear and detailed sound. It helps minimize distortion, noise, and other artifacts that can degrade the audio quality.
Furthermore, the audio interface provides essential features and connectivity options for recording and playback. It may offer multiple inputs to connect microphones, instruments, or line-level sources simultaneously. The interface may also provide outputs for connecting speakers, headphones, or other monitoring devices. Additionally, it may include controls for adjusting input gain, setting headphone volume, and monitoring audio levels.
An audio interface with a built-in DAC simplifies your setup by eliminating the need for a separate external DAC. It offers an integrated solution, ensuring optimal compatibility and performance between the DAC and the other components within the interface. This integration also reduces the complexity of your audio chain and minimizes potential signal degradation that can occur from additional connections.
It’s important to consider the specifications and capabilities of both the DAC and the audio interface when setting up your audio system. Pay attention to the DAC’s resolution, sample rate support, and output quality. Additionally, consider the audio interface’s preamp quality, input/output options, connectivity, and compatibility with your computer.
By understanding the connection between a DAC and an audio interface, you can make informed decisions when choosing the right equipment for your audio production needs. Whether you’re recording music, podcasts, or voiceovers, ensuring a seamless and optimized connection between these two devices is essential for achieving exceptional audio quality.
Setting Up Your DAC with an Audio Interface
Setting up your DAC with an audio interface is a straightforward process that can greatly enhance your audio production capabilities. Follow these steps to ensure a smooth setup:
- Read the manuals: Before starting the setup process, familiarize yourself with the user manuals for both your DAC and audio interface. Understanding the specific requirements and instructions for your equipment is vital.
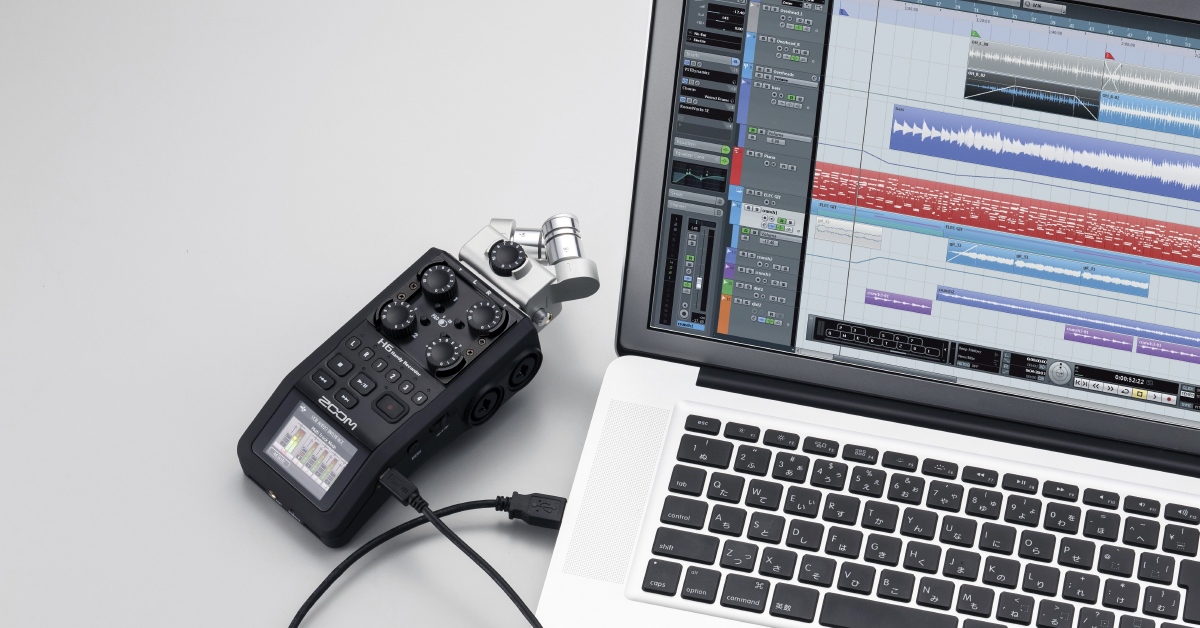
- Connect the DAC to the audio interface: Begin by connecting your DAC to the audio interface. Most DACs connect via USB or another digital connection, so ensure that you have the appropriate cables or adapters for the job.
- Connect the audio source: If you’re using an audio source like a computer, connect it to the audio interface using the appropriate cable. This can be USB, Thunderbolt, or another digital connection depending on your interface.
- Configure your computer settings: Open the audio settings on your computer and select the audio interface as the default input and output device. Adjust any necessary sample rate, bit depth, or channel settings to match your desired recording specifications.
- Connect your audio devices: Connect your microphones, instruments, or other audio devices to the audio interface’s inputs. Use appropriate cables or adapters for the specific devices you are connecting. Ensure that the input gain levels on the interface are set properly for optimal audio capture.
- Test the audio signal: Before recording or playing back any audio, test the signal flow. Ensure that the audio signal is being properly received by the audio interface and that it is being processed by the DAC. Listen through headphones or speakers connected to the audio interface to verify that the audio sounds clear and distortion-free.
- Configure your recording or playback software: Open your preferred recording or playback software and select the audio interface as the input and output device. Adjust any necessary settings within the software to match your recording or playback requirements.
- Monitor the audio levels: During recording or playback, monitor the audio levels on the audio interface’s meters or within your software. Adjust the input gain levels on your audio interface to prevent clipping or distortion.
- Optimize your setup: Fine-tune your setup by experimenting with different configurations and settings. Consider using headphones with a dedicated headphone output on the audio interface for critical listening. Verify the routing and monitoring options specific to your audio interface to achieve the desired workflow.
Remember, the setup process may vary slightly depending on your specific DAC and audio interface models. Always refer to the user manuals provided with your equipment for detailed instructions and troubleshooting tips.
By following these steps to set up your DAC with an audio interface, you can unlock the full potential of your audio production setup and enjoy exceptional sound quality for your recordings and playback.
Configuring Your Audio Interface for DAC Usage
Configuring your audio interface for DAC usage is an essential step in optimizing your audio setup. By properly configuring your interface, you can ensure that it effectively integrates with your DAC and delivers the best possible audio performance. Follow these guidelines to configure your audio interface for DAC usage:
- Update drivers and firmware: Before configuring your audio interface, make sure you have the latest drivers and firmware installed. Visit the manufacturer’s website to download and install any available updates, as they often include performance improvements and bug fixes.
- Set the sample rate and bit depth: Access the audio settings on your computer or within your recording software and set the sample rate and bit depth to match the capabilities of your DAC. Common sample rates are 44.1 kHz, 48 kHz, 96 kHz, and 192 kHz, while standard bit depths are 16-bit and 24-bit. Setting these parameters correctly ensures that your audio is being processed and converted accurately.
- Input and output configuration: Configure the inputs and outputs of your audio interface to correspond with the connections to your DAC. Ensure that the inputs are set to receive signals from your audio devices connected to the DAC, and set the outputs to send the audio to your desired playback destination, such as speakers or headphones.
- Mic preamp settings: If your audio interface has mic preamps, adjust the gain levels for optimal audio capture. Use the input gain controls on the interface to set the appropriate level, avoiding clipping (distortion caused by input overload) and ensuring adequate signal strength.
- Monitor options: Check your audio interface’s monitor options for DAC usage. Some interfaces offer direct monitoring capabilities that allow you to hear the input source without latency caused by computer processing. Enable this feature if desired, and adjust the balance between the input signal and playback signal to your preference.
- Routing and mixing: Depending on your audio interface’s software or built-in control panel, you may have the ability to configure routing and mixing. This allows you to send specific input signals to certain output destinations, create headphone mixes, or adjust levels and panning. Familiarize yourself with the available options and configure them according to your needs.
- Test and fine-tune: Once you have configured your audio interface for DAC usage, test the setup and make adjustments as needed. Play audio through your DAC and monitor the output to ensure it sounds clear, balanced, and accurate. Make any necessary tweaks to the settings to achieve the best audio quality.
Remember to consult the user manual for your specific audio interface model for precise instructions on configuring settings and optimizing your setup. Every audio interface has its own features and settings, so it’s important to understand how to best utilize them.
By configuring your audio interface for DAC usage, you can ensure that your audio signals are processed accurately and efficiently, resulting in enhanced audio quality and a more enjoyable listening experience.
Troubleshooting Tips
While setting up your DAC with an audio interface can greatly enhance your audio production experience, it’s not uncommon to encounter some challenges along the way. Here are some troubleshooting tips to help you overcome common issues:
- Check connections: Ensure that all cables are securely connected to the appropriate ports on both the DAC and the audio interface. Loose or faulty connections can cause audio dropouts or distorted sound.
- Verify driver installation: Double-check that you have installed the correct drivers for your audio interface and DAC. Outdated or incorrect drivers can lead to compatibility issues and subpar performance. Visit the manufacturer’s website to download and install the latest drivers.
- Restart your computer: Sometimes, a simple restart can resolve software or driver-related issues. If you’re experiencing unexpected behavior or glitches, try restarting your computer to see if the problem persists.
- Adjust buffer size: If you encounter latency or audio dropouts during recording or playback, adjust the buffer size in your audio interface settings. Increasing the buffer size can reduce the load on your computer’s processing power but may introduce additional latency. Experiment with different buffer sizes to find a balance between low latency and audio stability.
- Update firmware: If your audio interface or DAC has firmware that can be updated, ensure that you have the latest version installed. Firmware updates often address bugs and improve performance, stability, and compatibility.
- Check power source: If your audio interface or DAC requires external power, verify that it is properly connected to a reliable power source. Unstable or insufficient power can cause audio artifacts or intermittent issues.
- Isolate electrical interference: Avoid placing your audio interface or DAC near devices that emit strong electromagnetic fields, such as Wi-Fi routers or power transformers. Such proximity can introduce unwanted electrical interference and affect audio quality. Instead, keep them away from sources of electromagnetic interference and use shielded cables.
- Reset settings: If you’re experiencing persistent issues, try resetting your audio interface to its factory settings. This can help resolve any software or configuration-related problems. Refer to the manufacturer’s instructions for the specific reset procedure.
- Seek technical support: If you have tried all the troubleshooting tips above and still encounter issues, don’t hesitate to reach out to the manufacturer’s technical support. They can provide further assistance and guidance tailored to your specific equipment.
Remember, troubleshooting can be a process of trial and error. Be patient and methodical when diagnosing and resolving issues. Sometimes, a simple fix can solve the problem, while in other cases, it may require more advanced troubleshooting steps or professional assistance.
By using these troubleshooting tips, you can overcome common obstacles and ensure a smooth and successful setup for your DAC and audio interface.
Conclusion
In conclusion, understanding the connection between a DAC and an audio interface is essential for achieving high-quality audio production. A DAC converts digital audio signals into analog signals, while an audio interface serves as the bridge between your audio devices and computer. By combining these two components, you can elevate your audio experience to new heights.
Throughout this article, we’ve explored the purpose of a DAC and how it transforms digital audio into analog waveforms. We’ve also delved into the functionalities of an audio interface and how it provides the necessary connections and features for recording and playback.
Setting up your DAC with an audio interface involves connecting the devices, configuring your computer settings, and fine-tuning your audio setup. By following the recommended steps, you can ensure a seamless integration and optimal performance for your audio production needs.
When configuring your audio interface for DAC usage, take into account settings such as sample rate and bit depth, input and output configuration, mic preamp settings, and monitor options. These adjustments will help maximize the potential of your audio production setup.
Lastly, we provided troubleshooting tips to assist you in resolving any issues you may encounter during the setup process. Checking connections, updating drivers, adjusting buffer size, and seeking technical support when necessary can help overcome common challenges.
By understanding the connection between a DAC and an audio interface, and by following the steps and tips outlined in this article, you can unlock the full potential of your audio equipment. Whether you’re a musician, podcaster, or audio enthusiast, the combination of a DAC and an audio interface will enhance your audio production and deliver an exceptional listening experience.