Home>Production & Technology>Audio Interface>How To Use Audio Interface With Bandlab

Audio Interface
How To Use Audio Interface With Bandlab
Modified: March 11, 2024
Discover how to connect and utilize your audio interface with Bandlab to enhance your music production experience. Unlock the full potential of your setup with this comprehensive guide.
(Many of the links in this article redirect to a specific reviewed product. Your purchase of these products through affiliate links helps to generate commission for AudioLover.com, at no extra cost. Learn more)
Table of Contents
Introduction
Welcome to the world of audio interfaces and Bandlab! If you’re a musician, podcaster, or content creator looking to take your audio recordings to the next level, then understanding and using an audio interface with Bandlab is essential. In this article, we will explore what an audio interface is, how to choose the right one for your needs, how to set it up, connect it to Bandlab, and configure the audio settings. We will also discuss common troubleshooting issues that may arise and provide tips for resolving them.
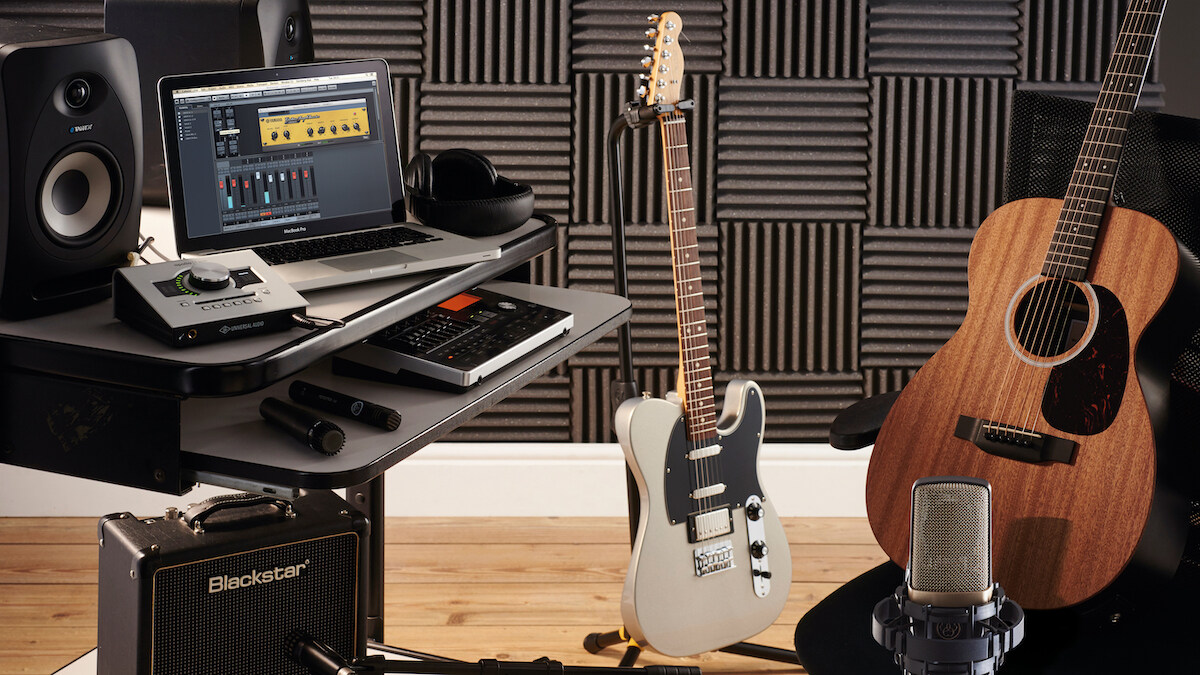
An audio interface is a device that allows you to connect your instruments, microphones, and other audio sources to your computer. It acts as a bridge between the analog and digital worlds, converting analog signals to digital data that can be processed and recorded on your computer. This conversion process ensures high-quality sound recordings and minimizes latency, allowing for seamless real-time monitoring and playback.
When it comes to choosing the right audio interface for Bandlab, there are a few key factors to consider. First, determine the number and type of inputs you will need. If you’re a solo artist, a simple two-input interface may suffice. However, if you play in a band or frequently record multiple sources simultaneously, you may require an interface with more inputs and outputs.
The next consideration is the type of connection your computer supports. USB interfaces are the most common and offer broad compatibility with both Mac and PC systems. Thunderbolt interfaces, on the other hand, are popular among professional users due to their high bandwidth and low latency performance. Additionally, the audio quality, sample rate, and bit-depth are important features to evaluate. Higher values in these areas generally result in better sound quality and more flexibility in editing and processing.
Once you have chosen the right audio interface, it’s time to set it up. Begin by connecting the interface to your computer using the provided cables. Typically, USB interfaces can be connected directly via a USB port, while Thunderbolt interfaces may require an adapter or specific port on your computer.
In the next section, we will dive into the specifics of connecting your audio interface to Bandlab and configuring the audio settings. So, let’s get started!
What is an audio interface?
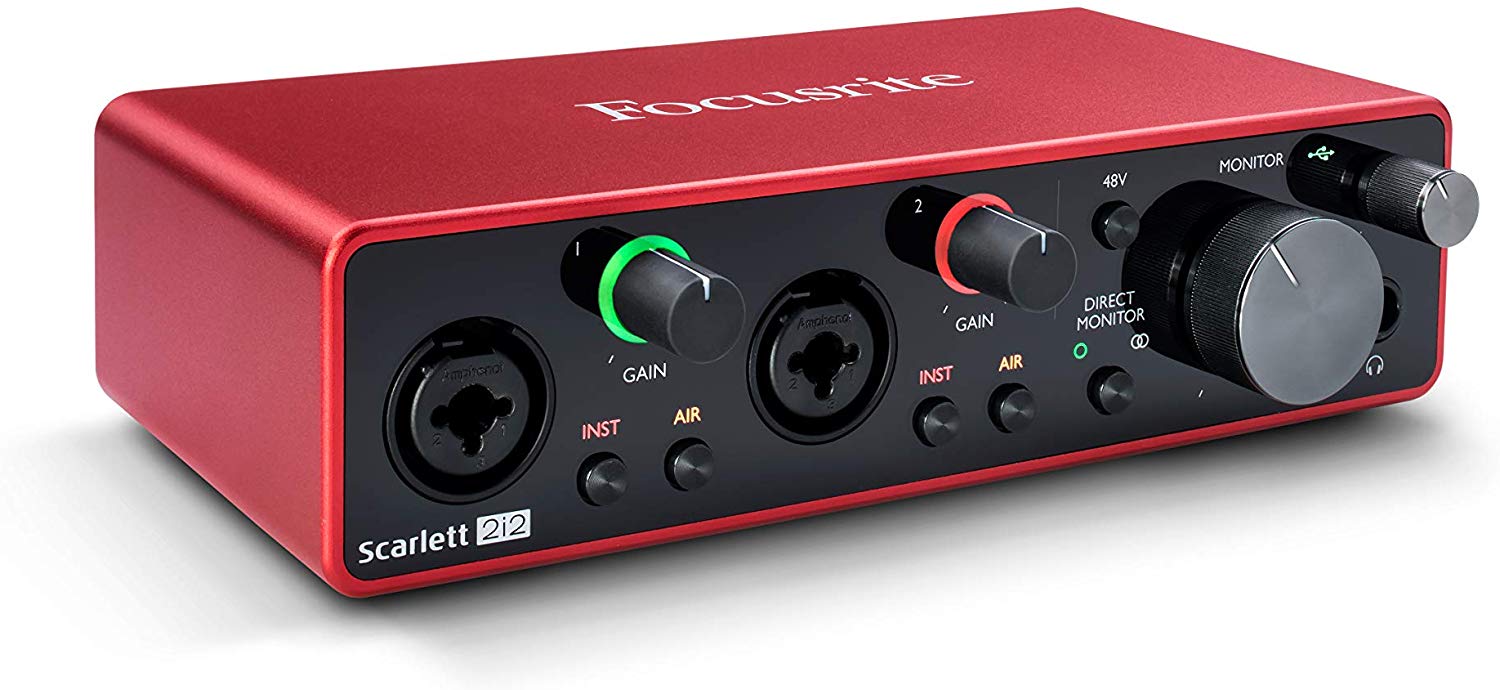
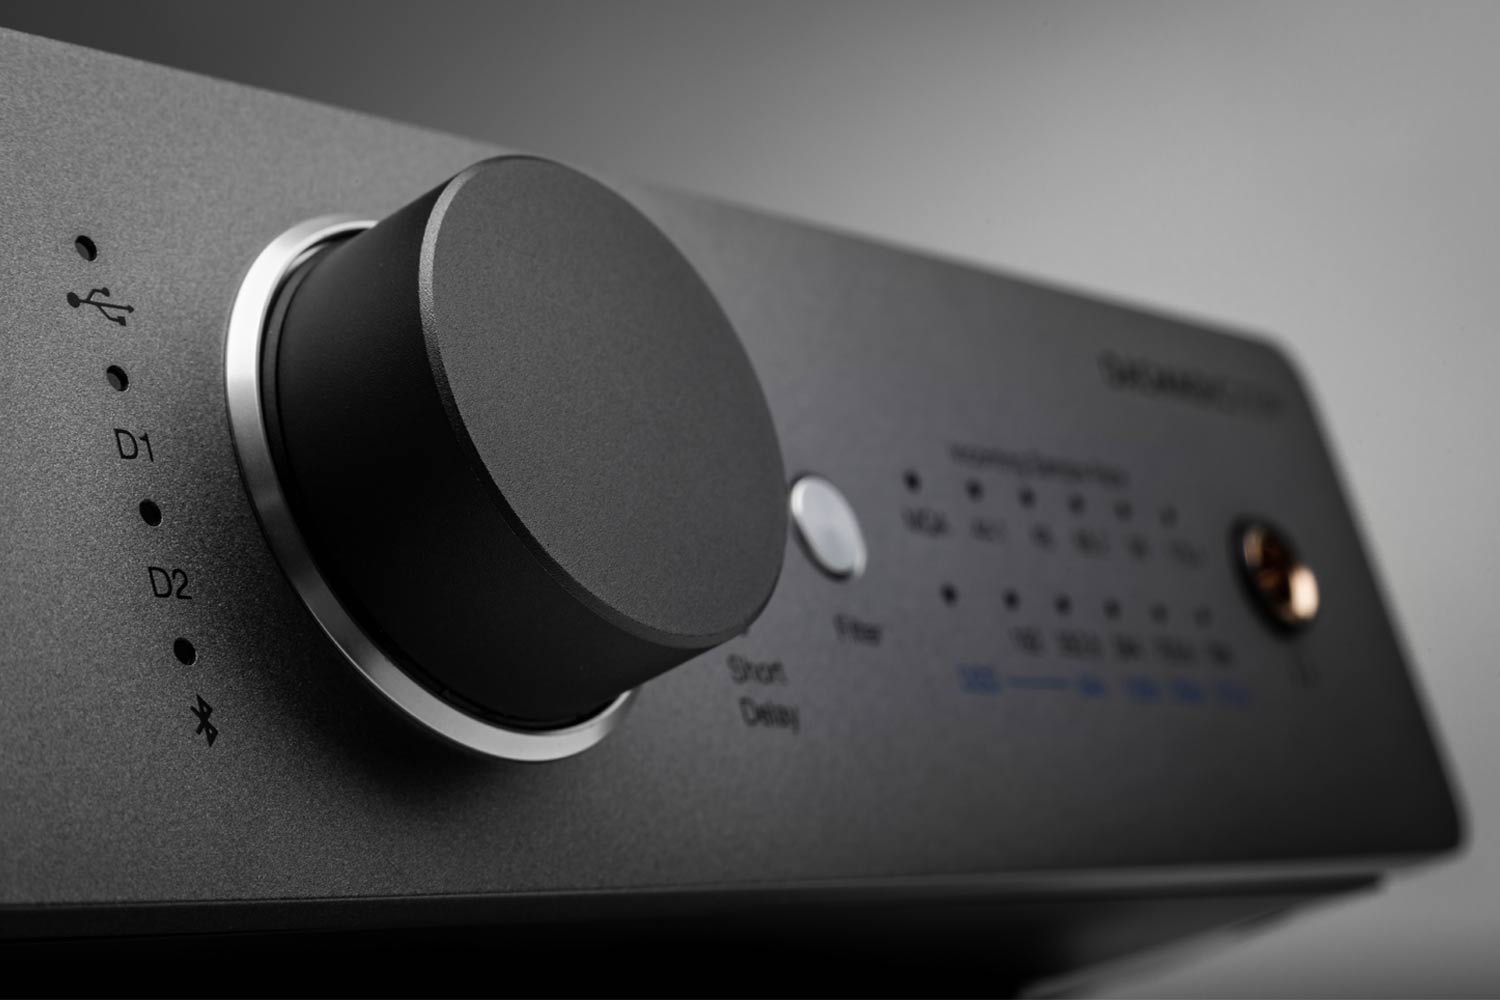
An audio interface is a device that serves as the bridge between your audio instruments and microphones and your computer. It converts analog audio signals into digital data that can be processed and recorded on your computer. In simple terms, it allows you to connect your instruments and microphones to your computer and capture high-quality audio recordings.
At its core, an audio interface consists of inputs, outputs, preamps, and converters. The inputs are where you connect your microphones, instruments, and other audio sources. The outputs provide a way to listen to your recordings through speakers or headphones. Preamps amplify the weak audio signals from microphones to a suitable level for recording. Converters, as the name implies, convert analog signals to digital and vice versa.
There are different types of audio interfaces available, ranging from compact USB interfaces for beginners to more advanced rack-mounted interfaces for professional studios. The choice of interface depends on your specific needs, such as the number and type of inputs and outputs you require, the audio quality you desire, and the available budget.
One of the main advantages of using an audio interface is the improved sound quality it offers. Built-in sound cards on computers often have limitations that can negatively impact sound recordings, such as noise interference and limited dynamic range. Audio interfaces are designed to provide clean and high-fidelity sound recordings, ensuring that your music or podcast sounds its best.
In addition to offering better sound quality, audio interfaces also minimize latency. Latency refers to the delay introduced when audio signals are processed through your computer. With a low-latency interface, you can monitor your recordings in real-time while playing your instrument or singing, without any noticeable delay. This real-time monitoring is crucial for musicians who require immediate feedback while performing.
It’s important to note that audio interfaces are compatible with a variety of digital audio workstations (DAWs), including Bandlab. Bandlab is an online music production platform that offers a range of features for recording and editing music collaboratively. By connecting an audio interface to Bandlab, you can take advantage of its powerful tools and capabilities to enhance your recordings.
Now that we understand what an audio interface is, let’s explore how to choose the right interface for your needs in the next section.
Choosing the right audio interface for Bandlab
When it comes to choosing the right audio interface for use with Bandlab, there are several factors to consider to ensure compatibility and optimal performance. Let’s explore these factors in detail:
Number of inputs and outputs: Assess your recording needs and determine the number of simultaneous inputs and outputs required. If you primarily work as a solo artist, a two-input, two-output interface might suffice. However, if you often record multiple instruments or plan to collaborate with other musicians, consider an interface with more inputs and outputs to accommodate your needs.
Connection type: Most audio interfaces connect to your computer via USB, as it offers good compatibility and ease of use. However, if you’re seeking higher bandwidth and lower latency, you might consider a Thunderbolt interface. Thunderbolt interfaces are popular among professional users who require high-performance audio recording and production capabilities.
Audio quality: The audio quality of an interface is determined by factors such as sample rate and bit depth. Higher sample rates (measured in kHz) offer better frequency response and audio detail. A standard sample rate for professional recordings is 96 kHz, but 48 kHz might be sufficient for most users. Bit depth, measured in bits (usually 24-bit), determines the dynamic range and resolution of your recordings. Higher bit depths provide better audio resolution and a wider dynamic range.
Preamps: Preamps are crucial for capturing clean and accurate audio signals from microphones. Consider an interface with high-quality preamps if you plan to record vocals or acoustic instruments. Good preamps enhance the overall sound quality and minimize noise and distortion.
Portability: If you need a portable setup or plan to work on the go, consider a compact and lightweight interface. There are many portable options available that offer a great balance between size, performance, and ease of use.
Budget: Set a budget that suits your requirements and research interfaces within that range. Keep in mind that higher-priced interfaces generally offer better sound quality, more inputs and outputs, and additional features. However, there are also affordable options available that provide excellent performance for beginners and those with budget constraints.
Take the time to read reviews, compare specifications, and consider your specific needs to make an informed decision. It’s worth noting that Bandlab supports a wide range of audio interfaces, so you have flexibility in choosing the one that best suits your preferences and budget.
Now that you have an idea of how to choose the right audio interface for Bandlab, let’s move on to the next section to learn how to set up your interface properly.
Setting up your audio interface
Setting up your audio interface properly is crucial to ensure smooth and reliable operation. Follow these steps to get your audio interface up and running:
- Read the manual: Before starting the setup process, it’s recommended to thoroughly read the instruction manual provided with your audio interface. This will familiarize you with the specific features and requirements of your interface.
- Install the drivers: Most audio interfaces require specific drivers to be installed on your computer. These drivers enable the interface to communicate with your operating system. Visit the manufacturer’s website and download the latest drivers for your interface model. Follow the installation instructions provided.
- Connect the interface: Connect your audio interface to your computer using the supplied cables. If you’re using a USB interface, connect it to an available USB port on your computer. For Thunderbolt interfaces, ensure you have the correct Thunderbolt cable and connect it to the appropriate port on your computer. Some interfaces may require external power, so make sure to connect them to a power source, if applicable.
- Adjust the settings: Once your audio interface is connected, access the audio settings on your computer. On a Mac, you can find these settings in the System Preferences under Sound. On Windows, go to the Control Panel and search for “Sound” or “Audio Devices”. Select your interface as the default input and output device.
- Test the interface: Open your preferred audio recording software or digital audio workstation (DAW), such as Bandlab, and create a new project. Connect a microphone or instrument to the interface’s inputs and check if the audio signal is being detected in your software. Adjust the input gain knobs on the interface to achieve a suitable recording level. You can also test the playback by playing a recorded track and listening through headphones or speakers connected to the interface’s outputs.
- Set up monitoring: Depending on your workflow and preferences, you may want to set up monitoring options. This allows you to hear your input signal in real-time while recording. Most audio interfaces offer direct monitoring, which allows you to listen to the input signal without detectable latency. Alternatively, you can monitor through your recording software by enabling “Software Monitoring”. Experiment with different monitoring options to find the setup that works best for you.
By following these steps, you should have your audio interface properly set up and ready to use with Bandlab. Remember to consult the interface’s manual for any specific instructions related to your particular model. With your interface in place, you can now move on to connecting it to Bandlab and configuring the audio settings, which we will cover in the next section.
Connecting your audio interface to Bandlab
Once you have set up your audio interface, it’s time to connect it to Bandlab and start using it for your recordings. Follow these steps to connect your audio interface to Bandlab:
- Launch Bandlab: Open your web browser and go to the Bandlab website (www.bandlab.com). Log in to your account or sign up for a new account if you don’t have one already. Bandlab offers a free account with basic features, as well as subscription options for more advanced features.
- Select Create a New Project: After logging in, navigate to the project creation page. Click on “Create New” or “Start a New Project” to begin a new recording session.
- Choose your audio interface: Within the Bandlab interface, locate the audio settings or preferences section. This can usually be found in the settings menu or toolbar. In the audio settings, select your audio interface as the input and output device. This ensures that Bandlab uses your interface for recording and playback.
- Set your recording preferences: Configure your recording preferences within Bandlab. This includes selecting the sample rate, bit depth, and other relevant settings. Make sure these settings match the specifications of your audio interface for optimal recording quality.
- Configure the input channels: If your audio interface has multiple inputs, you may need to specify which input channel you want to use for recording in Bandlab. Consult the interface’s manual or the Bandlab documentation for guidance on how to set this up.
- Test the setup: Before starting your recording, it’s always a good idea to test the audio setup. Connect your instruments or microphones to the appropriate inputs on your audio interface. Adjust the input gain levels to achieve a suitable recording level. Monitor the audio signal through your headphones or speakers connected to the interface’s outputs. Record a short test track to ensure that everything is working as expected.
- Start recording: With your audio interface properly connected and configured in Bandlab, you’re ready to start recording. Hit the record button in Bandlab and begin your performance. As you play or sing, the audio signal will be captured and recorded through your connected audio interface.
Remember to save your recording in Bandlab, and you can also explore the various editing and mixing features available to enhance your tracks. Bandlab provides a user-friendly interface that allows for easy recording, editing, and collaboration with other musicians.
By following these steps, you can connect your audio interface to Bandlab and leverage its powerful tools and features for your music production. In the next section, we will delve into configuring the audio settings within Bandlab for optimal recording and monitoring.
Configuring audio settings in Bandlab
Configuring the audio settings in Bandlab is an important step to ensure optimal recording quality and smooth playback. By customizing these settings, you can fine-tune your audio setup to match your preferences and the capabilities of your audio interface. Follow these steps to configure the audio settings in Bandlab:
- Access the audio settings: Once you are logged in to your Bandlab account and have created a new project, locate the audio settings or preferences section. This can usually be found in the settings menu or toolbar. Click on the audio settings option to open the configuration panel.
- Select the input and output devices: In the audio settings panel, you will see options to choose the input and output devices. Select your audio interface from the list of available devices. This ensures that Bandlab uses your interface for recording and playback. If your interface has multiple input channels, you may need to specify the desired input channel as well.
- Adjust the sample rate and bit depth: Bandlab allows you to configure the sample rate and bit depth for your recordings. The sample rate determines the number of samples taken per second, while the bit depth determines the resolution and dynamic range of the recordings. Select the appropriate settings based on the capabilities of your audio interface and your desired recording quality. Higher values generally result in better audio fidelity, but keep in mind that they also increase file sizes.
- Configure the buffer size: The buffer size determines the amount of audio data that is stored in the computer’s memory during recording and playback. A smaller buffer size reduces latency but may put a strain on your computer’s processing power, while a larger buffer size may introduce noticeable latency. Adjust the buffer size based on your system’s capabilities and the desired trade-off between low latency and stable performance.
- Enable monitoring options: Bandlab offers monitoring options that allow you to listen to your recordings while recording. These options include software monitoring and direct monitoring. Software monitoring allows you to monitor through your recording software, while direct monitoring routes the input signal directly to your outputs, bypassing the software for minimal latency. Choose the monitoring option that suits your workflow and preferences.
- Test the audio setup: Before starting your actual recording, it’s advisable to test the audio setup in Bandlab. Connect your instruments or microphones to the appropriate inputs on your audio interface. Adjust the input gain levels to achieve a suitable recording level. Monitor the audio signal through your headphones or speakers connected to the interface’s outputs. Record a short test track to ensure that everything is working as expected.
By configuring these audio settings in Bandlab, you can optimize your recording experience and ensure that your audio interface works seamlessly with the platform. Take the time to experiment with different settings to find the setup that suits your needs and delivers the best audio quality.
Now that you have configured the audio settings in Bandlab, you’re ready to start recording and unleash your creativity. In the next section, we will address common audio interface issues that you may encounter and provide troubleshooting tips to resolve them.
Troubleshooting common audio interface issues
While working with audio interfaces, you may encounter some common issues that can affect your recording and playback experience. Here are a few troubleshooting tips for resolving these issues:
- No sound or audio signal: If you’re not getting any sound or audio signal through your audio interface, check the following:
- Ensure that your audio interface is properly connected to your computer and the cables are securely plugged in.
- Check the input and output settings in Bandlab. Make sure your audio interface is selected as the input and output device.
- Verify that the volume levels on your audio interface, computer, and Bandlab are appropriately adjusted.
- Check if any mute or solo settings are enabled in Bandlab that could be affecting the audio output.
- Test your audio interface with other applications or software to determine if the issue is specific to Bandlab.
- High latency or audio delay: If you’re experiencing noticeable latency or audio delay, try the following:
- Adjust the buffer size in Bandlab’s audio settings. Increasing the buffer size can help reduce audio dropouts and improve stability but may introduce slightly higher latency.
- Close any unnecessary background applications or processes running on your computer that may be consuming CPU resources.
- Check for firmware or driver updates for your audio interface on the manufacturer’s website. Updated drivers often improve performance and stability.
- Disable any unnecessary audio effects or plugins in Bandlab that may be adding to the processing load.
- Consider investing in a higher-performance audio interface with lower latency capabilities, such as a Thunderbolt interface, if your current interface is causing significant latency issues.
- Crackling, popping, or distorted sound: If you’re experiencing crackling, popping, or distorted sound, try the following:
- Ensure that all cables, connectors, and jacks are clean and securely connected. Loose or faulty connections can lead to signal interference and degraded audio quality.
- Check the sample rate and bit depth settings in Bandlab’s audio settings. Mismatched settings between the audio interface and Bandlab can cause audio artifacts. Make sure they are consistent.
- Check if there are any background processes or applications on your computer that are consuming excessive CPU resources. This can lead to audio interruptions and distortion.
- Try using a different USB or Thunderbolt port on your computer to rule out any port-related issues.
- If possible, try using different cables, particularly if you suspect a cable may be damaged or faulty.
- Input signal too low or distorted: If your input signal is too low or distorted, consider the following troubleshooting steps:
- Adjust the input gain levels on your audio interface. Increasing the gain can amplify the signal and improve the recording quality. However, be cautious not to set it too high, as it may result in clipping or distortion.
- Check the microphone or instrument levels and ensure they are set appropriately. Adjust their output level if necessary.
- Experiment with different microphone placements and positioning to find the optimal distance and angle for capturing the desired sound.
- Verify that your audio interface’s preamps are functioning properly. Faulty preamps can affect the signal quality and require repair or replacement.
If you continue to experience issues with your audio interface, consult the manufacturer’s support resources or reach out to their customer support for further assistance. They can provide specific guidance or troubleshooting steps tailored to your particular interface model.
By following these troubleshooting tips, you can overcome common audio interface issues and ensure a smooth and professional recording experience with Bandlab. Now that you’re equipped with troubleshooting knowledge, you’re on your way to creating exceptional music and audio content.
Finally, let’s conclude our article in the next section.
Conclusion
Using an audio interface with Bandlab can significantly elevate the quality and capabilities of your music recordings and productions. Throughout this article, we have explored what an audio interface is, how to choose the right one for your needs, and the steps for setting it up and connecting it to Bandlab. We also discussed how to configure audio settings in Bandlab and provided troubleshooting tips for common audio interface issues.
An audio interface acts as the crucial link between your instruments, microphones, and your computer, ensuring high-quality sound recordings and minimal latency. By selecting the right audio interface for your requirements, considering factors like the number of inputs and outputs, connection type, audio quality, and budget, you can create a setup tailored to your specific needs.
After setting up your audio interface, you learned how to connect it to Bandlab and configure the audio settings. This enables you to seamlessly integrate your interface with Bandlab’s powerful recording and editing features, maximizing your creative potential in producing music or other audio content.
Unfortunately, audio interface issues can sometimes arise. However, armed with troubleshooting tips such as checking connections, adjusting settings, and troubleshooting latency or signal quality, you can address and overcome these challenges effectively.
By following the best practices outlined in this article, you can unleash your creativity and take your music recordings to new heights with Bandlab and your audio interface. Remember to continually explore and experiment with different recording techniques, processing options, and collaboration features to refine your sound and create exceptional music.
So, go ahead and dive into the world of audio interfaces with Bandlab – your musical journey awaits!

