Home>Production & Technology>Audio Interface>How To Use A Patchbay With Audio Interface
Audio Interface
How To Use A Patchbay With Audio Interface
Published: February 4, 2024
Learn how to effectively use a patchbay with your audio interface to optimize your audio signal flow and enhance your recording and mixing capabilities. Discover the power of integrating an audio interface into your setup today!
(Many of the links in this article redirect to a specific reviewed product. Your purchase of these products through affiliate links helps to generate commission for AudioLover.com, at no extra cost. Learn more)
Table of Contents
- Introduction
- Understanding Patchbays
- Types of Patchbays
- Setting Up Your Patchbay and Audio Interface
- Connecting Audio Devices to the Patchbay
- Routing Audio Signals with the Patchbay and Audio Interface
- Tips and Best Practices for Using a Patchbay with an Audio Interface
- Troubleshooting Common Issues
- Conclusion
Introduction
Welcome to the world of audio interfaces and patchbays. If you’re a musician, podcaster, or sound engineer, you’ve probably heard these terms before. But what exactly are they, and how do they work together?
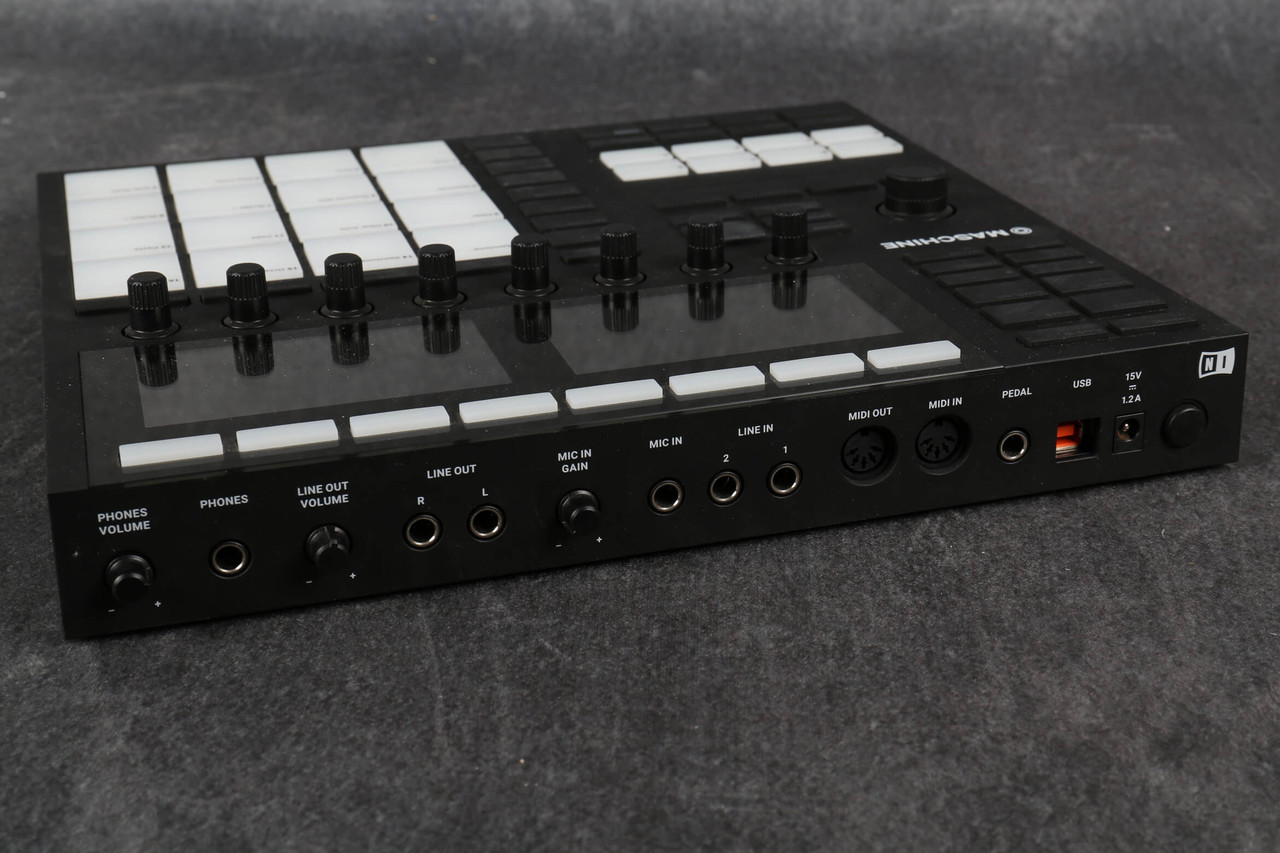
An audio interface is a crucial piece of equipment that allows you to connect your instruments, microphones, and other audio devices to your computer for recording and playback. It acts as the bridge between the analog and digital worlds, ensuring high-quality audio capture and reproduction.
A patchbay, on the other hand, is like a hub that facilitates the routing and organization of audio signals. It provides a convenient way to connect and manage multiple audio devices, allowing you to patch the inputs and outputs as per your requirements.
By using an audio interface and a patchbay together, you can streamline your workflow, optimize signal routing, and maintain a clutter-free setup. Whether you’re recording multiple tracks simultaneously or need to switch between different audio sources, a well-configured patchbay can make your life much easier.
In this article, we’ll dive deep into the world of audio interfaces and patchbays, exploring their functions, types, setup, and tips for effective usage. By the end, you’ll have a comprehensive understanding of how to use a patchbay with your audio interface, empowering you to take your audio production to the next level.
Understanding Patchbays
Before we explore how to use a patchbay with an audio interface, let’s first understand what a patchbay is and how it works.
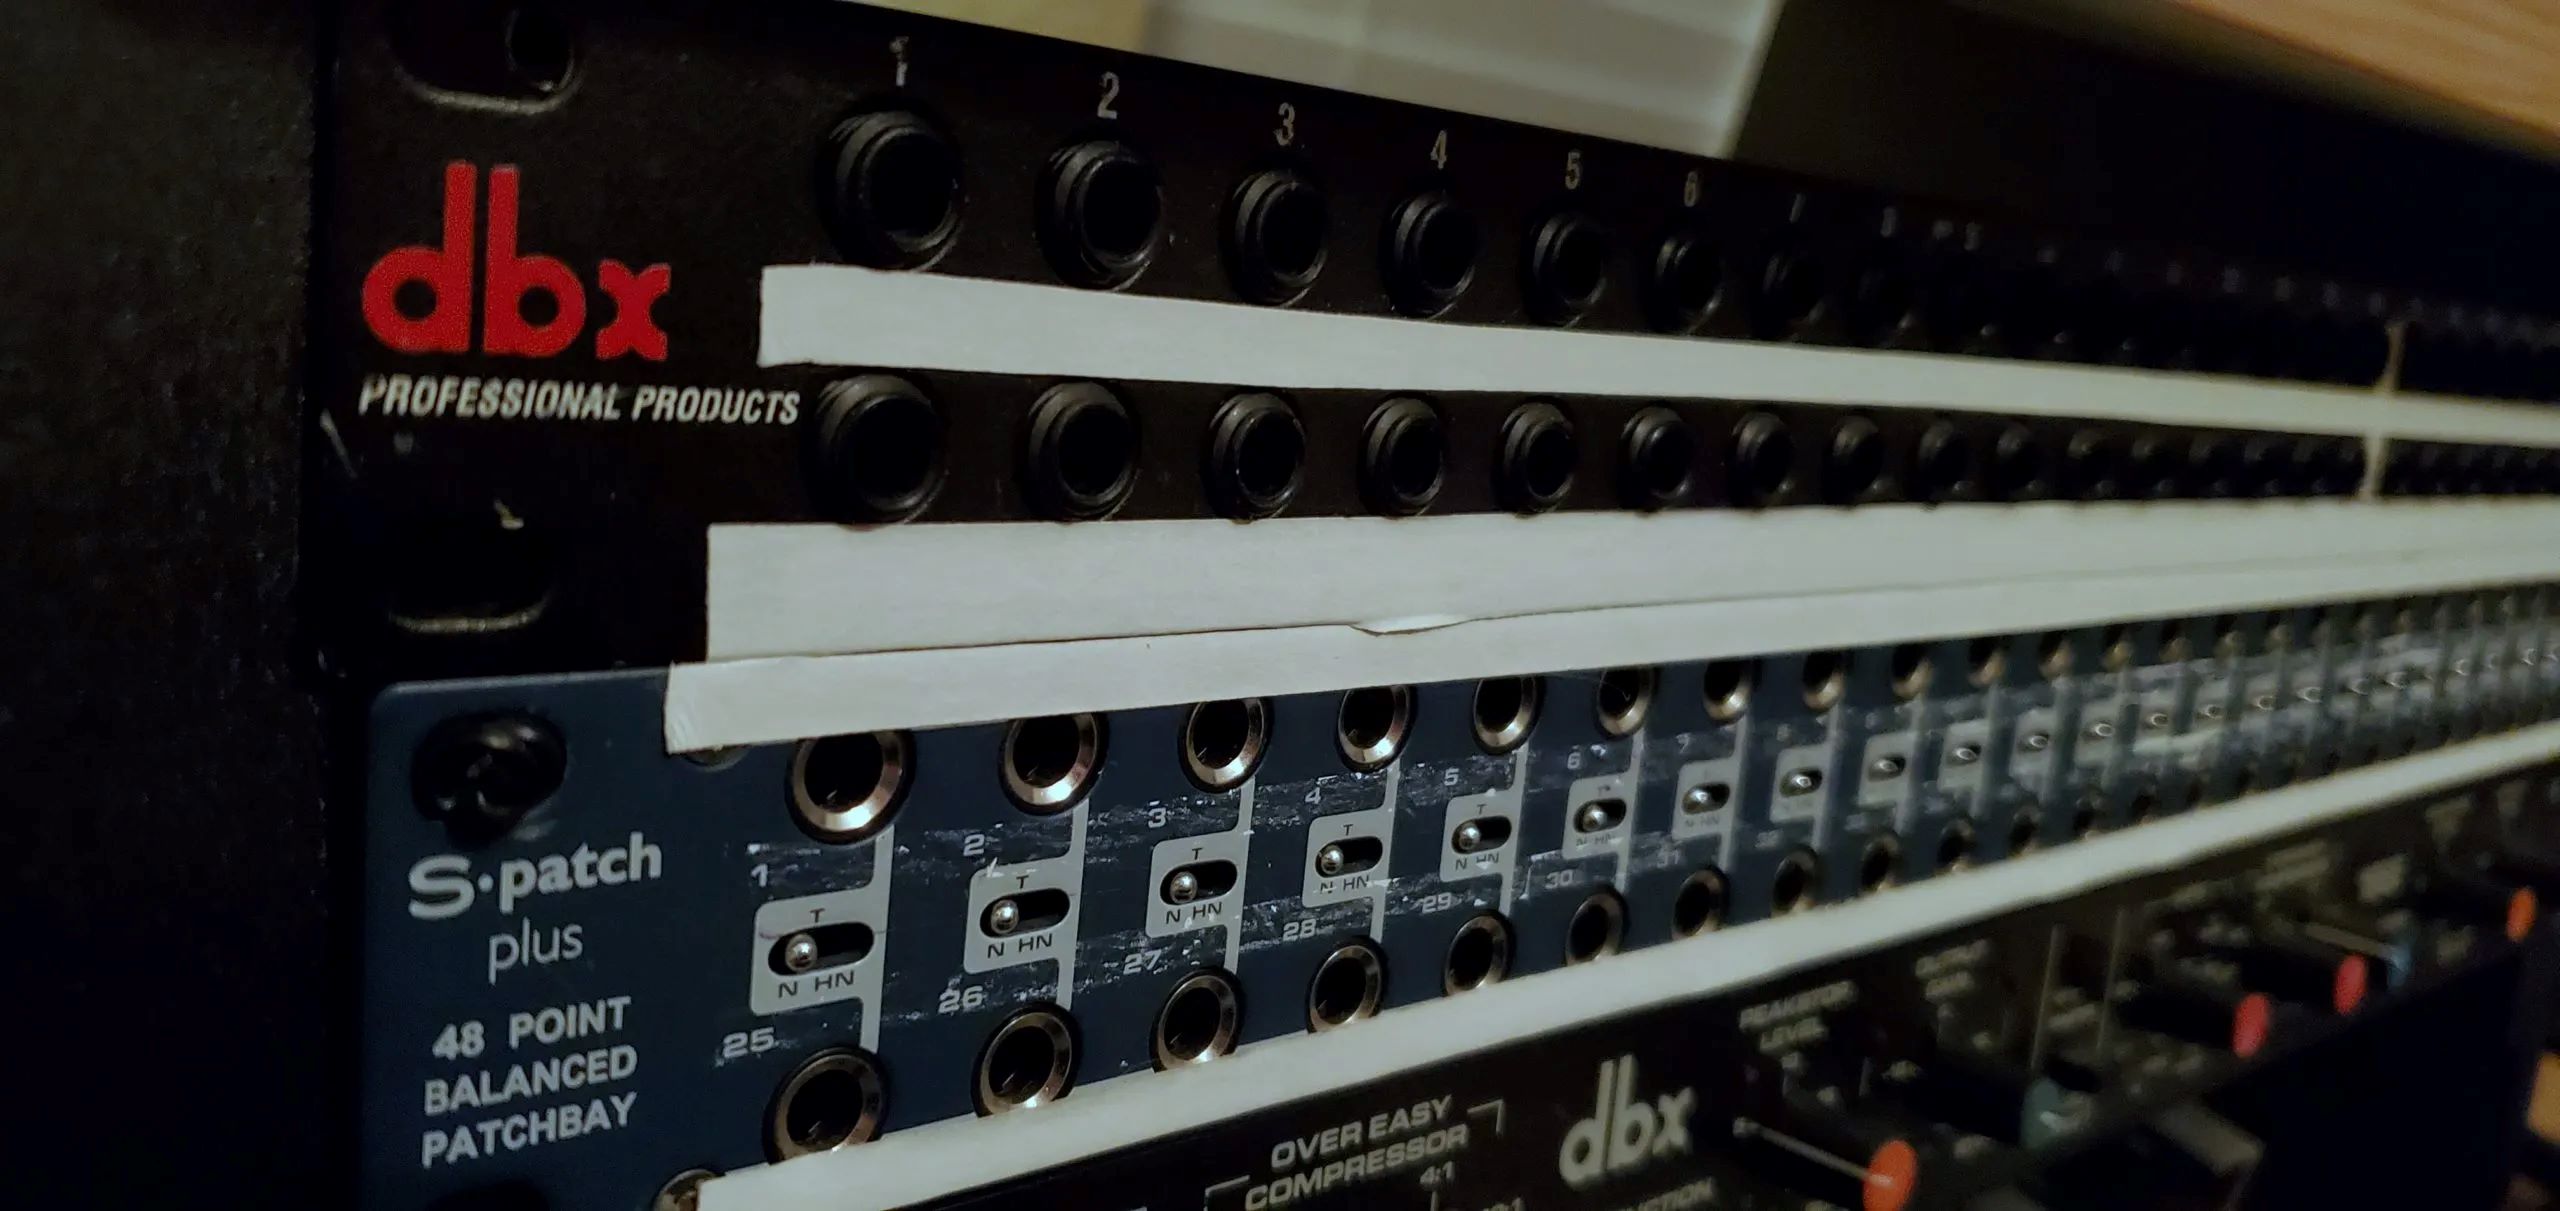
At its core, a patchbay is a collection of input and output jacks that allows you to physically connect audio devices to one another. It acts as a central hub, providing a means to route audio signals in a flexible and organized manner.
A patchbay typically consists of three main components: inputs, outputs, and patches. Inputs are the jacks where you connect your audio sources, such as microphones, instruments, or other audio devices. Outputs, on the other hand, are where you connect your recording or playback devices, such as your audio interface or mixer.
Patches, also known as patch cables or leads, are the physical cables that connect the inputs to the outputs. Think of these cables as the pathways through which the audio signals flow. By plugging and unplugging the patch cables, you can create different signal paths and establish connections between specific inputs and outputs.
One of the key advantages of using a patchbay is its flexibility. Rather than constantly reaching behind your equipment to manually connect and disconnect cables, you can pre-configure your patchbay to your desired setup. This makes it easy to change connections on the fly and experiment with different audio routing configurations.
Another benefit of using a patchbay is signal normalization. With signal normalization, you can set up default connections that automatically route certain signals without the need for patch cables. This can help minimize cable clutter and simplify your workflow, especially for devices that require a consistent connection.
Overall, understanding how patchbays function and the benefits they offer is crucial to maximizing their utility in your audio setup. So, let’s move on to exploring the different types of patchbays available.
Types of Patchbays
There are several types of patchbays available, each designed to suit specific needs and preferences. Let’s take a closer look at some of the most common types:
- Analog Patchbay: This is the traditional patchbay that uses physical patch cables to route analog audio signals. It is commonly used in recording studios and live sound setups. Analog patchbays offer a high level of flexibility and can accommodate a wide range of audio devices.
- Digital Patchbay: As the name suggests, a digital patchbay operates in the digital domain. It connects digital audio sources and destinations using digital signal protocols like AES/EBU, ADAT, or MADI. Digital patchbays are often used in professional audio environments where digital audio routing and processing is required.
- Patchbay with Normalling: This type of patchbay allows you to set up default connections between certain inputs and outputs. When a patch cable is not inserted, the default connection is automatically established, routing the signal without the need for manual patching. Patchbays with normalling are useful for devices that require a constant connection, such as studio monitors or headphones.
- Half-Normalled Patchbay: A half-normalled patchbay offers the option to create both default connections and separate connections. When a patch cable is inserted into the top row of an input, the default connection is broken, allowing you to send the signal to a different output. This type of patchbay provides additional routing flexibility and is commonly used in complex audio setups.
- Open Frame Patchbay: Open frame patchbays are the most customizable type, allowing you to manually configure the layout and connections. They consist of a frame with empty slots where you can insert individual jacks as needed. Open frame patchbays offer the flexibility to create a custom configuration tailored to your specific requirements.
When choosing a patchbay, consider factors such as your audio setup, the number of inputs and outputs you require, and the level of flexibility you need. Each type has its own advantages and limitations, so it’s important to select the one that best suits your needs.
Now that we have a good understanding of patchbay types, let’s move on to setting up your patchbay and audio interface.
Setting Up Your Patchbay and Audio Interface
Properly setting up your patchbay and audio interface is crucial for achieving efficient signal flow and seamless integration. Here’s a step-by-step guide to get you started:
- Plan Your Setup: Before physically connecting anything, take some time to plan your audio setup. Consider the number and type of audio devices you’ll be connecting and the desired signal routing. This will help you determine the number of inputs and outputs required on your patchbay and ensure that you have enough space and cables to connect everything.
- Position Your Equipment: Find a suitable location for your patchbay and audio interface. Ensure that it’s easily accessible and that there’s enough space for cable management. Consider factors such as proximity to power outlets, ventilation, and ease of reach for patching and adjusting connections.
- Connect Your Audio Interface: Start by connecting your audio interface to your computer using a compatible cable, such as USB or Thunderbolt. Follow the manufacturer’s instructions for proper connection and installation of any necessary drivers or software.
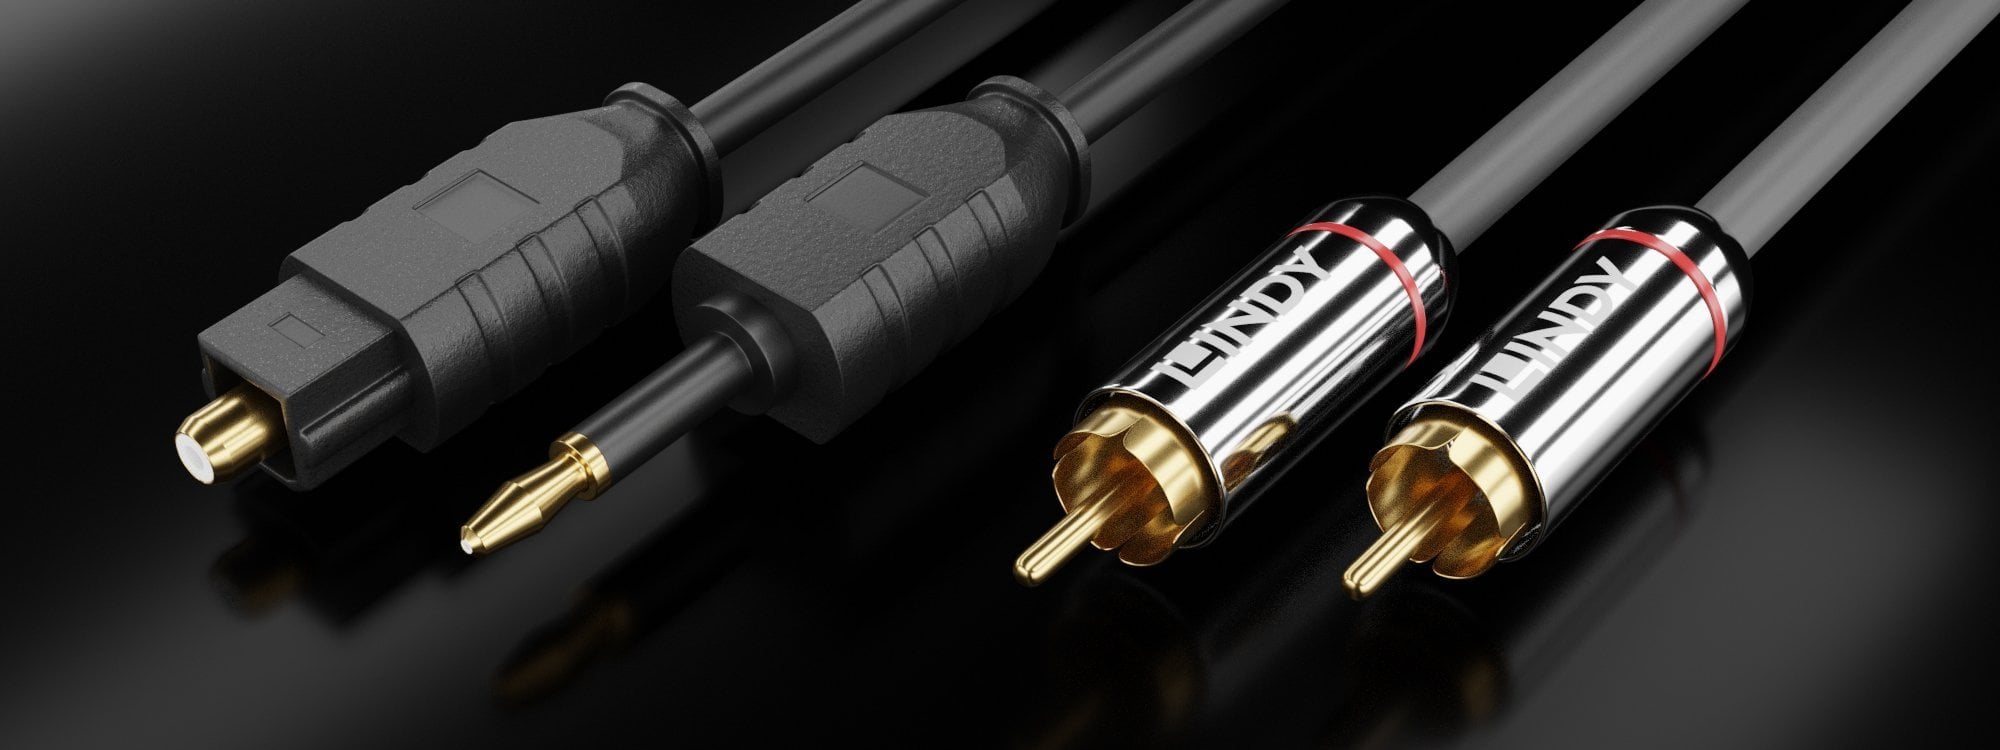
- Connect your Devices to the Patchbay: Begin by connecting your audio devices to the patchbay. Plug your microphones, instruments, effects processors, and other audio sources into the input jacks on the patchbay. Use appropriate cables such as XLR, 1/4″ TRS, or RCA cables, depending on the type of input/output connections.
- Connect the Audio Interface to the Patchbay: Now it’s time to connect your audio interface to the patchbay. Use patch cables to connect the outputs of your audio interface to the input jacks on the patchbay. Consider labeling the cables and using color-coding to easily identify the connections.
- Patch Your Connections: With the physical connections in place, it’s time to start patching. Use patch cables to establish the desired signal routing between your audio devices and audio interface. Experiment with different connections to find the best configuration for your needs.
- Label Your Patchbay: To keep track of your connections, it’s helpful to label the input and output jacks on your patchbay. This will make it easier to identify the connected devices and ensure that you can quickly adjust or troubleshoot connections if necessary.
- Test and Verify: Once everything is connected, test your setup by playing audio through your devices and verifying that the signal flows correctly. Make any necessary adjustments to the connections or settings on your audio interface to ensure optimal audio quality.
By following these steps, you can set up your patchbay and audio interface in a logical and organized manner, setting the foundation for efficient audio routing and signal management.
Next, we’ll explore how to connect audio devices to the patchbay and route signals effectively.
Connecting Audio Devices to the Patchbay
Now that your patchbay and audio interface are set up, it’s time to connect your audio devices. Properly connecting your devices to the patchbay ensures efficient signal routing and easy access to your audio sources. Here’s how to do it:
- Identify Your Audio Devices: Take inventory of your audio devices, including microphones, instruments, effects units, or any other audio sources you want to connect to your setup. Make sure you have the necessary cables for each device.
- Select the Correct Input Jacks: Locate the input jacks on the patchbay. Depending on the type of patchbay you have, these may be labeled as inputs or simply numbered. Match the type of connection required by your audio devices, such as XLR, 1/4″ TRS, or RCA, to the corresponding input jacks on the patchbay.
- Make the Connections: Connect your audio devices to the patchbay using the appropriate cables. For microphones, use XLR cables, ensuring a secure connection with a firm twist to lock them in place. Instruments or line-level devices may require 1/4″ TRS or RCA cables, depending on the input jacks available on your patchbay.
- Consider Signal Flow Direction: When connecting your devices, pay attention to the signal flow direction. Typically, the signal flows from left to right or top to bottom on the patchbay. Make sure to connect the output of your audio device to the input on the patchbay that corresponds to the desired signal flow.
- Label Your Connections: To make it easier to identify and manage your audio devices, consider labeling the patchbay jacks and cables. You can use colored tape or labels to mark the connections, ensuring quick and easy visual identification.
- Verify Audio Signal: After connecting your devices, test the audio signal to ensure that it flows correctly through the patchbay. Activate each audio device and check that the signal is being transmitted as expected. Make any necessary adjustments to the connections or settings on your audio interface if needed.
By properly connecting your audio devices to the patchbay, you can easily access and route your audio sources, allowing for efficient signal management and easy integration into your audio production workflow.
Next, let’s explore how to route audio signals using the patchbay and your audio interface.
Routing Audio Signals with the Patchbay and Audio Interface
Routing audio signals is a key aspect of using a patchbay with an audio interface. It allows you to send audio from one device to another, directing the flow of sound in your setup. Here’s how you can effectively route audio signals with your patchbay and audio interface:
- Understand Signal Paths: Before routing audio signals, it’s important to understand the signal paths within your setup. Familiarize yourself with the inputs and outputs of your audio devices and how they connect to the patchbay. This will help you visualize the journey of the audio signal from its source to its destination.
- Patch the Connections: Use patch cables to establish the desired connections between your audio devices. This involves connecting the output jack of one device to the input jack of another. Experiment with different patch configurations to find the best routing setup for your needs.
- Use Normalizations: If your patchbay supports signal normalization, take advantage of this feature to simplify your signal routing. Establish default connections using normalling to automatically route audio signals without the need for additional patch cables. This can be useful for devices that require a consistent connection, such as studio monitors or headphones.
- Pre-plan Signal Routing: To streamline your workflow and save time during audio production, pre-plan your signal routing. Determine in advance which devices will be connected and how the audio signals will flow through your setup. Labeling your patch points and creating a routing diagram can be helpful in visualizing and documenting your signal routing scheme.
- Consider Multi-track Recording: If you’re using a multi-track recording setup, assign specific inputs on your audio interface to different tracks in your recording software. This allows you to record each audio source on its own track, enabling greater flexibility during the mixing and editing process.
- Experiment and Adjust: Don’t be afraid to experiment with different signal routing configurations. Trying out different connections can lead to creative audio possibilities. Additionally, be open to adjusting and fine-tuning your signal routing based on your needs and preferences.
- Regularly Verify and Test: As you work with your patchbay and audio interface, regularly verify that audio signals are flowing as expected. Test each connection and listen for any anomalies or issues. This will help you identify and troubleshoot any potential problems early on.
By understanding the signal paths, patching connections, using normalizations, pre-planning, and experimenting with routing configurations, you can effectively route audio signals with your patchbay and audio interface, maximizing the potential of your audio setup.
In the next section, we’ll cover some tips and best practices for using a patchbay with an audio interface.
Tips and Best Practices for Using a Patchbay with an Audio Interface
Using a patchbay with an audio interface can greatly enhance your workflow and optimize signal routing. Here are some valuable tips and best practices to help you make the most out of your setup:
- Label Everything: Properly label your patchbay, cables, and equipment to ensure easy identification and organization. Use color-coding, tape, or labeling systems to make connections and devices easily recognizable at a glance.
- Document Your Setup: Keep a record of your patchbay configuration and signal routing. This documentation can be helpful for troubleshooting, sharing your setup with others, or recreating your preferred settings after dismantling your setup for any reason.
- Plan for Future Expansion: Consider your future needs when setting up your patchbay and audio interface. Leave enough room for additional devices, allowing for easy expansion as your setup evolves.
- Establish Grounding: Proper grounding is important to ensure a clean audio signal and minimize noise. Follow proper grounding techniques, such as using balanced cables, connecting devices with a common ground, and avoiding ground loops.
- Avoid Excessive Cable Lengths: Long cables can introduce signal degradation and noise. Keep cable lengths as short as possible while still allowing for flexibility and easy connection of devices.
- Regularly Clean and Maintain: Dust and debris can accumulate in your patchbay and audio interface jacks over time, affecting signal quality. Regularly clean and maintain your equipment to ensure optimal performance.
- Keep a Spare Patch Cable Inventory: Having a supply of spare patch cables is essential for quick replacements or adjustments. Keep a variety of cable lengths and types on hand for any potential requirements.
- Check for Firmware and Software Updates: Manufacturers regularly release updates for audio interfaces and related software. Stay updated with the latest firmware and software versions to benefit from bug fixes, enhancements, and new features.
- Invest in Quality Cables and Connectors: High-quality cables and connectors contribute to better audio signal transmission and durability. Opt for reliable, well-made cables to minimize signal loss and improve the longevity of your setup.
- Experiment and Explore: Don’t be afraid to try new routing configurations, explore different patching options, and experiment with different signal paths. Enjoy the creative possibilities that your patchbay and audio interface offer.
By following these tips and best practices, you can ensure a well-organized, efficient, and reliable setup using your patchbay and audio interface.
In the final section, we’ll discuss troubleshooting common issues that you may encounter when using a patchbay with an audio interface.
Troubleshooting Common Issues
While using a patchbay with an audio interface can greatly enhance your audio setup, you may encounter certain issues along the way. Here are some common issues you may face and troubleshooting steps to resolve them:
- No Audio or Weak Signal: If you’re not hearing any audio or the signal is weak, check the connections to ensure all devices are properly plugged in. Verify that the patch cables are securely connected and not loose. Also, check the gain settings on your audio interface to ensure they are appropriately adjusted.
- Audio Signal Dropouts: If you experience intermittent signal dropouts, it may be due to faulty or loose connections. Check all patch cables and connectors to ensure they are firmly connected. Additionally, inspect the cable quality to make sure they are in good condition and replace any cables exhibiting signs of wear or damage.
- Hum or Noise Issues: Hum or noise can be caused by ground loops or interference. Ensure all devices in your setup are properly grounded and use balanced cables whenever possible to reduce noise. If the issue persists, try relocating devices or adding isolation transformers to eliminate ground loop problems.
- Crosstalk: Crosstalk occurs when the signals from different channels interfere with each other. To minimize crosstalk, ensure that audio cables are properly shielded and are not running parallel to power cables. Additionally, consider using higher-quality audio cables to reduce the chances of signal interference.
- Incorrect Signal Routing: If you’re not getting the desired audio signal routing, double-check your patchbay connections. Make sure the patch cables are correctly plugged into the input and output jacks of your devices. Refer to your setup documentation or routing diagrams to ensure everything is connected as intended.
- Software or Driver Issues: If you’re experiencing software or driver-related issues with your audio interface, verify that you have the latest firmware, drivers, and software installed. Check the manufacturer’s website for any updates or troubleshooting guides specific to your audio interface model.
- Input or Output Mismatch: Ensure that the input and output levels of your devices are compatible. Adjust the gain settings on your audio interface or devices accordingly to prevent distortion or clipping. It’s important to maintain balanced input and output levels to achieve optimal audio quality.
- Overloading Inputs: Avoid overloading the inputs on your audio interface. If an input is overwhelmed with a hot signal, it can lead to clipping or distortion. Adjust the gain or volume levels of your devices to ensure that the input signal remains within an acceptable range.
- Check Power and Cable Connections: If you’re experiencing general issues or erratic behavior, check all power and cable connections. Ensure that cables are securely plugged into their respective jacks and that power cables are connected to stable power sources.
- Seek Professional Help: If you’ve exhausted all troubleshooting steps and continue to experience issues, it may be helpful to consult with a professional audio technician or the manufacturer’s customer support for further assistance.
By following these troubleshooting steps, you can address common issues that may arise when using a patchbay with an audio interface and ensure smooth and reliable operation of your setup.
Before we conclude, let’s summarize what we’ve covered in this article.
Conclusion
Using a patchbay with an audio interface can significantly enhance your audio production workflow by providing flexible signal routing and organization. In this article, we explored the fundamental concepts of patchbays and how they work in conjunction with audio interfaces. We discussed the different types of patchbays available and the importance of setting them up correctly.
Connectivity is key when using a patchbay. We learned how to connect audio devices to the patchbay, ensuring proper signal flow and efficient management. We also delved into routing audio signals, allowing for versatile connections and creative possibilities.
Throughout the article, we provided valuable tips and best practices to maximize the benefits of using a patchbay with an audio interface. From labeling and documentation to troubleshooting common issues, these tips will help you maintain a well-organized and high-performing audio setup.
Remember, proper planning, cable management, and regular maintenance will contribute to a seamless and reliable audio production experience. Don’t be afraid to experiment and explore different configurations to find what works best for you.
In conclusion, incorporating a patchbay into your audio interface setup can streamline your workflow, provide flexibility in signal routing, and elevate the quality of your audio productions. With the knowledge and insights gained from this article, you are now equipped to harness the power of a patchbay and audio interface combination to achieve professional and creative results.
Happy routing and producing!