Home>Production & Technology>Audio Interface>How To Use SPDIF Audio Interface
Audio Interface
How To Use SPDIF Audio Interface
Published: October 27, 2023
Learn how to use an SPDIF audio interface for seamless audio recording and playback. Enhance your sound quality with this essential audio interface.
(Many of the links in this article redirect to a specific reviewed product. Your purchase of these products through affiliate links helps to generate commission for AudioLover.com, at no extra cost. Learn more)
Table of Contents
- Introduction
- What is an SPDIF Audio Interface?
- Benefits of Using an SPDIF Audio Interface
- Choosing the Right SPDIF Audio Interface
- Setting Up Your SPDIF Audio Interface
- Connecting Your Audio Devices to the SPDIF Audio Interface
- Configuring Your Computer for SPDIF Audio Interface
- Using Your SPDIF Audio Interface with Digital Audio Workstations (DAWs)
- Troubleshooting Common Issues with SPDIF Audio Interface
- Conclusion
Introduction
Welcome to the world of audio interfaces! If you’re a music enthusiast, podcaster, or audio professional, you’ve probably come across the term “SPDIF audio interface” before. But what exactly is it and why do you need one?
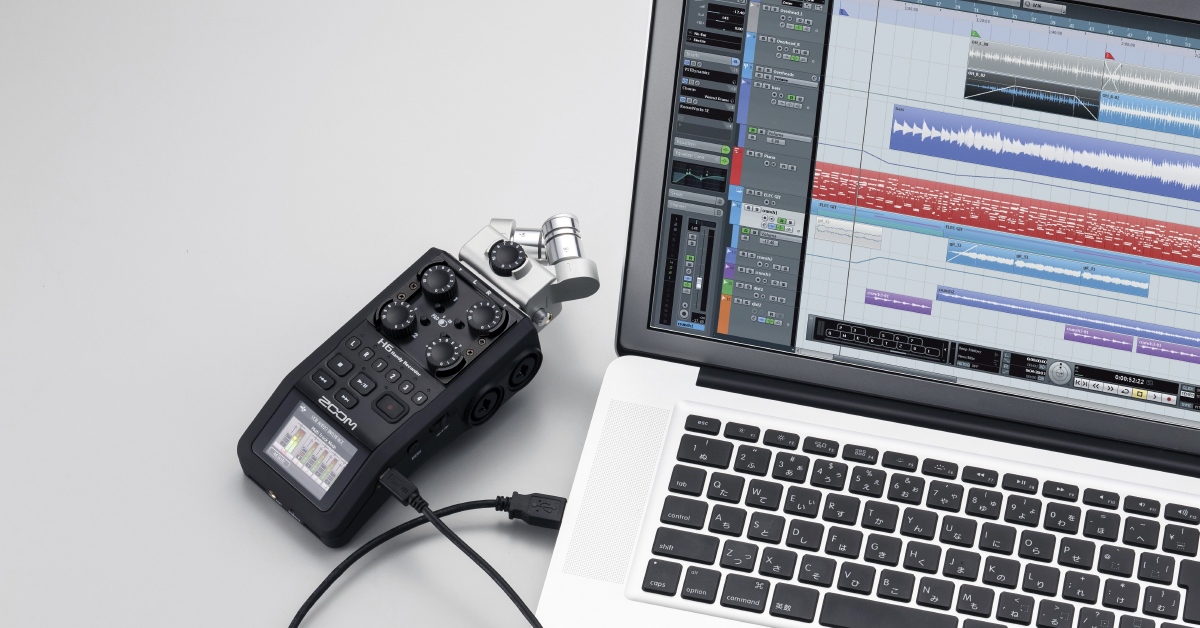
An SPDIF audio interface is a device that allows you to connect your audio equipment, such as microphones, instruments, or speakers, to your computer or recording system. It acts as a bridge between the analog and digital worlds, converting the electrical signals from your audio devices into a digital format that can be processed and recorded by your computer.
Using an SPDIF audio interface offers a host of benefits. It provides higher audio quality, lower latency, and increased flexibility compared to built-in audio inputs and outputs on your computer. Whether you’re a musician recording tracks in your home studio, a podcaster looking to improve the audio quality of your podcast, or an audio professional working on sound design or post-production, an SPDIF audio interface is an essential tool.
In this article, we will explore the world of SPDIF audio interfaces and guide you on how to choose, set up, and use an SPDIF audio interface effectively. Whether you’re a beginner starting out or a seasoned pro looking to upgrade your setup, we’ve got you covered!
What is an SPDIF Audio Interface?
SPDIF stands for Sony/Philips Digital Interface, which is a protocol for transmitting digital audio signals between devices. An SPDIF audio interface is a device that allows you to connect your audio equipment, such as microphones, instruments, or speakers, to your computer or recording system using the SPDIF standard.
But what sets SPDIF apart from other audio interface options? Well, unlike USB or Firewire interfaces that transmit audio data in a serialized format, SPDIF uses a digital audio format that is transmitted in a compressed or uncompressed stream of bits.
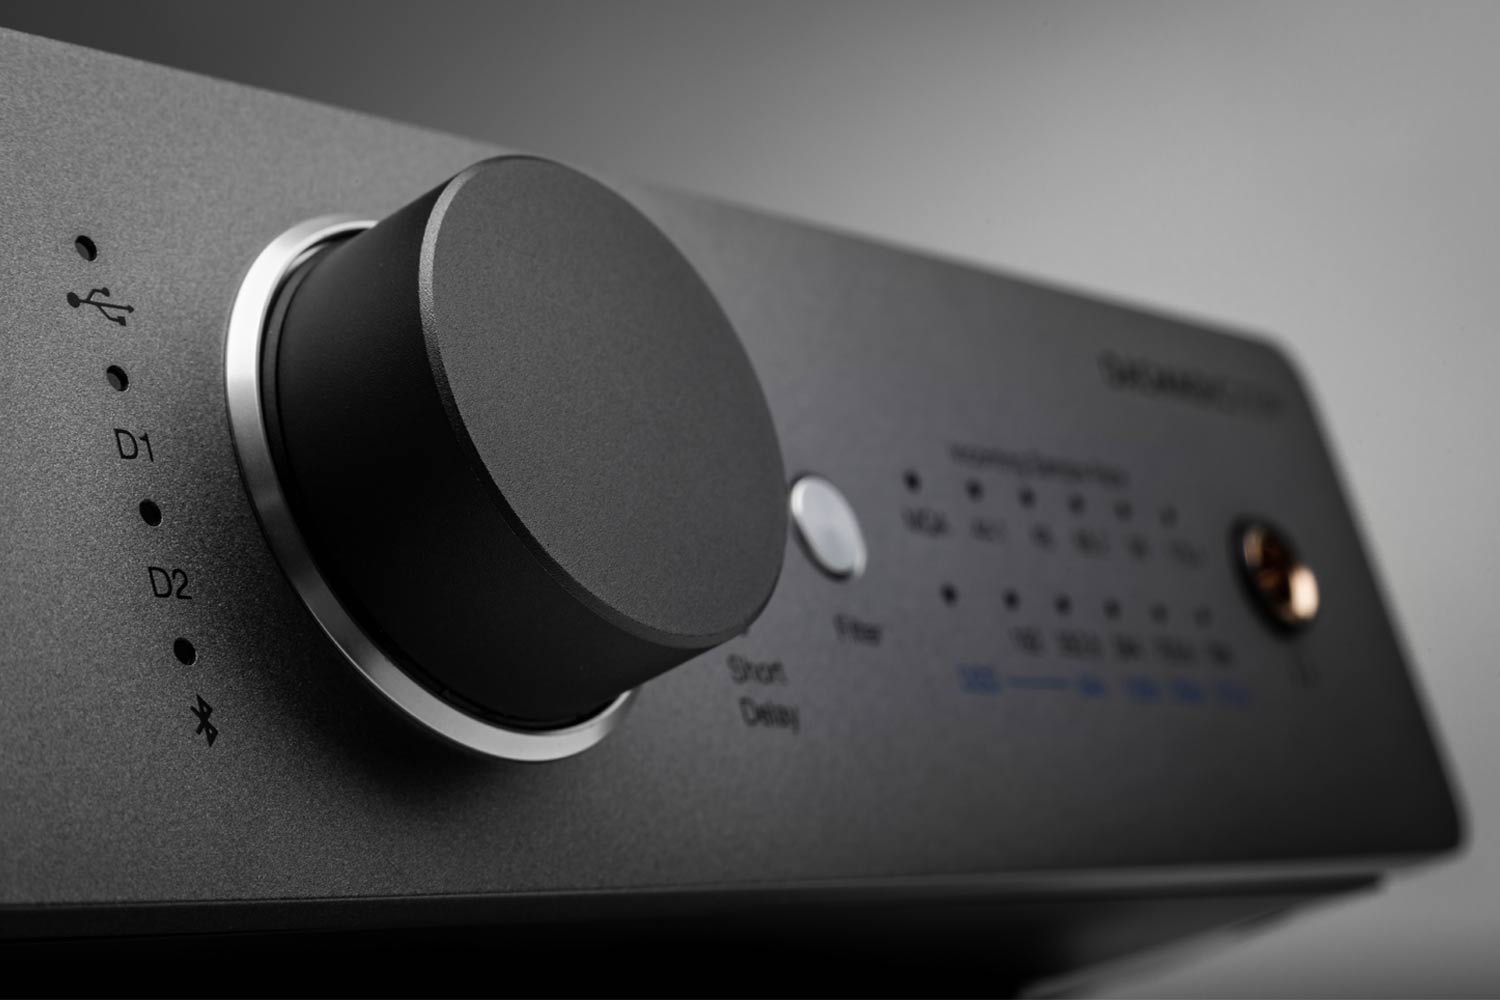
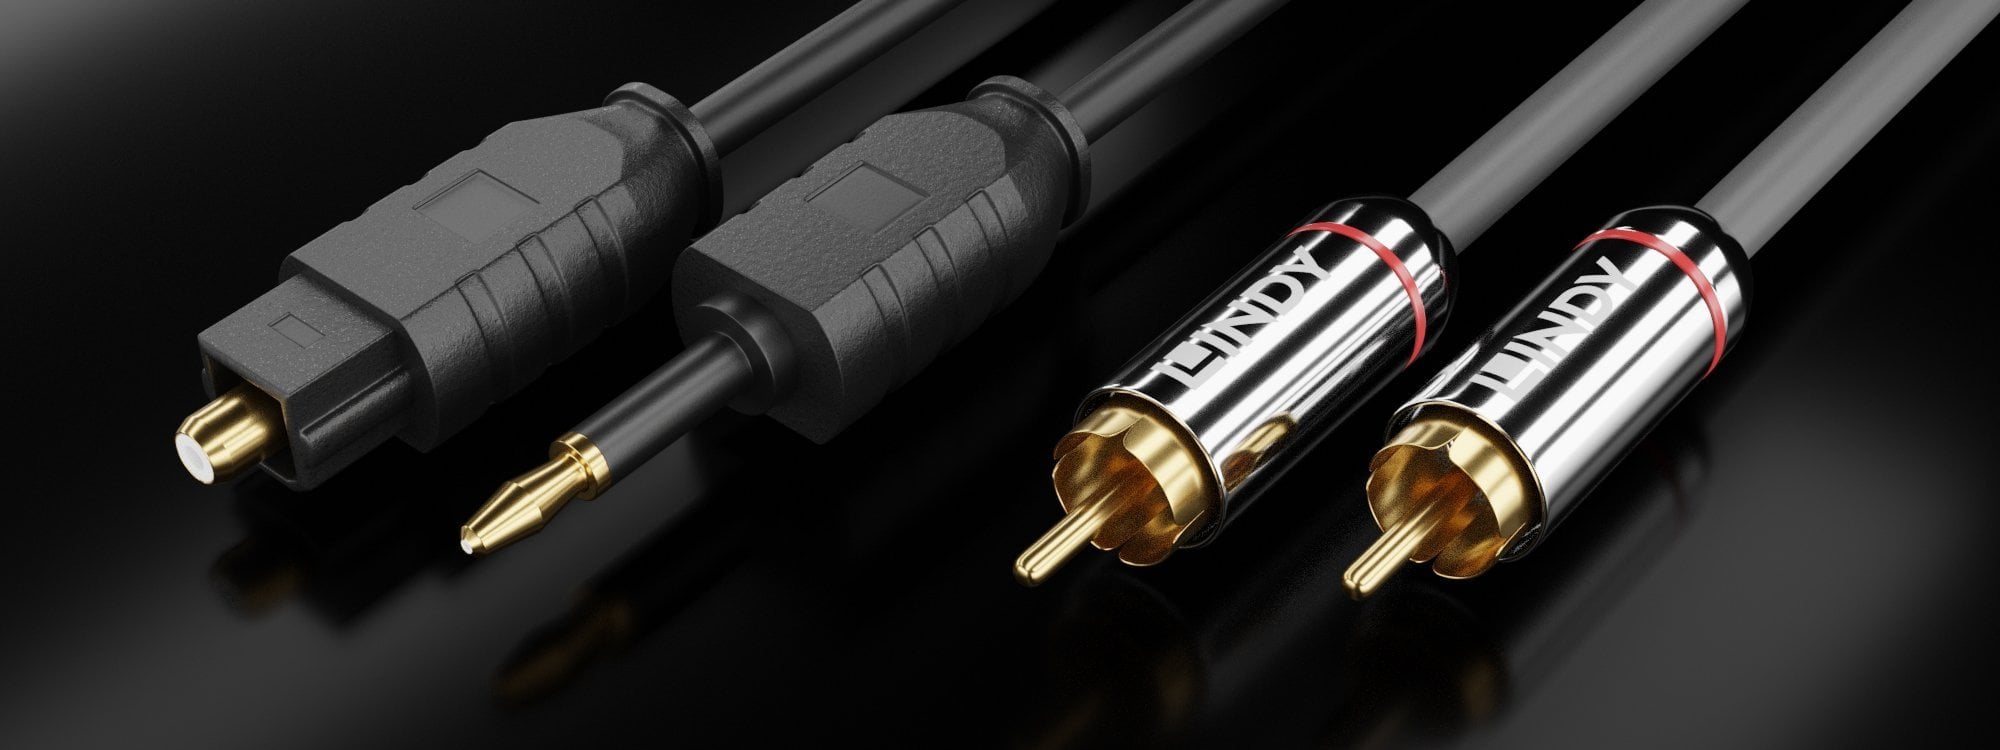
There are two common types of SPDIF connectors: coaxial and optical. Coaxial SPDIF interfaces use a coaxial cable with RCA connectors, while optical SPDIF interfaces use a fiber optic cable with TOSLINK connectors. The choice between coaxial and optical depends on your specific setup and the equipment you are using.
It’s worth noting that SPDIF interfaces are typically capable of transmitting stereo or multichannel audio with support for sample rates up to 192kHz and bit depths up to 24 bits, providing high-quality audio reproduction.
One of the key advantages of using an SPDIF audio interface is the ability to maintain a digital audio signal from source to destination without any loss of quality or degradation. This is particularly important for professional audio recording and production, where maintaining the integrity of the original signal is crucial.
Additionally, SPDIF interfaces offer low latency, allowing for real-time monitoring and interaction with your audio source. This is essential for musicians who need to hear their performance as it happens without any noticeable delay.
Overall, an SPDIF audio interface provides a reliable and high-quality solution for connecting your audio devices to your computer. By capturing and preserving the true essence of your sound, an SPDIF audio interface opens up a world of possibilities for recording, producing, and mixing music or creating professional-quality audio content.
Benefits of Using an SPDIF Audio Interface
Using an SPDIF audio interface offers a range of benefits that can greatly enhance your audio recording and production experience. Let’s take a closer look at some of the advantages:
- High-Quality Audio: One of the primary benefits of an SPDIF audio interface is the ability to capture and reproduce high-quality audio. The digital transmission of audio signals ensures that there is minimal loss or degradation of sound quality during the recording and playback process. This is particularly important for music production, where every nuance and detail matters.
- Lower Latency: The low latency of SPDIF interfaces allows for real-time monitoring and feedback, making it ideal for musicians and performers. Whether you’re recording vocals, playing instruments, or monitoring audio effects, the minimal delay ensures a seamless and responsive experience.
- Flexible Configuration: SPDIF audio interfaces come with a variety of input and output options, allowing you to connect multiple audio sources simultaneously. Whether you’re using microphones, instruments, or a combination of both, an SPDIF interface provides the flexibility to handle different audio setups efficiently.
- Compatibility: SPDIF is a widely adopted standard in the audio industry, so you’ll find that most audio devices and software applications support SPDIF interfaces. This compatibility ensures seamless integration with your preferred digital audio workstation (DAW) and other audio equipment, making it easier to create and collaborate on professional-level projects.
- Signal Integrity: SPDIF interfaces maintain the integrity of the original audio signal by minimizing noise and interference. This is essential for recording environments where clean and accurate audio reproduction is crucial. By using an SPDIF audio interface, you can be confident that your recordings will be of the highest quality.
Whether you’re a musician, podcaster, or audio professional, the benefits of using an SPDIF audio interface are undeniable. From capturing pristine audio to achieving low latency monitoring, these interfaces offer a reliable and efficient way to connect, record, and produce high-quality sound. Investing in an SPDIF audio interface will undoubtedly elevate your audio production capabilities and take your projects to the next level.
Choosing the Right SPDIF Audio Interface
When it comes to choosing the right SPDIF audio interface for your needs, there are a few key factors to consider. Let’s explore these factors to help you make an informed decision:
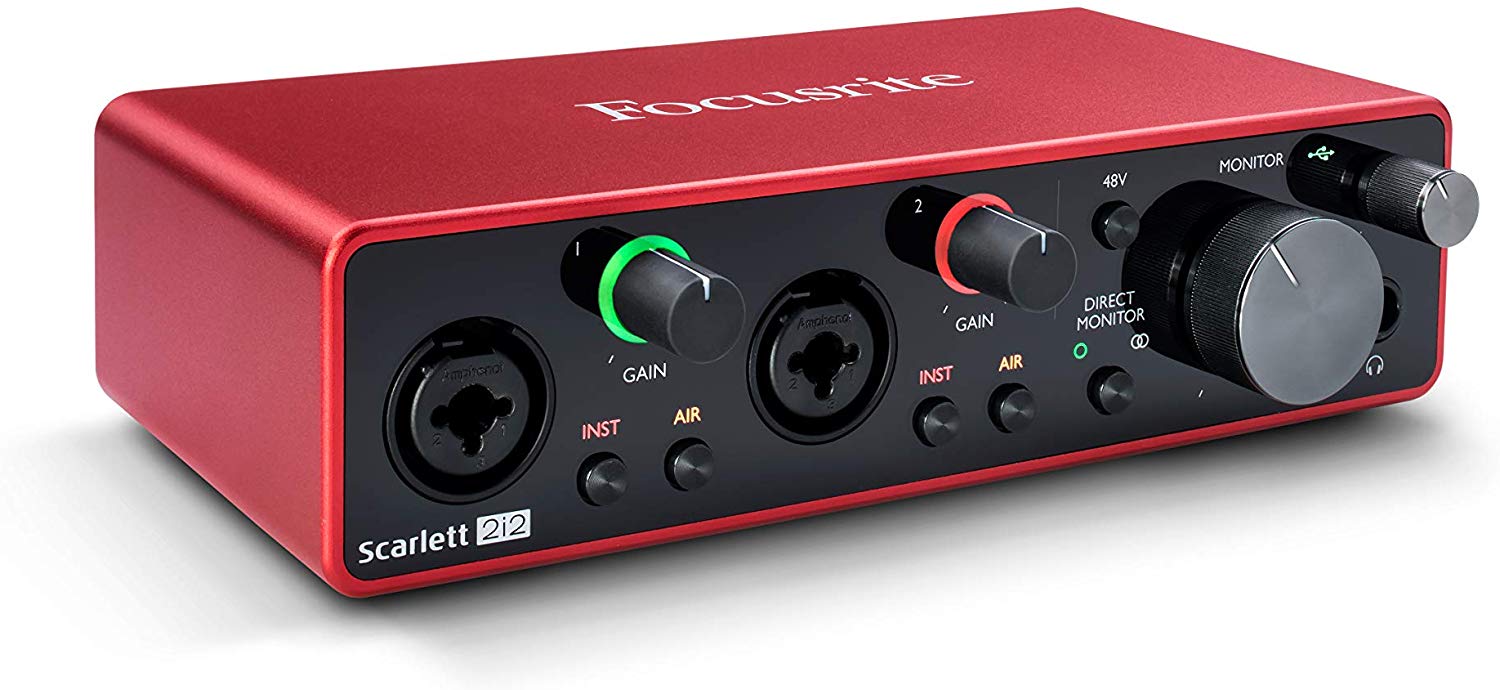
- Number of Inputs and Outputs: Consider the number of audio sources you plan to connect to your interface. If you work with multiple microphones or instruments simultaneously, opt for an interface with a sufficient number of inputs. Additionally, think about the outputs you require, such as for speakers or headphones, to ensure that the interface meets your requirements.
- Sample Rate and Bit Depth: Pay attention to the supported sample rates and bit depths of the SPDIF audio interface. Higher sample rates and bit depths provide better audio quality and accuracy. Ensure that the interface supports the sample rates and bit depths you typically work with to maintain the integrity of your recordings.
- Connectivity: Consider the connectivity options of the interface. Does it have the right type of SPDIF connectors (coaxial or optical) for your setup? Additionally, check if the interface offers other connectivity options, such as USB or MIDI, which can expand your audio routing capabilities and compatibility with other devices.
- Preamps and Converters: The quality of preamps and converters in an interface can significantly impact the sound quality of your recordings. Look for interfaces with high-quality preamps and analog-to-digital (ADC) converters to ensure accurate and transparent audio capture.
- Budget: Set a budget for your SPDIF audio interface and consider the features and quality you can expect within that price range. While it’s essential to find a good value for your money, remember that investing in a higher-quality interface can provide better performance and longevity.
- User Interface and Control: Consider the user interface and control options of the interface. Does it have physical controls like knobs and buttons for easy access to essential settings? Is the interface compatible with software control applications that offer additional functionality and flexibility?
Conduct thorough research, read reviews, and consult with experienced audio professionals to gather information about the different SPDIF audio interfaces available. Assess your specific needs, workflow, and budget, and make a choice that aligns with those factors. Remember, selecting the right SPDIF audio interface will ensure a seamless and efficient recording process and contribute to high-quality audio production.
Setting Up Your SPDIF Audio Interface
Setting up your SPDIF audio interface correctly is essential to ensure optimal performance and seamless integration with your audio devices and computer. Follow these steps to get started:
- Read the Manual: Before anything else, familiarize yourself with the user manual provided by the manufacturer. This will provide detailed instructions specific to your SPDIF audio interface and ensure that you set it up correctly.
- Connect the Interface: Connect your SPDIF audio interface to your computer using the appropriate cable (coaxial or optical) and connector. Make sure the interface is powered on and properly connected to the power source as well.
- Install Drivers: Some SPDIF audio interfaces require specific drivers to be installed on your computer for proper functionality. Visit the manufacturer’s website and download the latest drivers for your operating system. Follow the installation instructions provided to install the drivers.
- Configure Audio Settings: Now, you’ll need to configure your computer’s audio settings. Open the audio settings menu on your computer and select the SPDIF audio interface as the default audio input and output device. Adjust the sample rate and bit depth settings to match the capabilities of your interface.
- Test the Connection: To ensure that your SPDIF audio interface is properly set up, test the connection. Connect a microphone or instrument to the interface and monitor the input levels on your computer. Play some audio and check if you can hear it through the connected speakers or headphones.
- Software Configuration: If you are using a digital audio workstation (DAW) or any other audio software, configure the settings to recognize and utilize your SPDIF audio interface. Select the interface as the audio input and output device within the software settings.
- Additional Connections: If you have other audio devices, such as external preamps, compressors, or MIDI controllers, connect them to the appropriate inputs and outputs of your SPDIF audio interface. This will allow you to incorporate these devices into your audio setup.
Remember to consult the user manual provided with your specific SPDIF audio interface for any additional setup instructions or troubleshooting tips. Take your time to ensure that all connections are secure and that the settings are correctly configured. With a properly set up SPDIF audio interface, you’ll be ready to embark on your audio recording and production journey with confidence.
Connecting Your Audio Devices to the SPDIF Audio Interface
Once you have your SPDIF audio interface set up, it’s time to connect your audio devices to unleash their full potential. Follow these steps to establish the connections:
- Locate the SPDIF Input and Output: Identify the SPDIF input and output connectors on your audio devices. These connectors are typically labeled as “SPDIF In” and “SPDIF Out.”
- Choose the Right Cable: Depending on the type of SPDIF connector (coaxial or optical) your interface and audio devices have, choose the appropriate cable. For coaxial connections, use an RCA cable, while for optical connections, use a fiber optic cable with TOSLINK connectors.
- Connect the Cables: Connect one end of the chosen cable to the SPDIF output of your audio device and the other end to the SPDIF input of your audio interface. Ensure that the connectors are securely plugged in.
- Repeat for Multiple Devices: If you have multiple audio devices with SPDIF capability, repeat the previous steps for each device, connecting them to available SPDIF inputs on your audio interface. This allows you to route audio signals between multiple devices.
- Check the Signal Flow: Confirm that the audio signals are flowing correctly by monitoring the input and output levels on your SPDIF audio interface. Make sure the input levels are showing activity when audio is playing from your connected devices, and ensure that the output levels are reaching your speakers or headphones.
It’s worth mentioning that some SPDIF audio interfaces have additional analog input and output options alongside the SPDIF connections. If your audio devices have analog outputs, you can consider connecting them to the analog inputs of the interface as well. This provides more flexibility in terms of recording and playback options.
Make sure to consult the manuals of your specific audio devices and the SPDIF audio interface for any model-specific instructions. Additionally, check the audio settings within your recording software or digital audio workstation (DAW) to ensure that the correct input and output channels are selected for your connected audio devices.
By properly connecting your audio devices to the SPDIF audio interface, you can take full advantage of its capabilities, ensuring accurate and high-quality audio transmission and recording. Enjoy the seamless integration of your equipment and get ready to create exceptional sound recordings.
Configuring Your Computer for SPDIF Audio Interface
To optimize the performance of your SPDIF audio interface, it’s important to configure your computer’s audio settings appropriately. Here’s how you can set up your computer for the best compatibility and functionality:
- Access Sound Settings: Open the sound settings menu on your computer. The process to access this menu may vary depending on your operating system. In Windows, you can usually find it in the Control Panel or by right-clicking the volume icon in the system tray. On Mac, you can access it through the System Preferences.
- Select SPDIF as Default: In the sound settings, ensure that your SPDIF audio interface is selected as the default audio input and output device. This will route your computer’s audio through the interface.
- Adjust Sample Rate and Bit Depth: Check the supported sample rate and bit depth of your SPDIF audio interface, and set the computer’s audio settings accordingly. It’s recommended to match the sample rate and bit depth to what your interface supports to avoid any issues with audio quality or compatibility.
- Disable Audio Enhancements: Some operating systems have built-in audio enhancements or effects that can interfere with the audio signal from your interface. To ensure the purest and unaltered audio stream, it’s advisable to disable any audio enhancements in your computer’s settings.
- Enable Low Latency Mode (if available): Some audio drivers or software applications may have an option to enable low latency mode. This can significantly reduce the delay between the audio input and its playback through your SPDIF audio interface, making it ideal for real-time monitoring while recording.
- Update Audio Drivers: Keeping your audio drivers up to date is crucial for optimal performance and compatibility. Check the manufacturer’s website for any driver updates specific to your operating system. Download and install the latest drivers to ensure a seamless connection between your SPDIF audio interface and your computer.
It’s worth noting that these steps provide a general guideline, and the specific process may differ depending on your operating system and audio interface. Always refer to the user manual of your SPDIF audio interface and consult the manufacturer’s documentation or support resources for any model-specific configuration recommendations.
By properly configuring your computer for your SPDIF audio interface, you can ensure a smooth and reliable audio recording and playback experience. Enjoy the benefits of high-quality sound reproduction and seamless integration between your audio devices and computer.
Using Your SPDIF Audio Interface with Digital Audio Workstations (DAWs)
Integrating your SPDIF audio interface with a digital audio workstation (DAW) opens up a world of possibilities for recording, editing, and producing music or audio content. Here’s how you can effectively use your SPDIF audio interface with your preferred DAW:
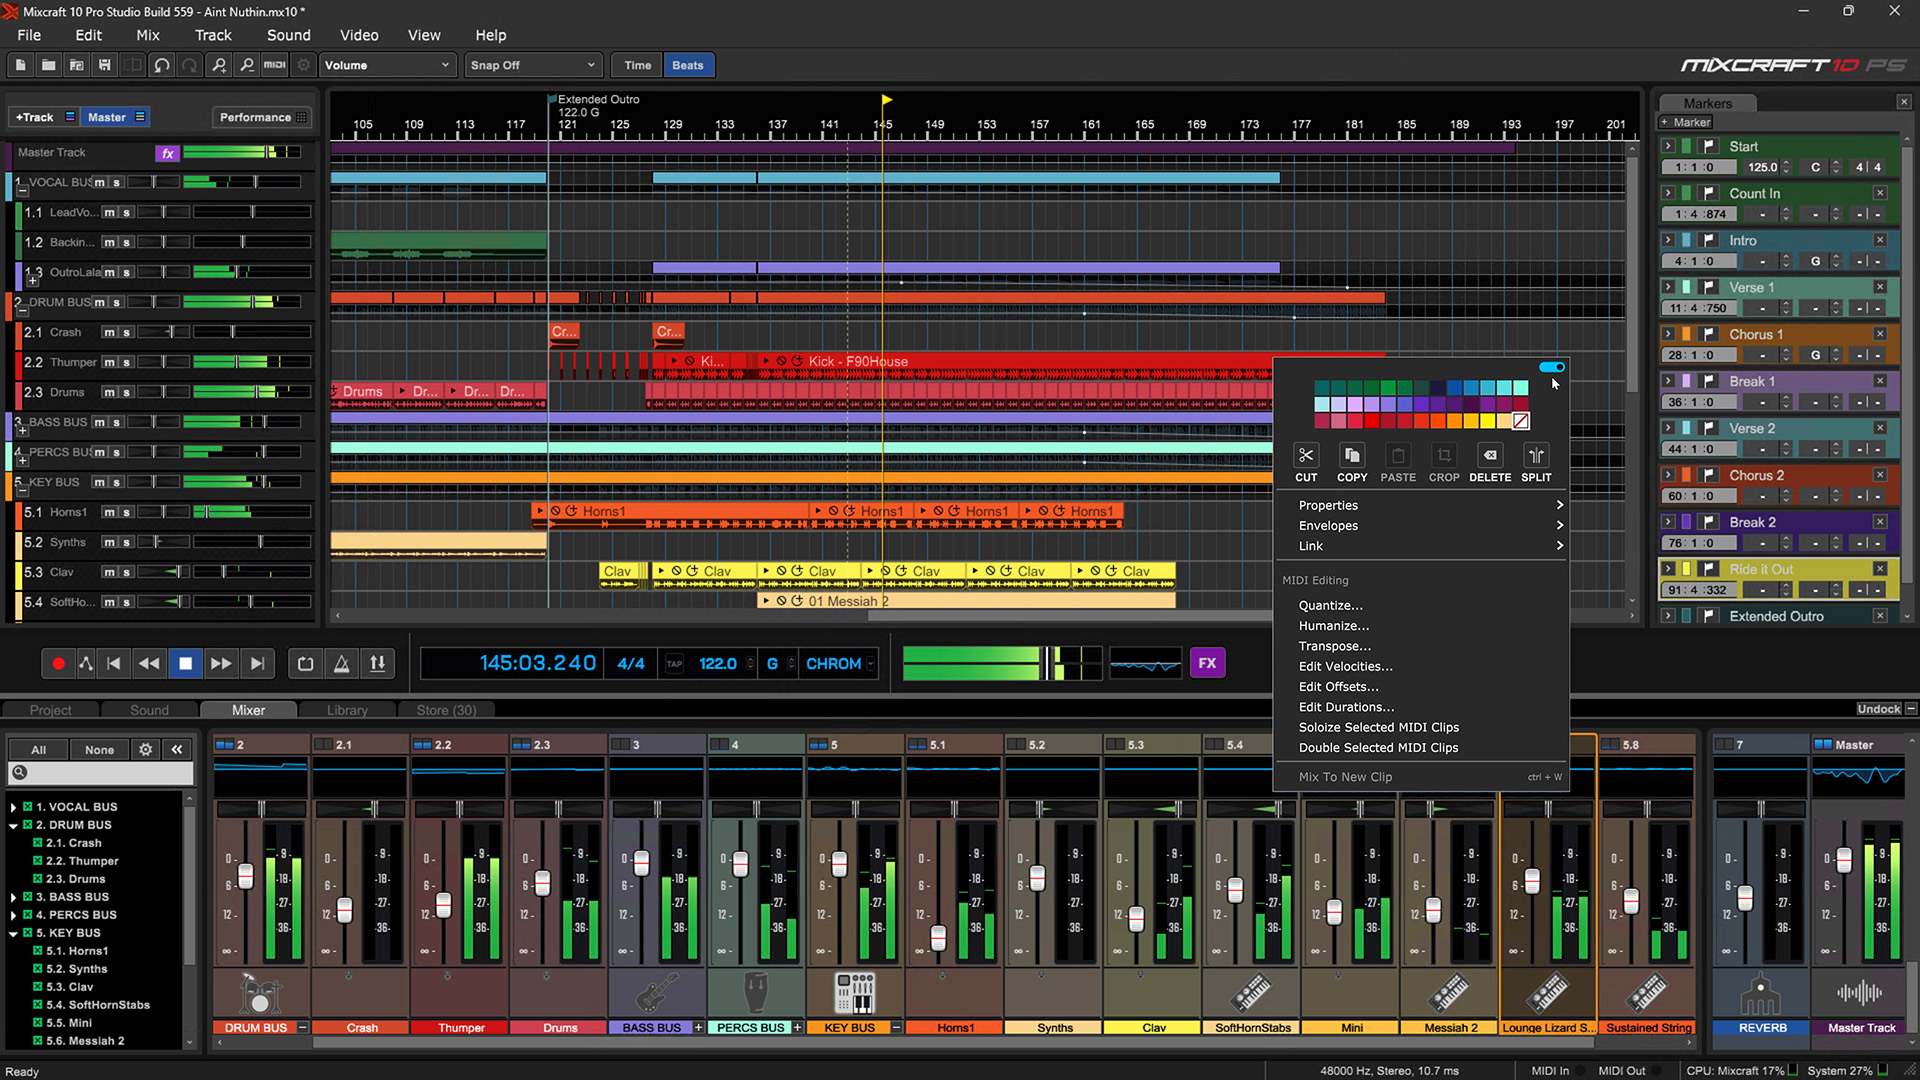
- Choose a Compatible DAW: Ensure that your chosen DAW supports SPDIF audio interfaces. Most popular DAWs, such as Pro Tools, Logic Pro, Ableton Live, and Cubase, have built-in support for SPDIF. Check the specifications or official documentation of your DAW to confirm compatibility.
- Select the SPDIF Interface: Once you have your DAW open, access the audio settings or preferences menu. Look for the option to choose the audio input and output device and select your SPDIF audio interface from the available options. This ensures that your DAW recognizes the interface for recording and playback.
- Configure Channel Inputs and Outputs: In your DAW, configure the input and output channels to correspond to the connected devices on your SPDIF audio interface. Assign the appropriate inputs for recording tracks and the outputs for monitoring or playback. You may also need to configure the routing within your DAW to send and receive audio signals through the correct channels.
- Set Sample Rate and Bit Depth: Make sure that the sample rate and bit depth settings in your DAW match the specifications of your SPDIF audio interface. This ensures accurate audio reproduction and prevents any potential conflicts between the DAW and the interface.
- Enable Low Latency Monitoring: If your DAW has the option, enable low latency mode for real-time monitoring. This reduces the delay between the audio input and output, allowing you to monitor your recordings or performances without noticeable latency.
- Utilize SPDIF Inputs and Outputs: Take advantage of the SPDIF inputs and outputs in your DAW. Use the inputs to record tracks from external devices connected to your SPDIF interface, and use the outputs to route audio to external effects processors or mixing consoles if desired.
- Save and Recall Presets: Once you have configured your DAW settings with your SPDIF audio interface, save these configurations as presets. This allows you to easily recall and load them in future projects, saving time and ensuring consistency in your audio setup.
Remember to consult the documentation and support resources provided by your chosen DAW for specific instructions on integrating and configuring your SPDIF audio interface. These steps are meant to guide you through the general process, but the interface and functionality may vary between different software applications.
With your SPDIF audio interface seamlessly integrated with your DAW, you can unleash your creativity and take full advantage of the powerful recording, editing, and processing capabilities offered by modern digital audio workstations.
Troubleshooting Common Issues with SPDIF Audio Interface
While SPDIF audio interfaces are reliable and efficient, occasional issues may arise. Here are some common problems you may encounter when using an SPDIF audio interface and how to troubleshoot them:
- No Sound: If you’re not getting any sound from your SPDIF audio interface, first check that all cables are securely connected to the correct inputs and outputs. Ensure that the audio levels are not muted or turned down on both the interface and your computer. Additionally, verify that the audio settings in your computer’s sound preferences and DAW software are properly configured for the SPDIF audio interface.
- Distorted or Noisy Sound: Distorted or noisy sound can be caused by improper gain staging, low-quality cables, or incompatible settings. Check that your audio input levels are not set too high, as clipping can cause distortion. Try using high-quality cables and ensure they are not damaged. Double-check that the sample rate and bit depth settings in both your interface and DAW match. If the issue persists, try updating your audio drivers or contact the manufacturer for further assistance.
- Audio Dropouts or Glitches: Audio dropouts or glitches can occur due to buffer size settings or system overload. Increase the buffer size in your DAW to reduce the strain on your computer’s processor. Close any unnecessary background applications to free up system resources. If the issue persists, try updating your audio drivers or reducing the number of virtual instruments or plugins running concurrently.
- No Signal from Inputs: If there is no signal from your connected audio devices, make sure they are properly connected to the appropriate inputs of your SPDIF audio interface. Check that the input channels are properly selected in your DAW and the input levels are adjusted accordingly. If the issue persists, test the devices on another interface or consult the manufacturer’s support for further guidance.
- Sync Issues: Sync issues may occur if the sample rate settings are not matched between your SPDIF audio interface and other connected devices or software. Ensure that all devices and software are set to the same sample rate and try resetting the sync settings. If the problem persists, check your cabling and consider using an external word clock generator for improved synchronization.
- Interface Not Recognized: If your SPDIF audio interface is not being recognized by your computer, ensure that the drivers are properly installed and up to date. Try connecting the interface to a different USB or Firewire port and check if other devices are recognized on that port. If the issue persists, try restarting your computer or contact the manufacturer regarding driver or compatibility issues.
When troubleshooting issues with your SPDIF audio interface, it’s always recommended to consult the user manual and support resources provided by the manufacturer. They may have specific troubleshooting steps or firmware updates that can address the problem.
If you have exhausted all troubleshooting options and are still experiencing issues, consider seeking assistance from an audio professional or contacting the technical support team of your SPDIF audio interface manufacturer for further guidance specific to your setup.
Conclusion
In conclusion, a SPDIF audio interface is a powerful tool that bridges the gap between your audio devices and computer, allowing you to capture and produce high-quality audio. By utilizing the digital connection provided by SPDIF, you can achieve superior sound reproduction with minimal latency and maximum flexibility.
Throughout this article, we have explored the various aspects of using a SPDIF audio interface. From understanding what it is and its benefits to choosing the right interface for your needs, setting it up correctly, and troubleshooting any issues that may arise, we’ve covered the essential steps to maximize your audio production capabilities.
Whether you’re a musician, podcaster, or audio professional, a SPDIF audio interface is a valuable tool that can greatly enhance your recording, editing, and production workflows. With its support for high-quality audio, low latency monitoring, and compatibility with popular digital audio workstations (DAWs), you can unlock your creative potential and achieve professional-level results.
Remember to carefully consider your specific requirements when selecting a SPDIF audio interface. Take into account factors such as the number of inputs and outputs, sample rate and bit depth support, connectivity options, and your budget. By choosing the right interface, you can ensure a reliable and efficient audio setup that meets your needs.
Lastly, always refer to the user manuals, documentation, and support resources provided by the manufacturer of your SPDIF audio interface and associated software. These resources will provide specific instructions and troubleshooting tips to address any issues you may encounter along the way.
With the right SPDIF audio interface and proper setup, you’ll be well-equipped to embark on your audio production journey and bring your creative visions to life. Enjoy the sonic possibilities that a SPDIF audio interface offers, and let your imagination soar in the realm of high-quality sound.