Home>Production & Technology>Surround Sound>How To Hook Up Surround Sound To Computer
Surround Sound
How To Hook Up Surround Sound To Computer
Modified: January 22, 2024
Learn how to easily connect and set up surround sound to your computer for an immersive audio experience. Enhance your entertainment with surround sound technology.
(Many of the links in this article redirect to a specific reviewed product. Your purchase of these products through affiliate links helps to generate commission for AudioLover.com, at no extra cost. Learn more)
Table of Contents
- Introduction
- Step 1: Check Your Computer’s Audio Outputs
- Step 2: Determine Surround Sound System Compatibility
- Step 3: Connect the Surround Sound Receiver to the Computer
- Step 4: Set Up the Surround Sound Speakers
- Step 5: Configure Surround Sound Settings on the Computer
- Step 6: Test and Adjust the Surround Sound System
- Conclusion
Introduction
Surround sound systems are a game-changer when it comes to experiencing audio. Whether you’re a movie enthusiast looking to recreate the cinematic experience at home or a gamer wanting immersive sound effects, hooking up surround sound to your computer can elevate your audio experience to new heights.
But how do you go about connecting your computer to a surround sound system? Don’t worry – in this article, we’ll guide you through the steps to successfully hook up surround sound to your computer.
Before we dive into the specifics, it’s important to understand that there are different types of surround sound systems available, such as 5.1, 7.1, and even 9.1 configurations. These numbers refer to the number of speakers and channels the system supports, with the first digit representing the number of main speakers and the second digit indicating the presence of a dedicated subwoofer. The more speakers and channels a system has, the greater the audio immersion.
While the setup process may vary slightly depending on your specific equipment and connections, the general principles remain the same. In this guide, we’ll cover the basics that apply to most setups, ensuring that you can enjoy rich and immersive sound from your computer.
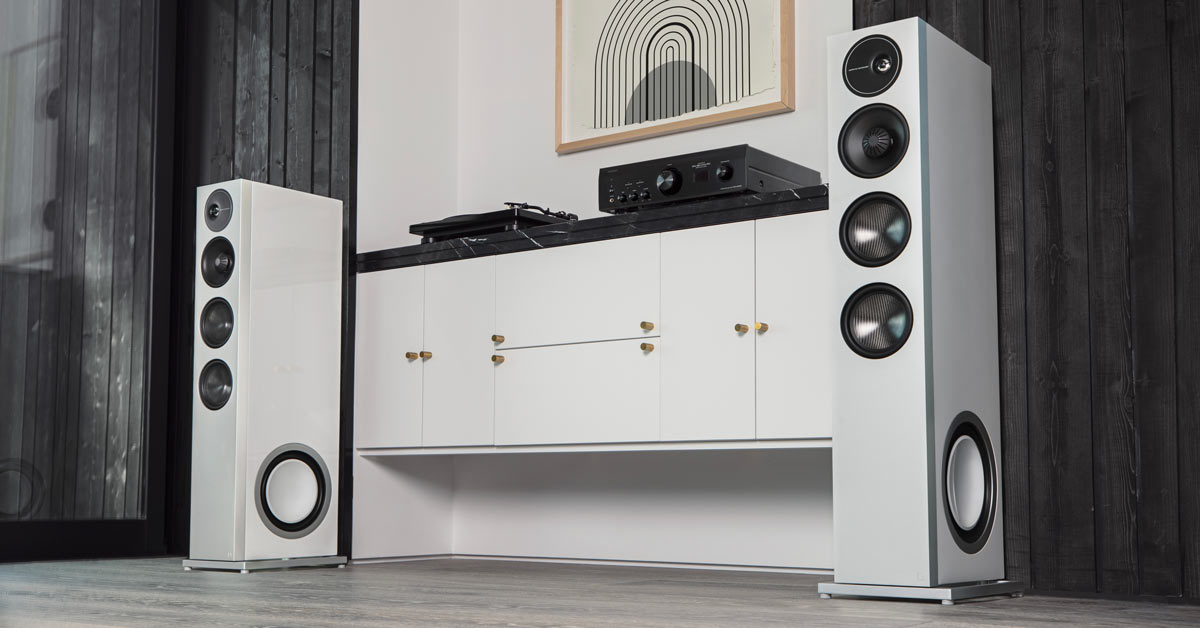
Before getting started, make sure you have the necessary equipment. This includes a surround sound receiver or amplifier, surround sound speakers, audio cables, and possibly an HDMI cable if your computer and receiver support it.
Now that you’re ready, let’s dive into the step-by-step process of setting up your surround sound system with your computer.
Step 1: Check Your Computer’s Audio Outputs
The first step in hooking up surround sound to your computer is to check the audio outputs available on your computer. Most computers have multiple audio output options, such as headphone jacks, line-out ports, or digital audio outputs.
Start by locating the audio outputs on your computer. These are usually found on the back panel, but some laptops may have them on the side or front. Look for color-coded ports, as they can indicate different types of audio outputs.
If your computer has a dedicated sound card, you may have more audio output options available. In this case, refer to the documentation or manufacturer’s website to determine the capabilities of your sound card and the corresponding audio outputs.
Once you’ve identified the audio outputs, determine which one will be used for connecting to your surround sound system. Ideally, you should look for an output that supports either analog or digital audio, depending on the inputs available on your surround sound receiver.
If your computer has multiple audio outputs, you can prioritize which one to use through your computer’s sound settings. Simply right-click on the speaker icon in the system tray (for Windows) or access the Sound Preferences (for Mac) to select the desired audio output as the default.
Additionally, you may also need to check if your computer’s audio drivers are up to date. Outdated or incompatible drivers can cause issues with audio output. Visit the manufacturer’s website or use a driver update utility to ensure your drivers are up to date.
By checking your computer’s audio outputs and ensuring they are compatible with your surround sound system, you’re setting the foundation for a successful hookup. In the next step, we’ll explore the compatibility of your surround sound system with your computer.
Step 2: Determine Surround Sound System Compatibility
Now that you’ve checked your computer’s audio outputs, it’s important to determine the compatibility of your surround sound system with your computer. This step will ensure that the connections between the two devices are compatible and will provide optimal sound quality.
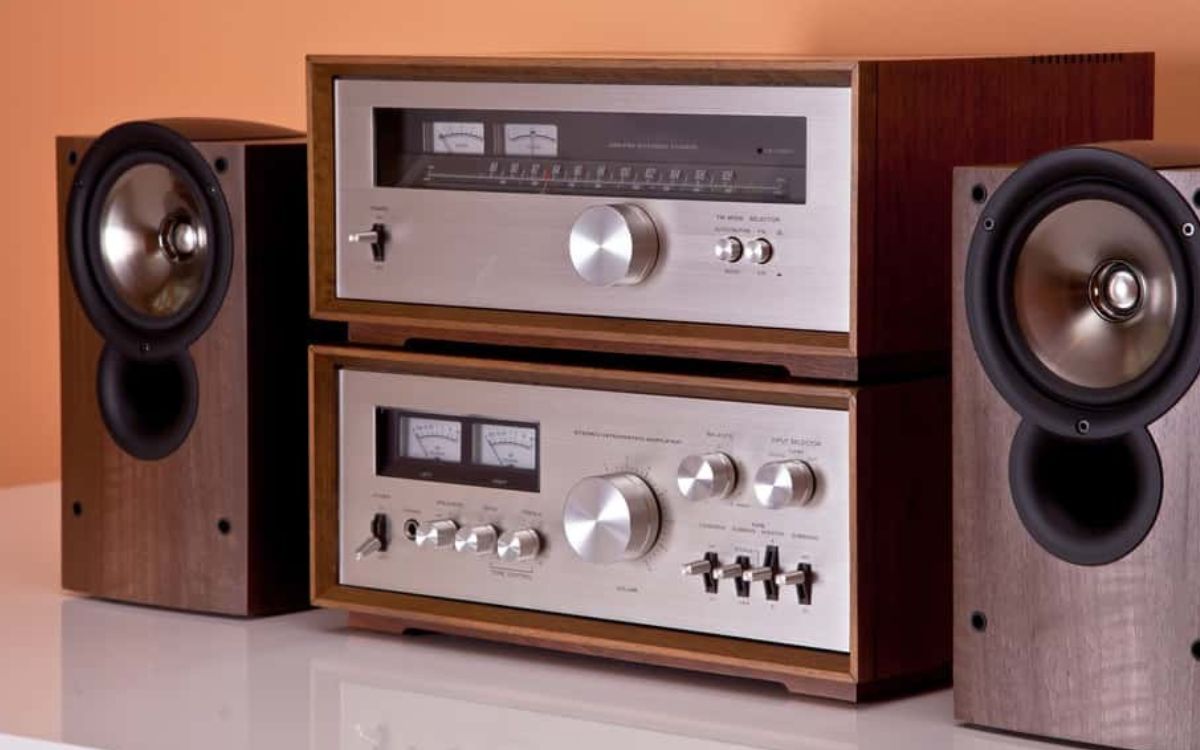
First, determine the input options available on your surround sound receiver. Common inputs include HDMI, optical, coaxial, and analog (RCA). Refer to your receiver’s user manual or specifications to identify the available inputs.
Next, compare the available inputs on your receiver with the audio outputs on your computer. If both devices have HDMI ports, this is the preferred option as it can transmit both high-definition video and audio signals through a single cable. However, if HDMI is not available on your computer, you can explore other options.
If your computer has an optical output, this is another reliable option for connecting to your surround sound system. Optical connections provide high-quality digital audio transmission. Ensure that your receiver has an optical input before proceeding with this option.
If your computer only has analog audio outputs, such as line-out or headphone jacks, you will need to convert the analog signal to a digital signal that your receiver can process. This can be achieved using a digital-to-analog converter (DAC) or an audio interface with digital output capabilities.
It’s worth noting that some surround sound systems may have USB connectivity options. This can be useful for connecting directly to your computer. However, not all systems support this feature, so check your receiver’s specifications to determine if USB connectivity is available.
After determining the compatibility between your surround sound system and computer, you’re now ready to connect the two devices. In the next step, we’ll guide you through the process of connecting the surround sound receiver to your computer.
Step 3: Connect the Surround Sound Receiver to the Computer
With the compatibility between your surround sound system and computer established, it’s time to connect the two devices together. This step will vary depending on the available inputs and outputs on your computer and receiver. Below are the general steps to connect the surround sound receiver to your computer:
- Ensure that both your computer and surround sound receiver are powered off to prevent any potential damage during the connection process.
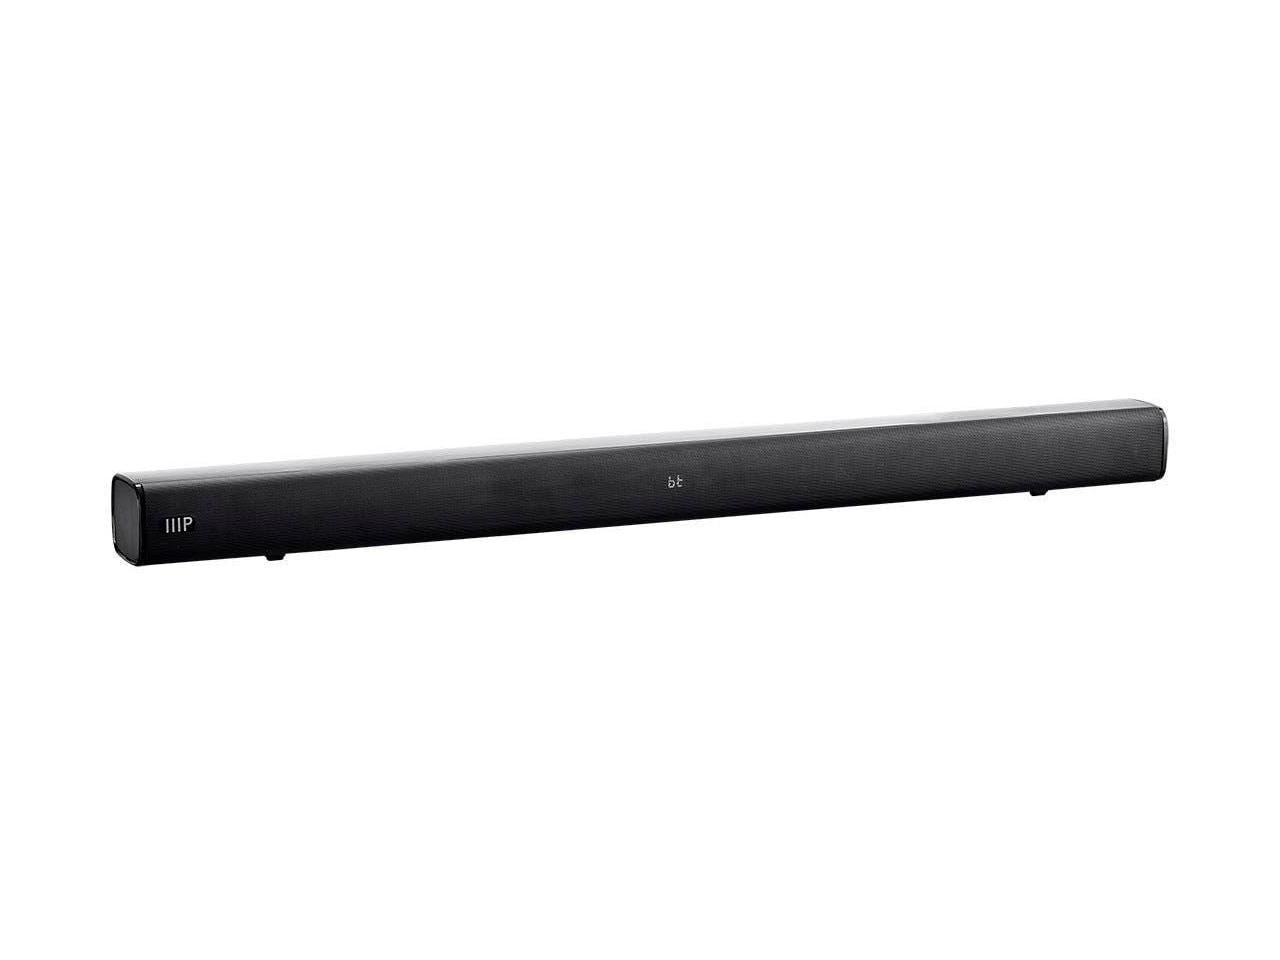
- Identify the appropriate cable for connecting your computer to the receiver based on the available inputs and outputs. This can be an HDMI cable, optical cable, coaxial cable, or analog audio cables.
- If using an HDMI cable, connect one end to the HDMI output port on your computer and the other end to the HDMI input port on your surround sound receiver.
- For optical or coaxial connections, insert one end of the cable into the corresponding output port on your computer and the other end into the relevant input port on your receiver.
- If using analog audio cables, connect the appropriate cables from the line-out or headphone jack on your computer to the corresponding audio input ports (usually labeled “Line-In” or “Aux”) on your receiver. Ensure that you match the left and right channels correctly.
- Double-check all the connections to ensure that they are securely plugged in.
Once the connections are made, you can proceed to power on your computer and surround sound receiver. Your computer should automatically detect the new audio output, but if not, you may need to adjust the audio settings in your computer’s control panel or system preferences.
If you encounter any issues with the connection or audio playback, double-check that the cables are securely connected and that the correct audio input is selected on your receiver. You may also need to consult the user manuals for your computer and receiver for troubleshooting tips specific to your devices.
Now that you have successfully connected your surround sound receiver to your computer, it’s time to move on to the next step: setting up the surround sound speakers.
Step 4: Set Up the Surround Sound Speakers
Now that you have connected your surround sound receiver to your computer, it’s time to set up the surround sound speakers to complete your immersive audio experience. The placement and configuration of your speakers are crucial for optimal sound quality and immersion.
Here are some general guidelines to follow when setting up your surround sound speakers:
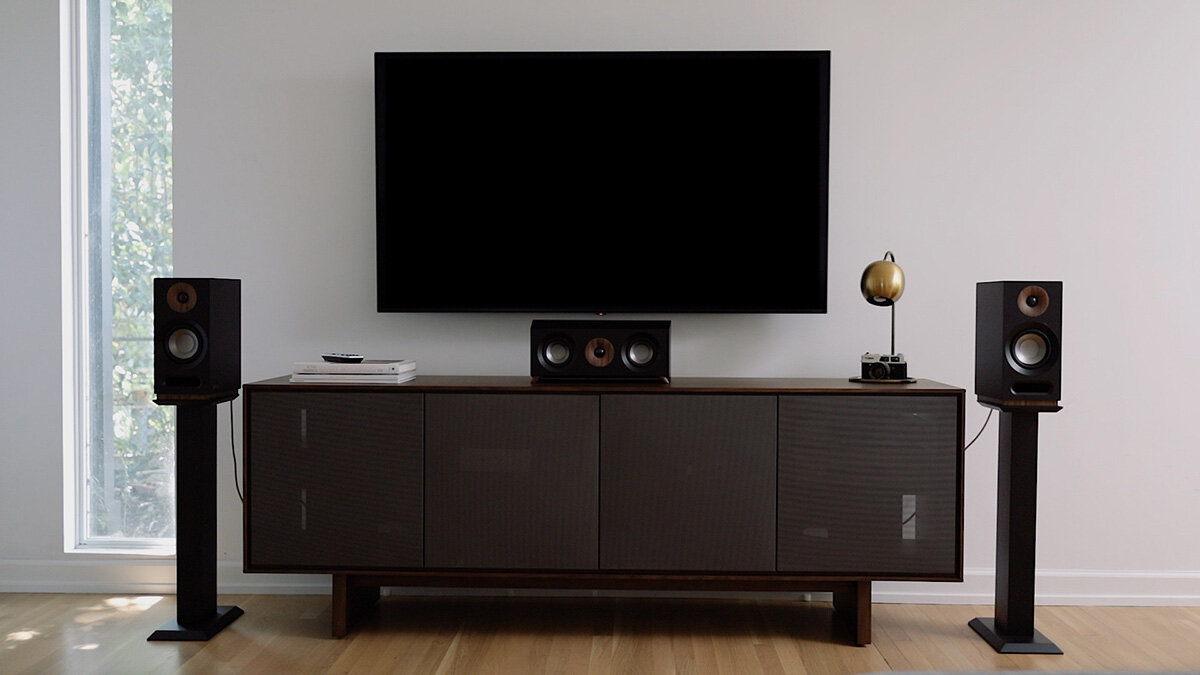
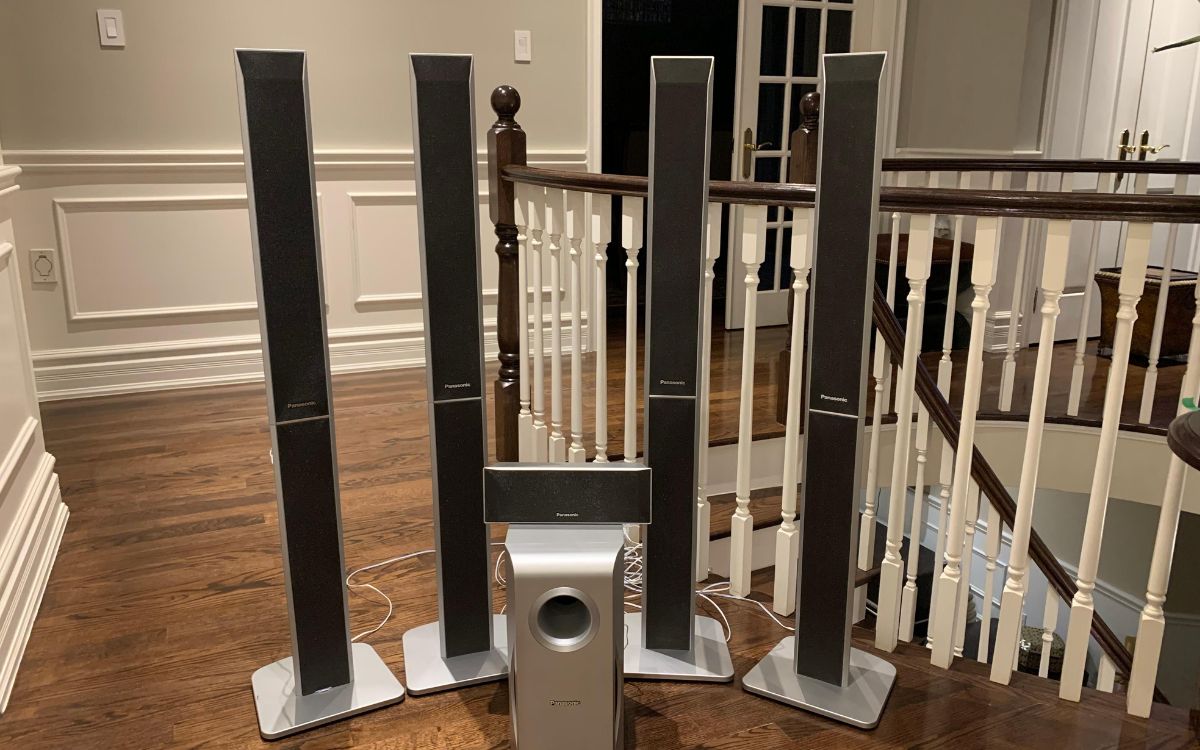
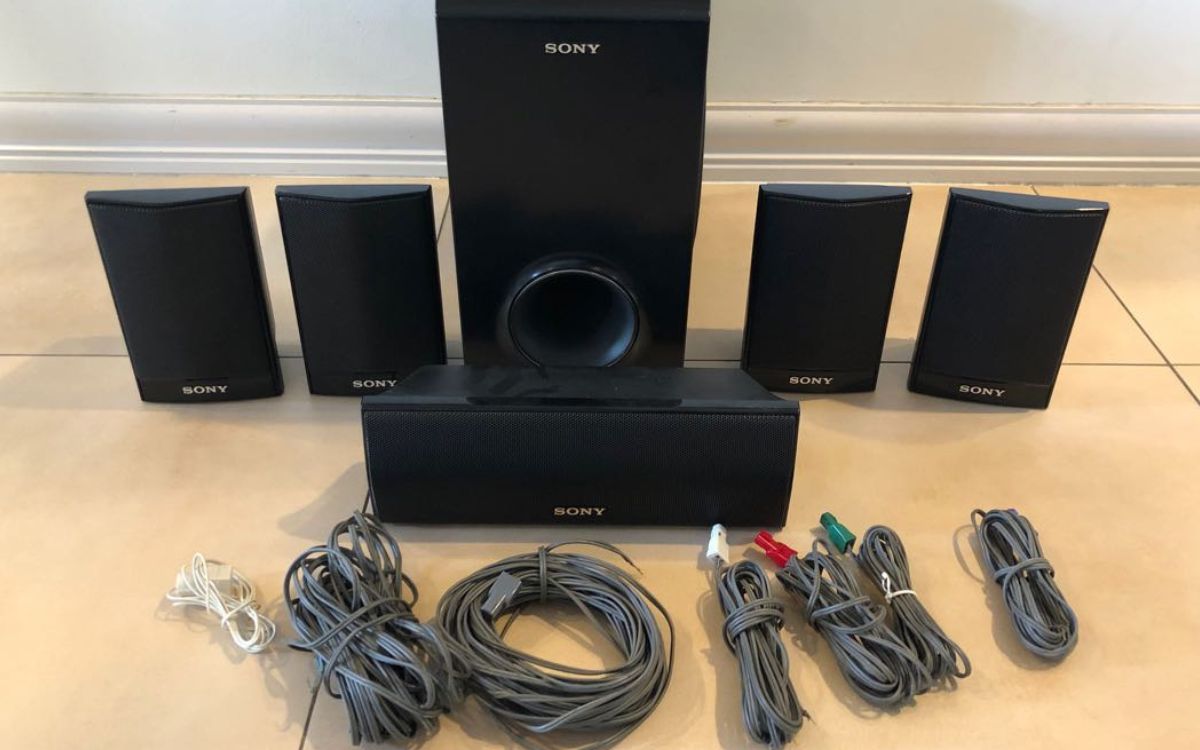
- Identify the different types of speakers in your surround sound system. This typically includes front speakers (left and right), center speaker, rear speakers (left and right), and a subwoofer. The center speaker and subwoofer serve to enhance dialogue clarity and low-frequency sounds, respectively.
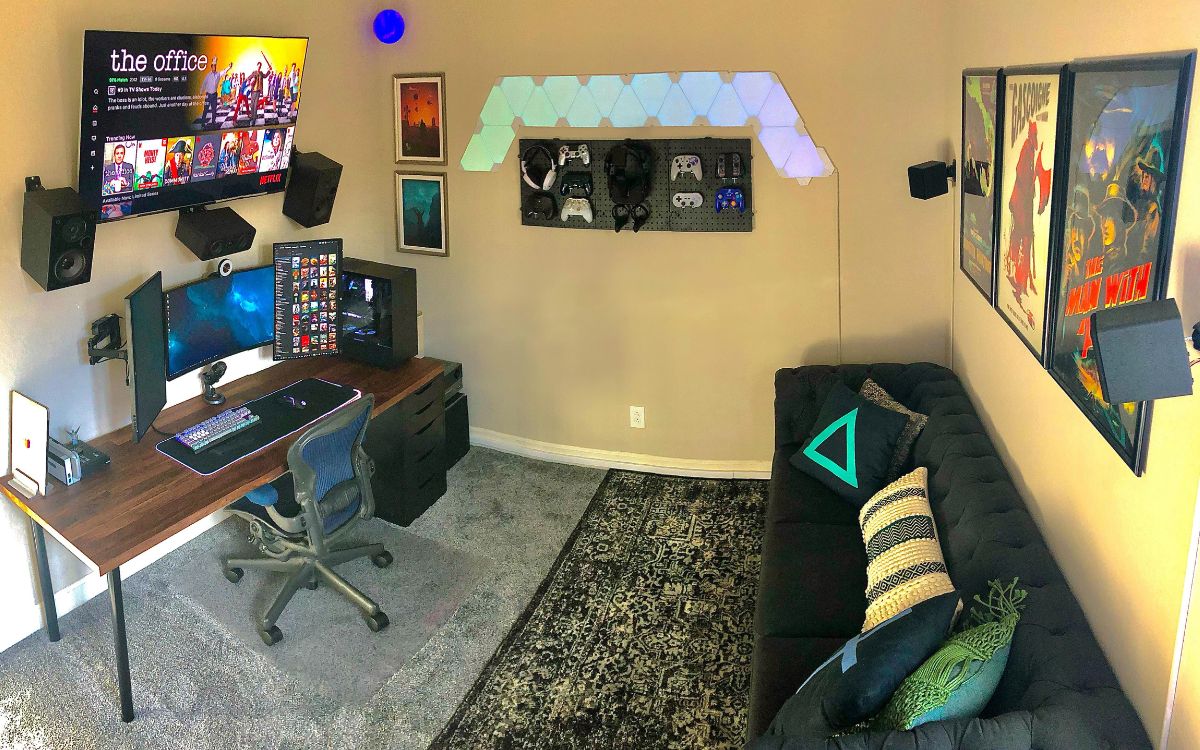
- Place the front speakers on either side of your TV or computer monitor, facing each other and angled towards the listening area. This configuration provides a wide stereo soundstage and enhances the perception of directional audio.
- Position the center speaker above or below your TV or computer monitor, aimed towards the listening area. The center speaker plays a crucial role in reproducing dialogue and other important sound elements in movies and games.
- For the rear speakers, position them to the sides or slightly behind the listening area. Aim them towards the center of the room. These speakers are responsible for creating immersive surround sound effects.
- Place the subwoofer in a location that provides balanced bass distribution. Experiment with different placements until you achieve a deep and powerful bass response without it overpowering the other speakers.
- Ensure that all speakers are securely mounted or placed on stable surfaces to prevent vibrations or interference. Adjust the speaker angles and heights, if necessary, to optimize the sound projection.
Remember to refer to the user manual or documentation for your specific surround sound system for any additional setup recommendations or tips.
Once you have placed the speakers, make sure to connect them to the appropriate speaker outputs on your surround sound receiver. Most receivers will have labeled speaker outputs for each channel, making it easy to connect them correctly.
It’s recommended to use high-quality speaker cables for the connections to minimize signal loss and distortion. Ensure that the positive and negative terminals on the speakers match the corresponding terminals on the receiver.
With the speakers set up and connected, you’re now ready to move on to the next step: configuring the surround sound settings on your computer.
Step 5: Configure Surround Sound Settings on the Computer
Once you have set up your surround sound speakers, it’s time to configure the surround sound settings on your computer. This step ensures that your computer recognizes and utilizes the full potential of your surround sound system.
The process of configuring the surround sound settings may vary depending on your operating system and audio drivers. However, the general steps are as follows:
- Access the audio settings on your computer. On Windows, you can right-click on the speaker icon in the system tray and select “Playback Devices” or “Sound Settings.” On Mac, you can access the Sound Preferences through the Apple menu or System Preferences.
- Locate the audio output device that corresponds to your surround sound receiver. It may be labeled with the brand or model name of your receiver. Set it as the default output device.
- Check the properties or advanced settings of the selected audio output device. Ensure that it is configured for the desired number of channels (e.g., 5.1, 7.1) that your surround sound system supports.
- Enable any additional audio enhancements or effects provided by your audio drivers or software. These can include virtual surround sound, equalization presets, or spatial audio technologies.
- Test the audio output by playing sound through each channel individually. This can be done using the audio configuration tools provided by your operating system or third-party software. Ensure that each speaker is producing sound correctly and in the proper direction.
- Adjust the volume levels of the speakers if necessary. Some systems may have individual speaker volume controls, while others may require adjusting the levels through the computer’s audio settings.
During the configuration process, it’s important to refer to the user manual or documentation for your specific surround sound system and audio drivers. They may provide specific instructions or options that optimize the audio experience.
After carefully configuring the surround sound settings, you can now enjoy immersive audio from your computer through your newly hooked-up surround sound system. However, there’s one more step to ensure everything is working correctly: testing and adjusting the surround sound system.
Step 6: Test and Adjust the Surround Sound System
With your surround sound system fully connected and configured, it’s time to test and fine-tune the audio performance to ensure optimal sound quality. This final step allows you to make any necessary adjustments and ensures that you’re getting the most immersive experience from your surround sound system.
Here are some key steps to follow when testing and adjusting your surround sound system:
- Start by playing various types of audio content, such as movies, music, or games, that showcase different sound effects and frequencies. This will help you gauge the overall audio performance and identify any potential issues.
- Listen to the audio and pay attention to the sound coming from each speaker. Make sure that the sound is balanced and there are no inconsistencies or distortions between the speakers.
- If you notice any issues, such as certain speakers overpowering others or a lack of bass, consider adjusting the speaker levels or the receiver’s audio settings. Most surround sound receivers have built-in calibration features that can help optimize the audio balance.
- Use a test tone generator or surround sound test tracks available online to ensure that sound is being properly directed to each speaker. This will help you identify any speaker placement or connectivity issues.
- Consider experimenting with different audio settings and presets provided by your receiver or computer’s audio software. These settings can enhance the audio quality and tailor it to your preferences.
- If necessary, consult the user manual for your surround sound system or seek online resources and forums for troubleshooting tips and solutions to common audio issues.
Remember that achieving the perfect audio balance is subjective and may require some trial and error. Take your time to fine-tune the settings until you are satisfied with the audio performance.
By testing and adjusting your surround sound system, you’re ensuring that you enjoy the immersive and high-quality audio experience it is capable of providing. With everything in place and optimized, you’re now ready to sit back, relax, and enjoy your audio content with surround sound bliss.
Congratulations! You have successfully hooked up and configured a surround sound system to your computer. Get ready for a whole new level of audio immersion!
Conclusion
Hooking up a surround sound system to your computer can significantly enhance your audio experience, whether you’re watching movies, playing games, or simply listening to music. By following the steps outlined in this guide, you can successfully connect and configure your surround sound system, transforming your computer into an immersive audio powerhouse.
From checking your computer’s audio outputs to determining system compatibility, connecting the receiver, setting up the speakers, configuring surround sound settings on your computer, and testing and adjusting the system, each step plays a crucial role in ensuring optimal audio performance.
Remember to refer to the documentation and user manuals for your specific equipment, as they may provide additional instructions or options tailored to your setup. Troubleshooting tips and online resources can also be valuable in addressing any issues that may arise during the setup process.
With your surround sound system up and running, take the time to enjoy your favorite media with the immersive audio experience it deserves. Dive into the action with realistic sound effects, feel the depth of music, and immerse yourself in the world of cinema right in the comfort of your own home.
Keep in mind that every environment is unique, and the optimal audio settings may vary depending on factors like room acoustics and personal preferences. Don’t be afraid to experiment and fine-tune the settings to achieve the best sound quality for your specific setup.
By following the steps outlined in this guide and taking the time to properly set up and configure your surround sound system, you can enrich your audio experience and enjoy a new level of immersion that truly brings your content to life.
So, go ahead and get started – unleash the full potential of your computer’s audio capabilities and treat yourself to an audio experience that will leave you truly captivated.