Home>Production & Technology>Audio Interface>How To Connect Yamaha Hs5 To Audio Interface


Audio Interface
How To Connect Yamaha Hs5 To Audio Interface
Modified: March 5, 2024
Learn how to connect your Yamaha HS5 speakers to your audio interface for the best sound quality. Follow these simple steps to enjoy your music at its fullest.
(Many of the links in this article redirect to a specific reviewed product. Your purchase of these products through affiliate links helps to generate commission for AudioLover.com, at no extra cost. Learn more)
Table of Contents
- Introduction
- Step 1: Gathering the necessary equipment
- Step 2: Connecting the audio interface to your computer
- Step 3: Powering on the Yamaha HS5 monitor speakers
- Step 4: Connecting the Yamaha HS5 speakers to the audio interface
- Step 5: Adjusting the settings on your audio interface
- Step 6: Calibrating the Yamaha HS5 speakers
- Step 7: Testing the connection and audio playback
- Conclusion
Introduction
Welcome to this comprehensive guide on how to connect the Yamaha HS5 monitor speakers to an audio interface. The Yamaha HS5 is a popular choice among audio enthusiasts and professionals for its exceptional sound quality and accuracy. However, to fully utilize its potential, you need to pair it with a quality audio interface.
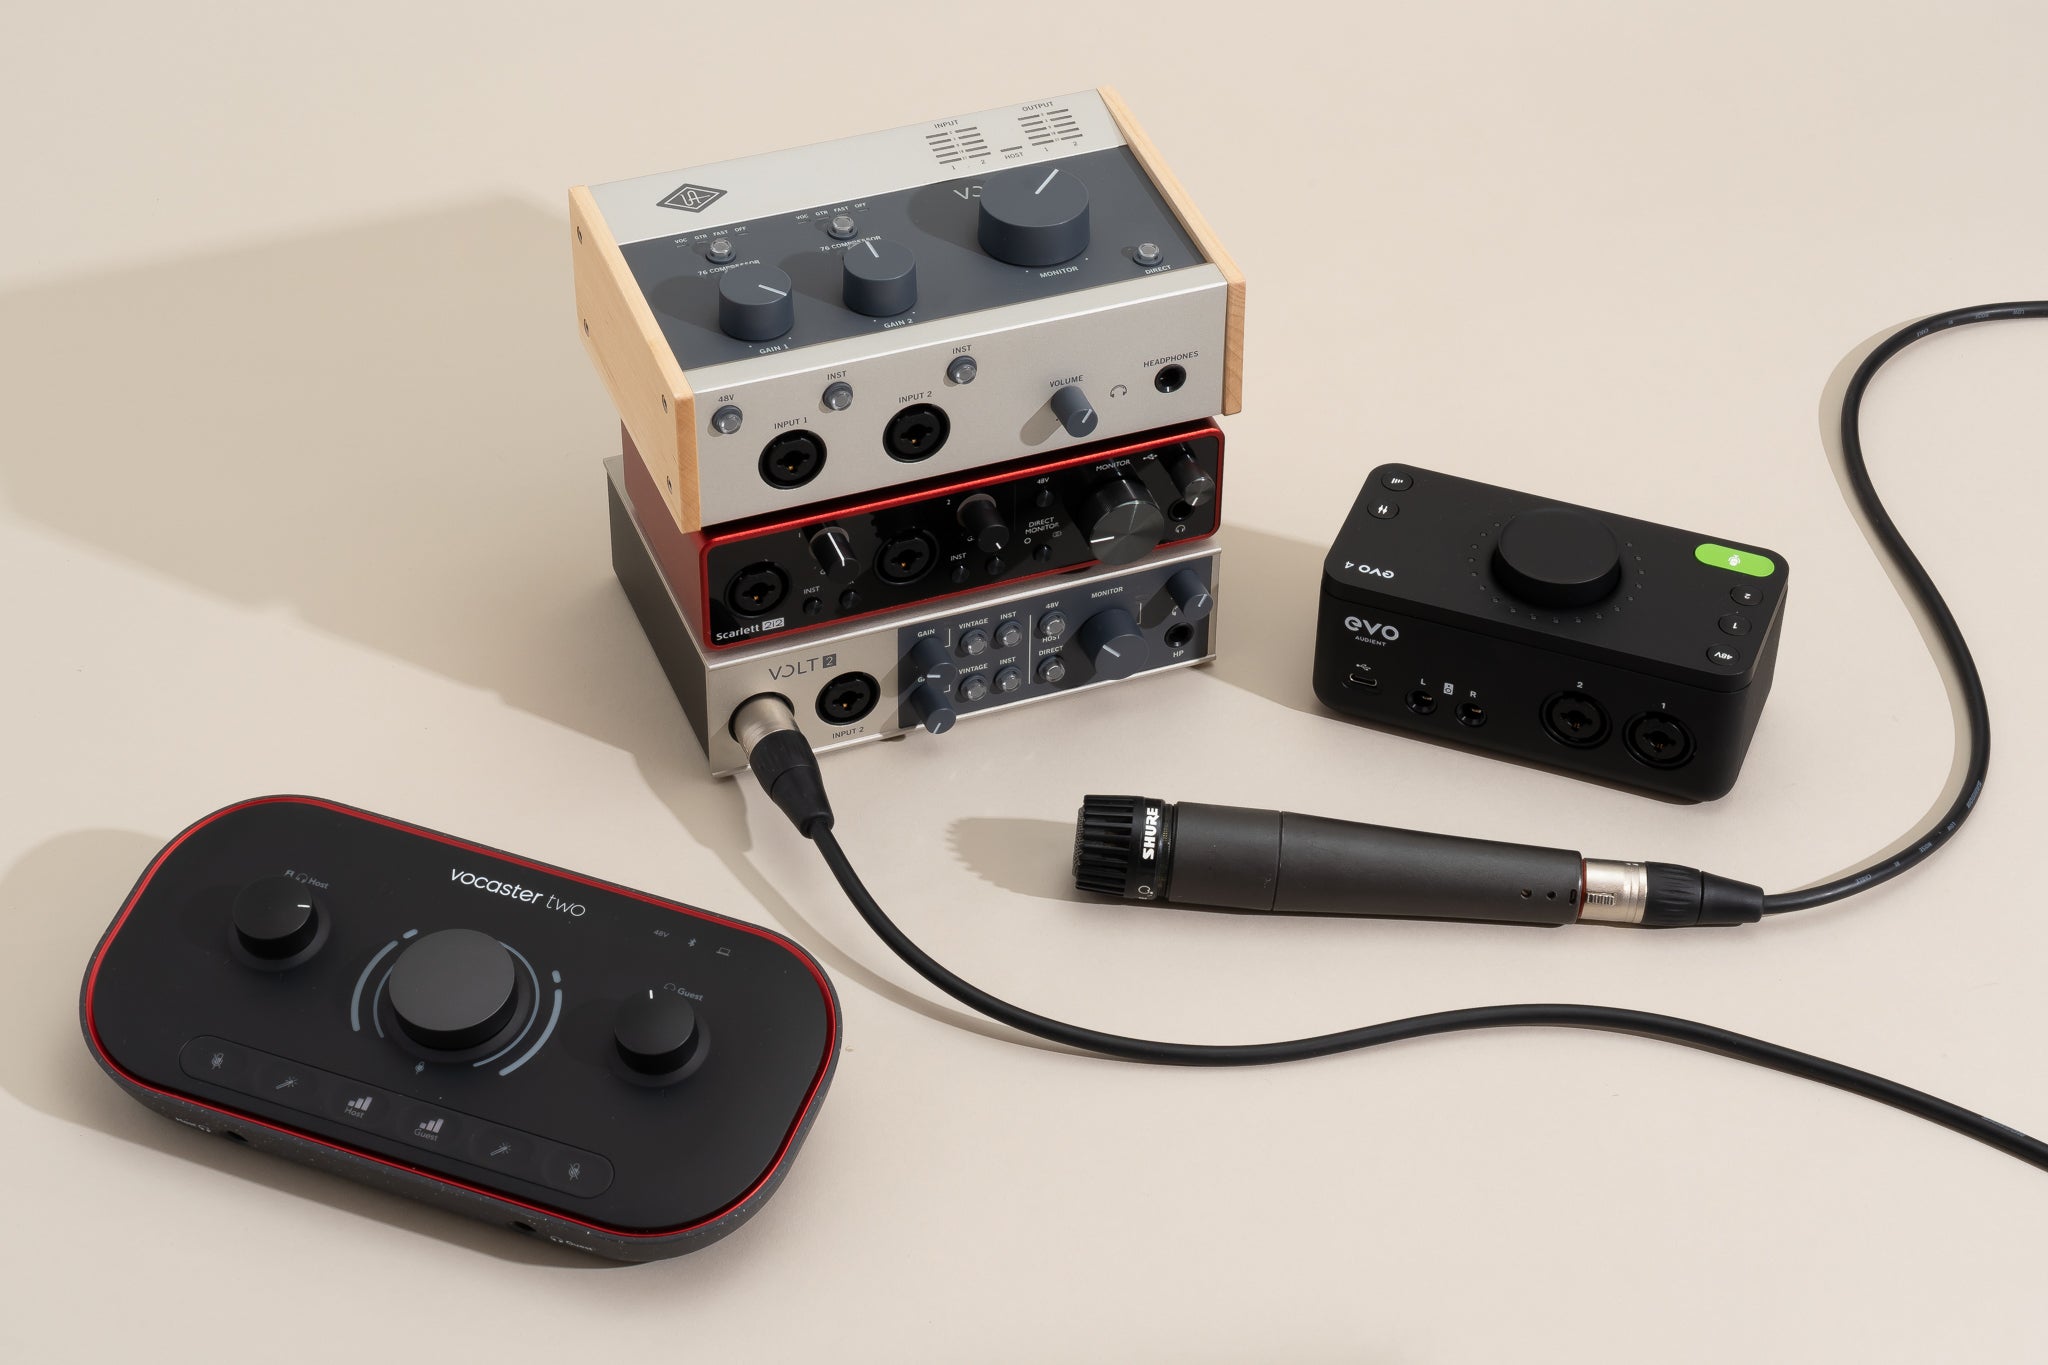
An audio interface serves as the bridge between your computer and the Yamaha HS5, allowing you to connect and control the audio signal flow. It acts as a hub for connecting various audio sources and provides the necessary input/output ports for seamless connectivity.
Whether you are a music producer, podcaster, or simply an avid music lover, connecting the Yamaha HS5 to an audio interface will enhance your listening experience and give you more control over your audio setup.
In this article, we will guide you through the step-by-step process of connecting the Yamaha HS5 to an audio interface. We will cover everything you need to know, from gathering the necessary equipment to calibrating the speakers for optimal performance. So, let’s dive in!
Step 1: Gathering the necessary equipment
Before you can connect your Yamaha HS5 speakers to an audio interface, you’ll need to gather the necessary equipment. Here’s a list of what you’ll need:
- Yamaha HS5 monitor speakers (2)
- Audio interface (compatible with your computer)
- Audio cables (XLR or TRS cables)
- Power cables for both the speakers and the audio interface
- A computer or laptop
- Any necessary drivers or software for the audio interface
Make sure you have all of these items ready before proceeding to the next steps. It’s important to choose an audio interface that is compatible with your computer and offers the necessary input/output options for your setup.
When selecting audio cables, XLR or TRS cables are commonly used for connecting studio monitors like the Yamaha HS5. XLR cables provide balanced connections, which can help minimize interference and improve audio quality. TRS cables, on the other hand, offer flexibility when it comes to cable lengths.
Ensure that you have the appropriate power cables for both the speakers and the audio interface. Make sure to use the correct voltage and follow the manufacturer’s instructions for safely connecting and powering on the equipment.
Lastly, ensure that your computer or laptop is in good working condition and has the necessary ports and specifications to support the audio interface and Yamaha HS5 speakers.
Once you have gathered all the necessary equipment, you’re ready to move on to the next step: connecting the audio interface to your computer.
Step 2: Connecting the audio interface to your computer
Now that you have gathered all the necessary equipment, it’s time to connect the audio interface to your computer. This step is crucial as it establishes the communication between your computer and the Yamaha HS5 speakers.
Follow these steps to connect the audio interface:
- Locate the USB or Thunderbolt port on your computer/laptop and the corresponding port on the audio interface.
- Plug one end of the USB or Thunderbolt cable into the computer’s port and the other end into the audio interface.
- If your audio interface requires external power, connect the power cable to the appropriate port on the interface and plug it into a power outlet.
- Power on the audio interface by pressing the power button, if applicable.
- Once powered on, your computer should recognize the audio interface and install any necessary drivers or software. Follow the on-screen prompts to complete the installation process if required.
- Verify the connection by checking the audio interface settings on your computer. You can usually access these settings through the Control Panel (Windows) or System Preferences (Mac).
It’s important to note that some audio interfaces may have different connectivity options, such as FireWire or PCIe. In such cases, make sure to follow the manufacturer’s instructions for the specific type of connection.
After successfully connecting the audio interface to your computer, you’re ready to proceed to the next step of connecting the Yamaha HS5 speakers.
Step 3: Powering on the Yamaha HS5 monitor speakers
With the audio interface successfully connected to your computer, it’s time to power on the Yamaha HS5 monitor speakers. Proper power management is essential to ensure optimal performance and prevent any audio issues.
Follow these steps to power on the Yamaha HS5 speakers:
- Locate the power ports on the back of each Yamaha HS5 speaker.
- Plug in the power cables into each speaker, ensuring a secure connection.
- Connect the other end of the power cables to a power outlet.
- Check that the power switches on the back of the speakers are set to the “On” position.
- Wait a few seconds for the speakers to power on and initialize.
Once the Yamaha HS5 speakers are powered on, you may notice indicator lights or LED displays that indicate the system is operational. Each speaker should be powered independently to ensure proper stereo imaging and sound reproduction.
It’s important to note that the Yamaha HS5 speakers should be placed on a stable, level surface to prevent any unnecessary vibrations or movements. Additionally, keep the speakers at a safe distance from any potential sources of interference, such as mobile phones or other electrical devices.
By properly powering on the Yamaha HS5 monitor speakers, you are now ready to connect them to the audio interface in the next step.
Step 4: Connecting the Yamaha HS5 speakers to the audio interface
Now that the Yamaha HS5 speakers are powered on, it’s time to establish the physical connection between the speakers and the audio interface. This step is crucial as it allows the audio signal to flow from the interface to the speakers, delivering high-quality sound reproduction.
Follow these steps to connect the Yamaha HS5 speakers to the audio interface:
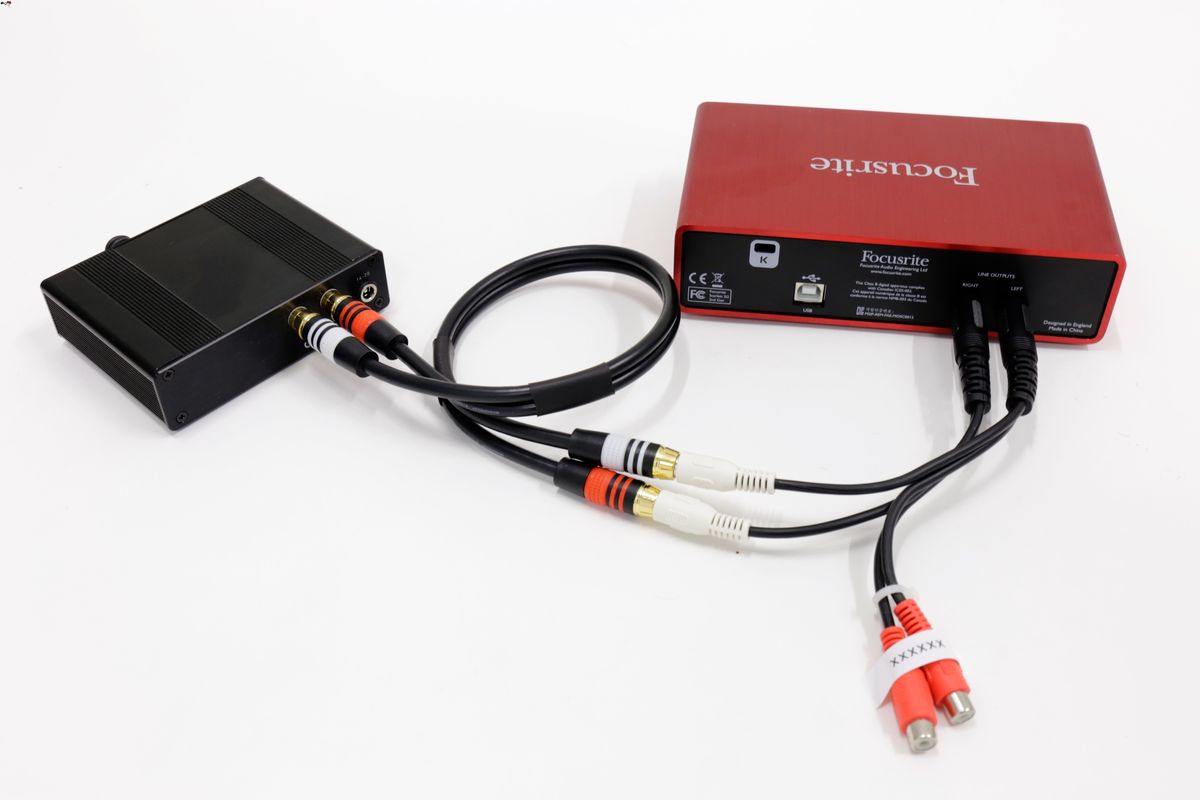
- Locate the output ports on the back of the audio interface. Depending on the interface, you may find XLR, TRS, or RCA output ports.
- Take the audio cables (XLR or TRS) and connect one end to the output ports of the audio interface.
- Find the input ports on the back of the Yamaha HS5 speakers. These speakers typically have XLR and TRS input ports.
- Connect the other end of the audio cables to the input ports of the Yamaha HS5 speakers, matching the cable type to the ports on the speakers.
- Ensure the connections are secure, with a snug fit for optimal audio transmission.
It’s important to use cables of appropriate length, depending on the distance between the audio interface and the Yamaha HS5 speakers. Excessive cable length can introduce signal degradation, so try to keep the cables as short as possible while still allowing flexibility in your setup.
Additionally, if your audio interface or speakers have balanced inputs/outputs, it is advisable to use balanced cables (XLR or TRS) for a cleaner audio signal and reduced interference.
Once the Yamaha HS5 speakers are connected to the audio interface, you have successfully established the audio signal path. However, to optimize the audio quality and performance, you need to adjust the settings on your audio interface, which we will cover in the next step.
Step 5: Adjusting the settings on your audio interface
Now that the Yamaha HS5 speakers are connected to the audio interface, it’s time to fine-tune the settings on the interface to ensure optimal audio playback. Adjusting these settings will allow you to control the volume, balance, and other audio parameters.
Follow these steps to adjust the settings on your audio interface:
- Launch the control software or panel for your audio interface on your computer. This software is usually provided by the audio interface manufacturer and allows you to access and adjust various settings.
- Locate the volume control settings. Adjust the output volume to a comfortable listening level. It’s important to find a balance where the audio is clear and not distorted, while also being mindful of your hearing safety.
- Explore the available options for balance and stereo imaging control. Some interfaces offer features like panning, spatial enhancement, or stereo width adjustment. Experiment with these settings to find the configuration that suits your preference.
- Check for any EQ or equalization options. Some audio interfaces have built-in EQ control, allowing you to shape the frequency response of the output signal. Fine-tune the EQ settings to suit your listening environment or personal taste.
- Once you have adjusted the volume, balance, and other settings, listen to some audio content to verify the changes. Pay attention to the clarity, tonal accuracy, and overall balance of the sound.
It’s important to note that each audio interface may have a different control software or panel, so the specific steps and options may vary. Refer to the user manual or the manufacturer’s website for detailed instructions on adjusting the settings of your specific audio interface.
By appropriately adjusting the settings on your audio interface, you can ensure that the sound reproduced through the Yamaha HS5 speakers meets your desired audio preferences and provides an optimized listening experience.
Step 6: Calibrating the Yamaha HS5 speakers
Calibrating the Yamaha HS5 speakers is essential to achieve accurate and balanced audio reproduction. This step involves adjusting various settings and parameters to ensure that the speakers are optimized for your specific listening environment.
Follow these steps to calibrate the Yamaha HS5 speakers:
- Clear the listening area from any unnecessary background noise. This will help you focus on the audio being produced by the speakers.
- Play a reference audio track that you are familiar with and that represents the type of content you will be listening to regularly. This track should have a wide range of frequencies and dynamics.
- Listen to the audio and pay attention to any inconsistencies in volume, frequency response, or imaging. Take note of any areas where the sound may be too boomy, lacks clarity, or has other noticeable issues.
- Adjust the positioning of the Yamaha HS5 speakers. Fine-tune their angle and distance from each other, as well as their distance from the listening area. This placement optimization can greatly impact the overall sound quality and stereo imaging.
- Experiment with different room treatments, such as acoustic panels or bass traps, to address any acoustic issues in the listening environment. These treatments can help minimize reflections, improve sound absorption, and create a more balanced soundstage.
- Utilize calibration tools and software, such as room measurement microphones or speaker calibration systems, to analyze the frequency response and make precise adjustments. These tools provide visual representations of the speaker’s performance and assist in achieving accurate sound reproduction.
- Continue fine-tuning the settings on your audio interface. Make minute adjustments to the EQ, balance, and other parameters based on the feedback from the reference audio track and any calibration tools used.
Calibrating the Yamaha HS5 speakers may require multiple iterations and adjustments to achieve the desired sound quality. It’s important to trust your ears and take the time to find the optimal settings for your listening environment.
By properly calibrating the Yamaha HS5 speakers, you will ensure accurate audio reproduction and an enjoyable listening experience that truly reflects the intricacies of the music or audio content.
Step 7: Testing the connection and audio playback
After completing all the previous steps to connect and calibrate the Yamaha HS5 speakers to your audio interface, it’s time to test the connection and ensure that everything is functioning as expected. This final step will allow you to verify the audio playback and make any necessary adjustments for optimal performance.
Follow these steps to test the connection and audio playback:
- Select a high-quality audio track or content that you are familiar with and that represents the type of material you will be listening to.
- Play the audio through your computer or audio source that is connected to the audio interface.
- Listen for any anomalies in the audio playback, such as hissing, distortion, or imbalance in the stereo image.
- Adjust the volume levels on the audio interface or the speakers themselves to ensure a comfortable listening experience without any clipping or distortion.
- Pay attention to the tonal accuracy, dynamics, and overall clarity of the sound. Make note of any areas that may require further adjustment or calibration.
- Experiment with different types of content, including music, movies, or podcasts, to further evaluate the performance of the Yamaha HS5 speakers.
- Make any necessary adjustments to the settings on the audio interface or the speakers based on your observations during the testing phase.
It’s important to critically listen to the audio playback and trust your ears throughout this process. Take the time to fine-tune the settings until you are satisfied with the sound quality and overall performance.
Remember that audio preferences can vary from person to person, so don’t hesitate to make adjustments that cater to your specific taste and listening environment.
By thoroughly testing the connection and audio playback, you can ensure that the Yamaha HS5 speakers are delivering the utmost audio quality and meeting your expectations in terms of sound reproduction.
Conclusion
Congratulations! You have successfully connected and set up your Yamaha HS5 monitor speakers with an audio interface. By following the steps outlined in this guide, you have taken the necessary steps to optimize your audio setup and ensure accurate sound reproduction.
Connecting the Yamaha HS5 speakers to an audio interface allows you to have more control over your audio system, whether you are creating music, mixing audio, or simply enjoying your favorite tunes. The audio interface acts as the intermediary between your computer and the speakers, enabling seamless communication and high-quality audio playback.
Throughout the process, you have learned how to gather the necessary equipment, connect the audio interface to your computer, power on the Yamaha HS5 speakers, establish the physical connection between the speakers and the audio interface, adjust the settings on the interface, calibrate the speakers, and test the connection and audio playback.
Remember, audio preferences can vary, and it may take some time and experimentation to achieve the perfect audio setup. Continuously monitor and adjust the settings to suit your personal taste and the specific acoustics of your listening environment.
Whether you are a passionate music producer, a podcaster, or simply an audiophile seeking the best audio experience, the combination of the Yamaha HS5 speakers and an audio interface provides a powerful toolset for achieving professional-grade sound quality.
Now that your Yamaha HS5 speakers are connected to an audio interface, sit back, relax, and enjoy the rich, detailed, and accurate sound reproduction that these exceptional monitors have to offer.

