Home>Devices & Equipment>Connecting a Subwoofer to Any System
Devices & Equipment
Connecting a Subwoofer to Any System
Modified: 3 October 2026
Table of Contents
- Identify your subwoofer type and basic hookup
- Connect to a home theater or stereo receiver
- Wire subwoofers with speaker-level connections
- Set up brand-specific subwoofers
- Integrate subwoofers with pro audio and studio gear
- Connect subwoofers to computers and desktop systems
- Match amplifiers and configure advanced wiring
Identify your subwoofer type and basic hookup
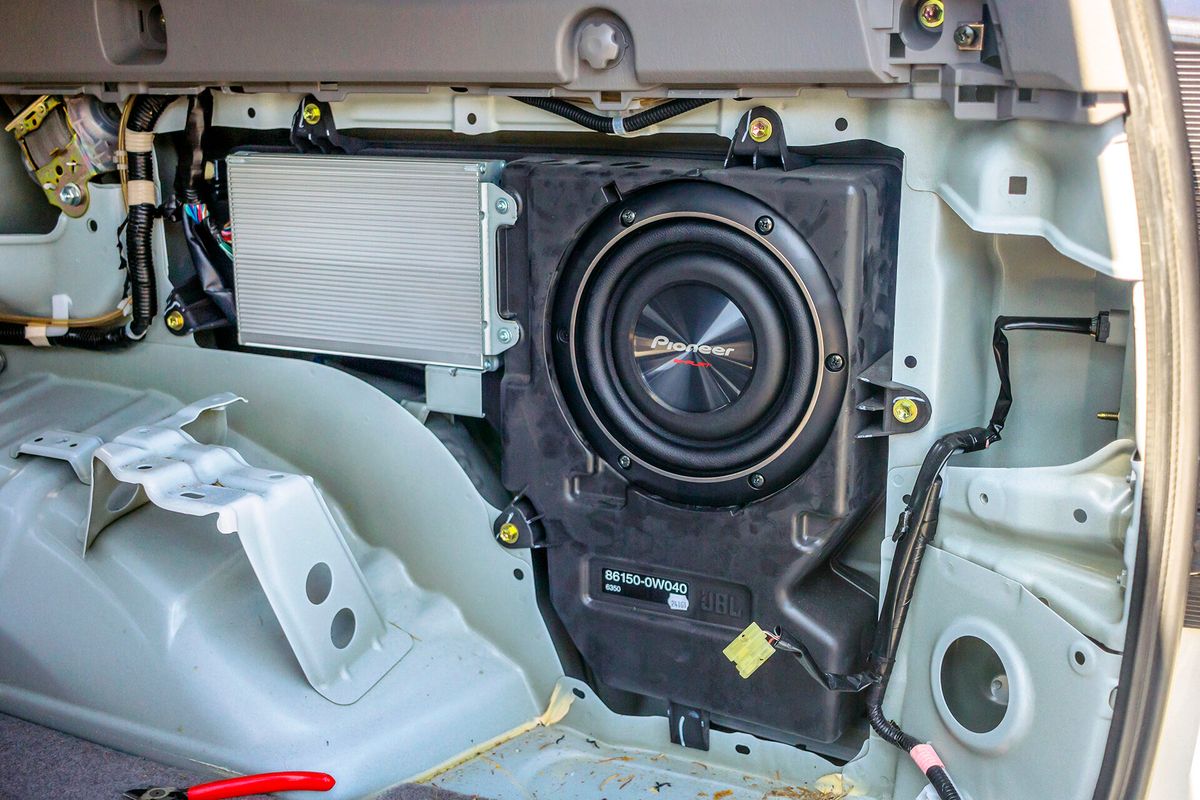
To successfully connect a subwoofer, the single most important step is identifying whether you have a powered subwoofer, one with its own built-in amplifier and a power cord that plugs into a wall outlet, or a passive subwoofer, which is just a speaker cabinet with no internal amplification. A powered unit needs both an AC power connection and a signal cable from your receiver or preamp. A passive model must be driven by an external amplifier or an A/V receiver that explicitly provides speaker-level outputs. Getting this wrong can damage your equipment. The first universal rule when you hook up subwoofer hardware is to match the sub’s type to the correct output on your source device. If you need to connect a passive subwoofer, you must use an external amplifier, as it lacks built-in power.
For most powered subs, that means running an RCA cable from the receiver’s subwoofer or LFE output straight to the sub’s line input and then connecting its power cord. If you need to install a subwoofer that is passive, you cannot connect it directly to a standard line-level output. It requires a dedicated external amp. Sonos Amp and Connect:Amp do not support passive third-party subs at all. Some setups, such as certain MartinLogan models, use speaker-level terminals instead of RCA connectors. Wireless soundbars simplify this further. Samsung and VIZIO subwoofers typically pair automatically once both units are plugged into power, with a solid blue LED confirming the link. A blinking light means you may need to press the ID SET button and then use the remote button documented for your model to re-establish the connection.
The exact sequence for getting everything talking varies by brand and configuration. That is why a handful of specific walkthroughs cover everything from powered and passive wiring to multi-speaker arrangements. For instance, you may need to connect 2 speakers and 1 subwoofer if you are building a compact 2.1 system for music. If you own a specific brand, you might need to connect a polk audio subwoofer or connect SVS subwoofer to take advantage of their unique setup features. Choosing the right one comes down to whether your subwoofer is self-amplified and whether your main system sends its signal over RCA, speaker wire, or a wireless link. If you need to connect powered subwoofer models, the process is simpler since they include their own amplifier and only require a line-level signal.
Connect to a home theater or stereo receiver
Once you have identified a powered subwoofer, the cleanest path is to run a shielded subwoofer cable or RCA cable from your receiver's dedicated subwoofer output straight into the LFE or Line In jack on the sub. If you are trying to connect subwoofer on Denon receiver, the same rule applies: use that labeled sub out if your model has one. To understand exactly what wire you need, you should read about subwoofer receiver connection cables. Then enter the unit's setup menu to enable the subwoofer and set an 80-Hz crossover frequency, which ensures low frequencies are routed correctly. When you need to connect a subwoofer to a receiver without sub-outlet, you must switch to speaker wire and use the sub's high-level inputs, running a parallel set of wires from the AVR’s main speaker terminals. This same high-level method lets you connect a subwoofer to a vintage receiver that predates dedicated LFE jacks. For a simple two-channel music room, you can hook up subwoofer to home stereo by wiring the sub's high-level inputs directly to the amplifier’s A terminals. If your unit supports A and B channels simultaneously, you can use the sub's own pass-through connections to continue on to the main speakers. Whether you connect a subwoofer to a stereo system with a modern integrated amp or a decades-old receiver, just remember never to use both the RCA and high-level inputs at the same time, as this can cause damage.
Wire subwoofers with speaker-level connections
When your receiver lacks a dedicated subwoofer output, the most reliable workaround is to connect a subwoofer with speaker wire by running standard cable from the amplifier's main left and right outputs directly to the sub's high-level input terminals, carefully matching positive to positive and negative to negative on both channels, a method you will want to use if you need to understand the step-by-step process detailed in our article on how to connect a subwoofer with speaker wire. This same approach lets you connect subwoofer to bookshelf speakers by linking the sub's high-level pass-throughs to your compact mains, creating a cohesive full-range system without any extra electronics, which is exactly the scenario covered in our guide on how to connect subwoofer to bookshelf speakers. If your receiver can drive both A and B pairs simultaneously, you can also run the bookshelf cabinets from the "A" terminals and the sub from the "B" terminals, setting the receiver's crossover to 20 Hz or off so the sub's own low-pass filter handles the blending. Just remember never to connect both RCA and high-level inputs at the same time. While you cannot magically turn a speaker into a subwoofer without a proper crossover and a dedicated low-frequency driver in a suitable enclosure, feeding a large passive cabinet a filtered signal through a sub's high-level pass-throughs gives you a taste of that effect, provided the cabinet can handle the power and low-end demands, and you would want to read our article on how to turn a speaker into a subwoofer to learn the full limitations and requirements of such an approach.
Set up brand-specific subwoofers
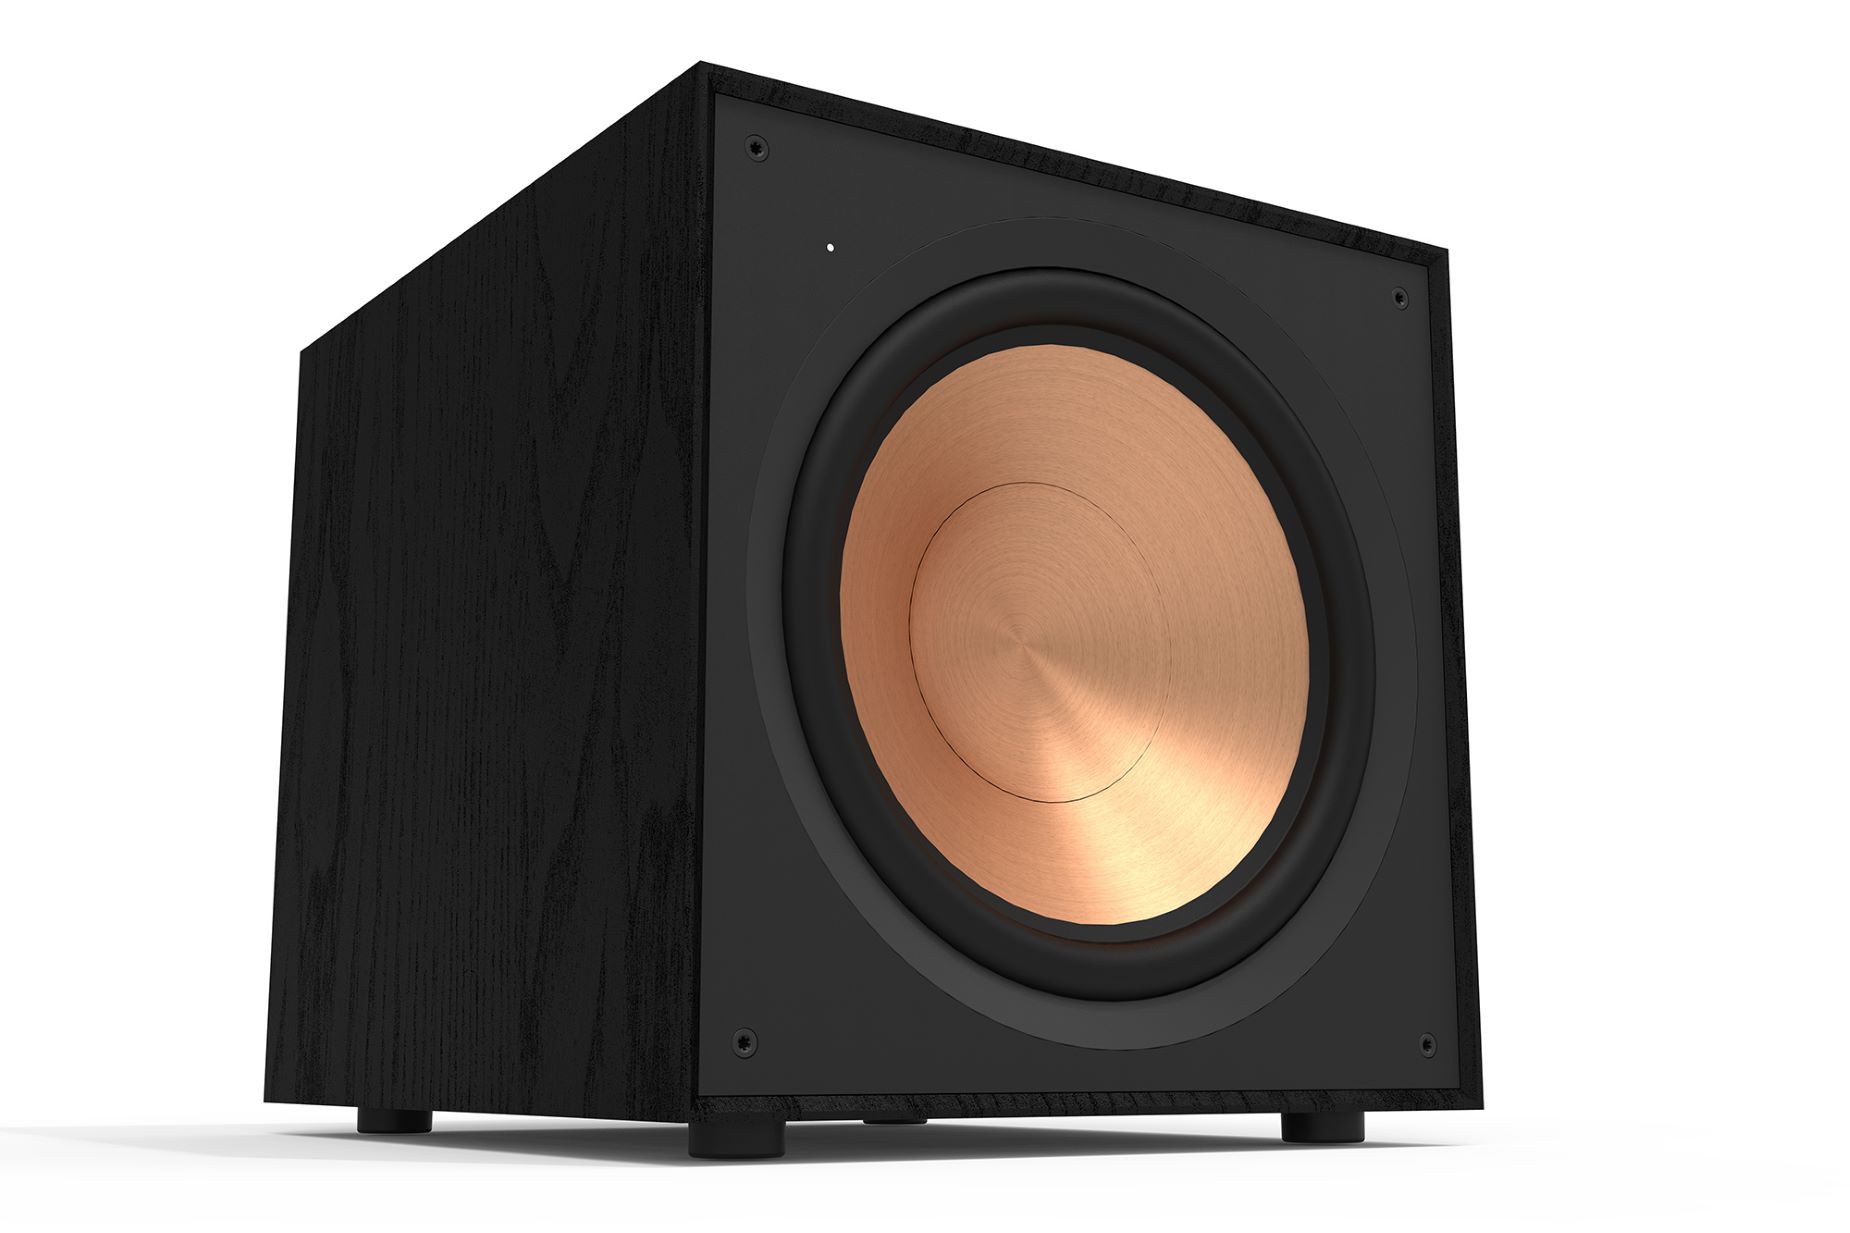
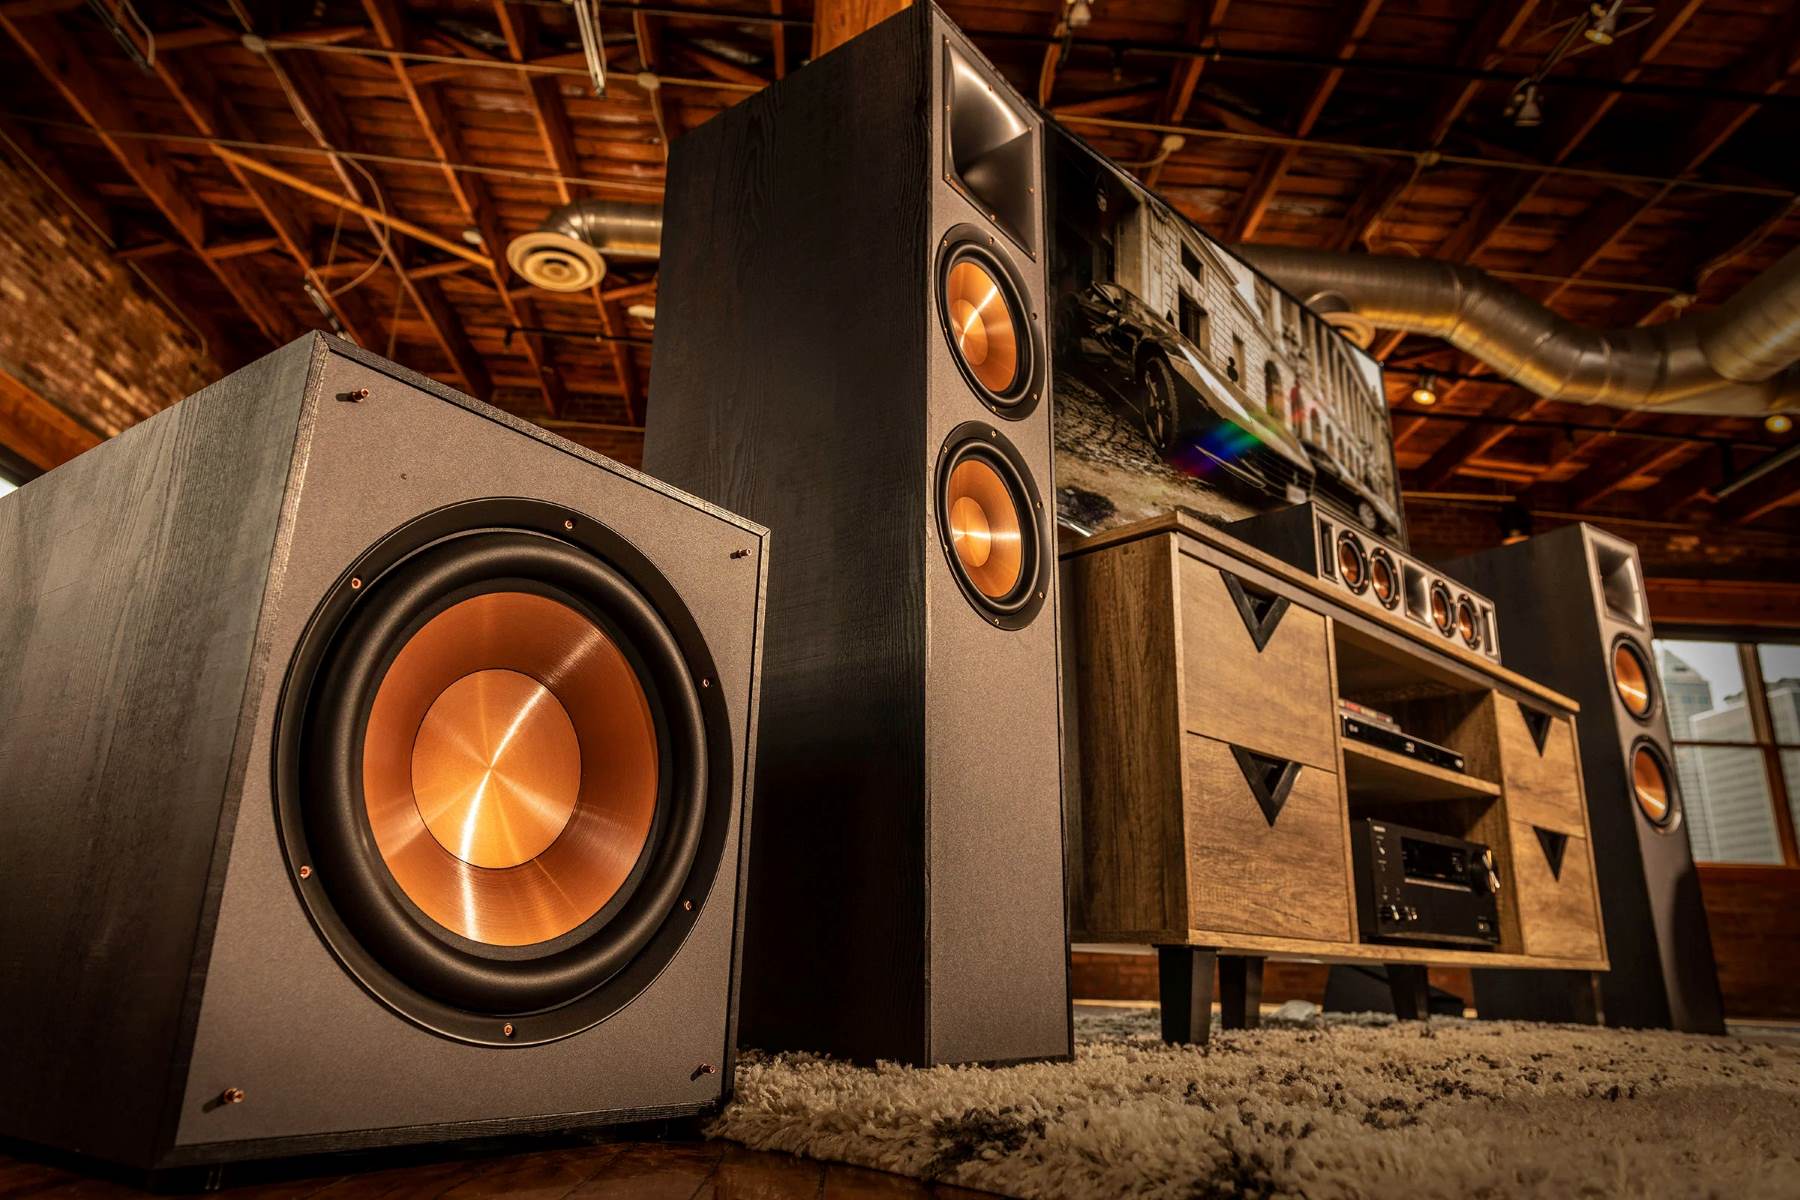
Getting deep, clean bass from a Klipsch subwoofer starts with a single RCA-RCA subwoofer cable from your AVR’s subwoofer output to the subwoofer’s line input; if the receiver has a dedicated subwoofer output, use the white RCA terminal labeled L/LFE. Once that line is attached, when the receiver controls crossover, turn the sub’s low-pass filter knob fully clockwise to its highest setting, typically 160 Hz. This lets your processor handle the crossover, leaving only the gain control on the sub itself to blend with your mains. If you want to learn the full process, you will want to set up Klipsch subwoofer for optimal performance and placement.
Owners who need to connect Bose Acoustimass subwoofer to receiver should consult the documentation for their specific model.
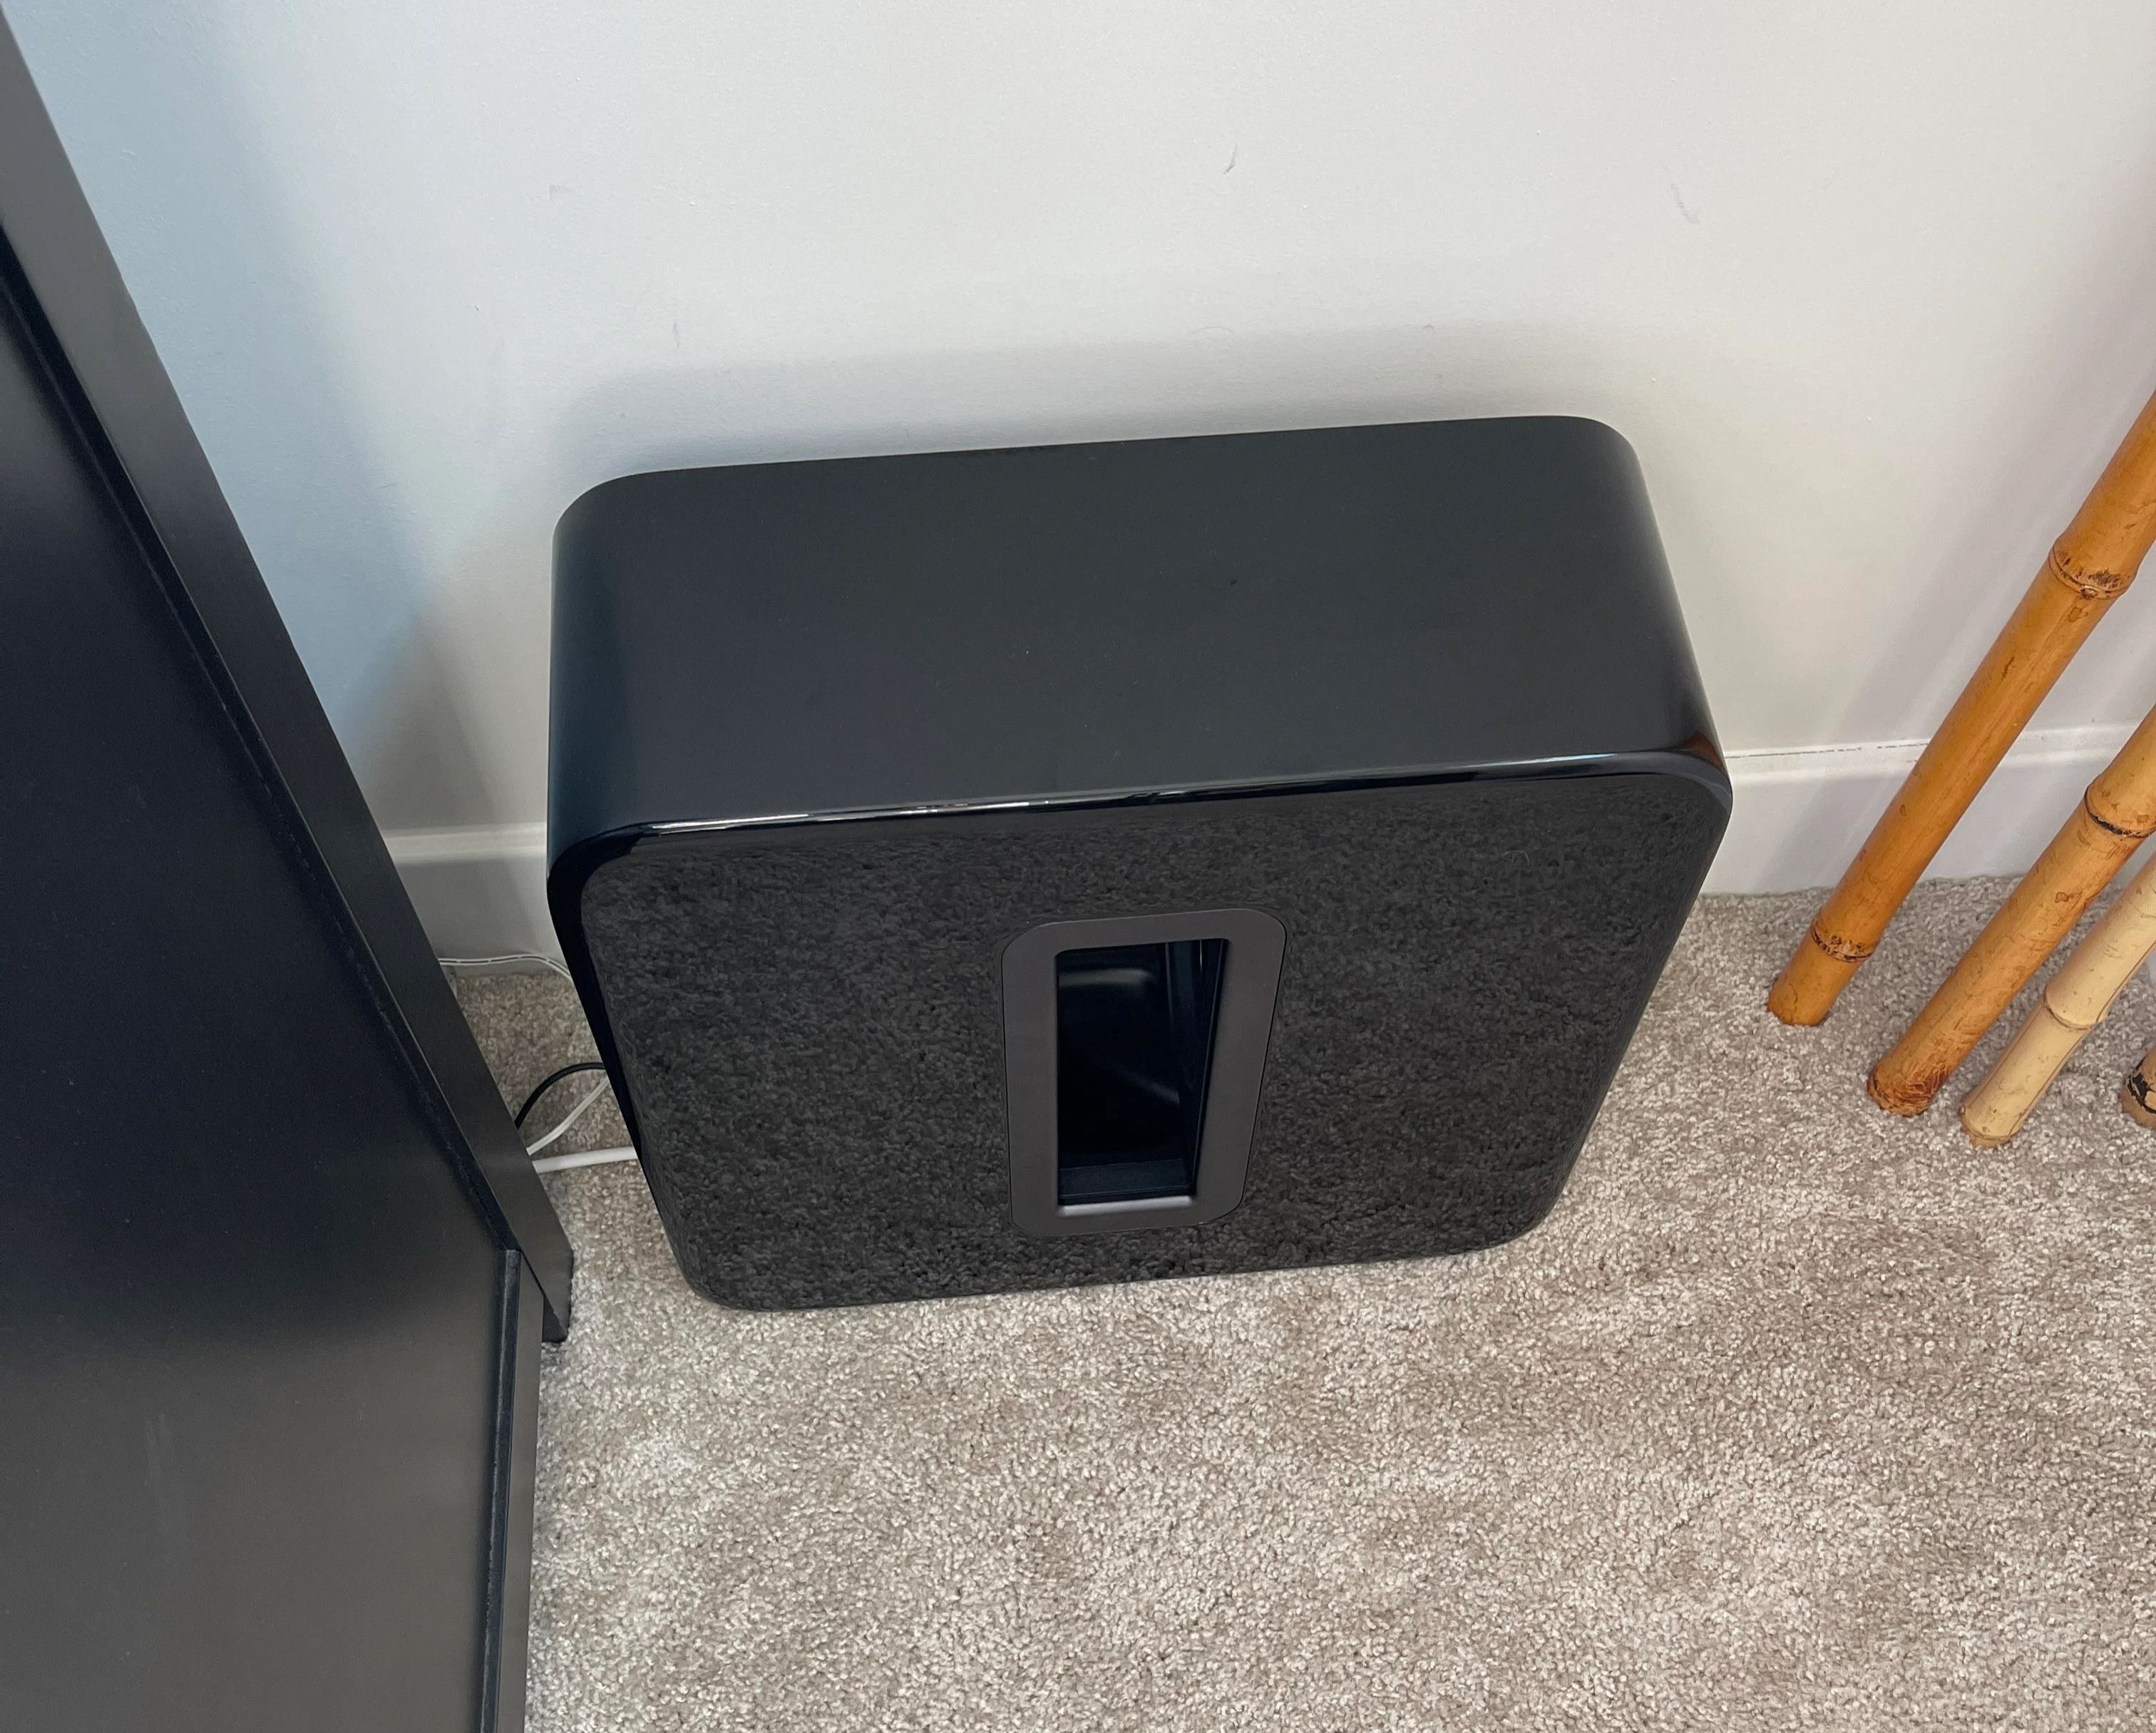
When you set up Sonos subwoofer, place it in the same room as your primary Sonos product, make sure at least one side of the slot is unobstructed, and plug it into power. Place it in the same room as your primary Sonos component. Open the Sonos app, go to Settings, select the room, and choose Connect Sub. If using the S1 Controller app, go to the Settings tab, select System, choose the room, then select Connect Sub. A few on-screen prompts add it to your existing system.
For a TCL Alto 6+ soundbar system, to pair TCL Alto 6+ subwoofer, ensure both the bar and the sub are plugged in and powered on.
Integrate subwoofers with pro audio and studio gear
When your setup revolves around mixers, audio interfaces, and nearfield monitors, the signal path almost always runs through the subwoofer first. To connect a subwoofer to studio monitors, you can route the left and right feeds from your audio interface or monitor controller directly into the subwoofer’s inputs, then run cables from the sub’s outputs to your main units. This daisy-chain arrangement lets the sub’s internal crossover split the signal before it reaches the monitors, which is a common method for integrating a dedicated low-end driver into a flat, accurate monitoring environment.
Live sound and hybrid studio rigs often require a slightly different approach. You can connect powered subwoofer to mixer by sending a line-level signal from an available output on the board, provided the mixer offers a dedicated mono or stereo feed that is not already driving the main PA. In a typical studio desk setup, however, the more common need is to connect subwoofer to audio interface, patching the interface’s left and right sends to the sub’s inputs and then linking the sub’s outputs to your powered monitors. As always, confirm that every unit in the chain is either all powered or correctly matched with external amplification before you apply any signal.
Connect subwoofers to computers and desktop systems
Adding deep bass to a desktop setup starts with a simple question: does your subwoofer plug into a wall outlet, or is it a bare cabinet waiting for an amplified signal? Once you have that answer, the path to connect subwoofer to computer depends entirely on what outputs your gear offers, a process you would follow to get clean, room-filling low end from your PC audio. If your audio interface, DAC, or powered speaker system includes a dedicated jack labeled "Sub Out" or "LFE," run a single RCA cable from that output straight to the sub's "Line In" or "LFE" input.
When no dedicated output exists, the connection method shifts to the subwoofer's own terminals. A unit with speaker-level inputs and outputs lets you route your amplifier's speaker wires into the sub first, then out to your main speakers, where the internal crossover filters the low end before it reaches the satellites. If the sub only has speaker-level inputs with no pass-through, you can still share the amplifier's outputs by running a second set of wires to the sub while the main speakers stay connected to the same terminals.
For systems built around powered monitors or a preamp, feeding a line-level signal into the sub and then using its line-level output to drive the monitors keeps the entire chain active and properly matched. The same logic applies when you connect subwoofer to bookshelf speakers through a stereo receiver that lacks a dedicated sub output, which is the method you would choose to add impactful bass to a compact speaker setup without buying new gear.
- connect subwoofer to bookshelf speakers — How To Connect Subwoofer To Bookshelf Speakers
- connect subwoofer to computer — How To Connect Subwoofer To Computer
Match amplifiers and configure advanced wiring
Before you wire anything, you must match subwoofer to amp by confirming two numbers on the spec sheets: the subwoofer’s nominal impedance and the amplifier’s minimum bridged load. Many amplifiers that happily drive 2‑ohm loads in stereo will only remain stable down to 4 ohms once their channels are combined, and pairing a 2‑ohm passive subwoofer with a bridged amp rated for 4 ohms minimum can send the amplifier into protection or cause permanent damage. When you bridge one subwoofer, you are effectively turning two amplifier channels into a single, more powerful channel, and the physical linkage always follows a model‑specific terminal layout. On an AudioControl amplifier, for example, the cable lands on the inner positive and negative terminals marked for bridging, and the Stereo/Mono switch on the chassis must be slid to Mono before powering on. The same principle applies across brands, but the exact switch name and terminal pair are unique to your unit, so the safe route is to locate the bridge‑mode instructions in its manual. If you are trying to set up sub woofer to nec digital surround sound av 350, the exact setup steps, menu paths. The practical path forward is to insert a standalone power amplifier that explicitly supports bridged operation between the AVR and the subwoofer cabinet, then wire it according to that amplifier’s bridge‑terminal labels.