
Home>Production & Technology>Audio Interface Setup and Instrument Connection
Production & Technology
Audio Interface Setup and Instrument Connection
Modified: 3 October 2026
Table of Contents
First, understand your audio interface
Before you connect instruments to an audio interface, it helps to recognize that a USB audio interface is fundamentally a translator, not a mixer. Its job is to convert analog signals into digital data your recording system can capture. Then it turns digital playback back into analog sound for your speakers or headphones. This is why the difference between audio interface and mixer matters from the start. A mixer blends multiple sources into a stereo output for live sound. An interface keeps each input separate so your software can process or record it individually. Some devices blur this line. But expecting an interface to work like a guitar amp or PA right out of the box is the source of many early connection problems. To understand the core technology behind this translator role, you should read the article about what is USB audio interface.
As you look over the front panel, you will encounter a few core controls. These shape your signal before it ever reaches your DAW. Input channels and gain knobs are obvious. Yet smaller buttons can trip you up. For instance, a pad on audio interface typically reduces the incoming level, though its exact function depends on the model. This prevents loud sources from distorting the preamp. Engage it if your signal clips even with the gain turned all the way down. Monitor functions also vary by model. On an Audient iD48, for example, DIM lowers the speaker output by a set amount. This lets you quickly check your mix at a quieter volume without moving the main knob. To learn why you might want to use this feature during critical listening, read the article about what does dim mean on my audio interface. If you see a DB25 connection labeled inserts for on an audio interface, that is an analog loop. It lets you patch in external hardware compressors or EQs after the preamp but before the signal is converted to digital. Choosing a good audio interface ultimately depends on matching these features to your workflow. A multi-channel insert setup is overkill if you only record one source at a time.
Connecting instruments and mics
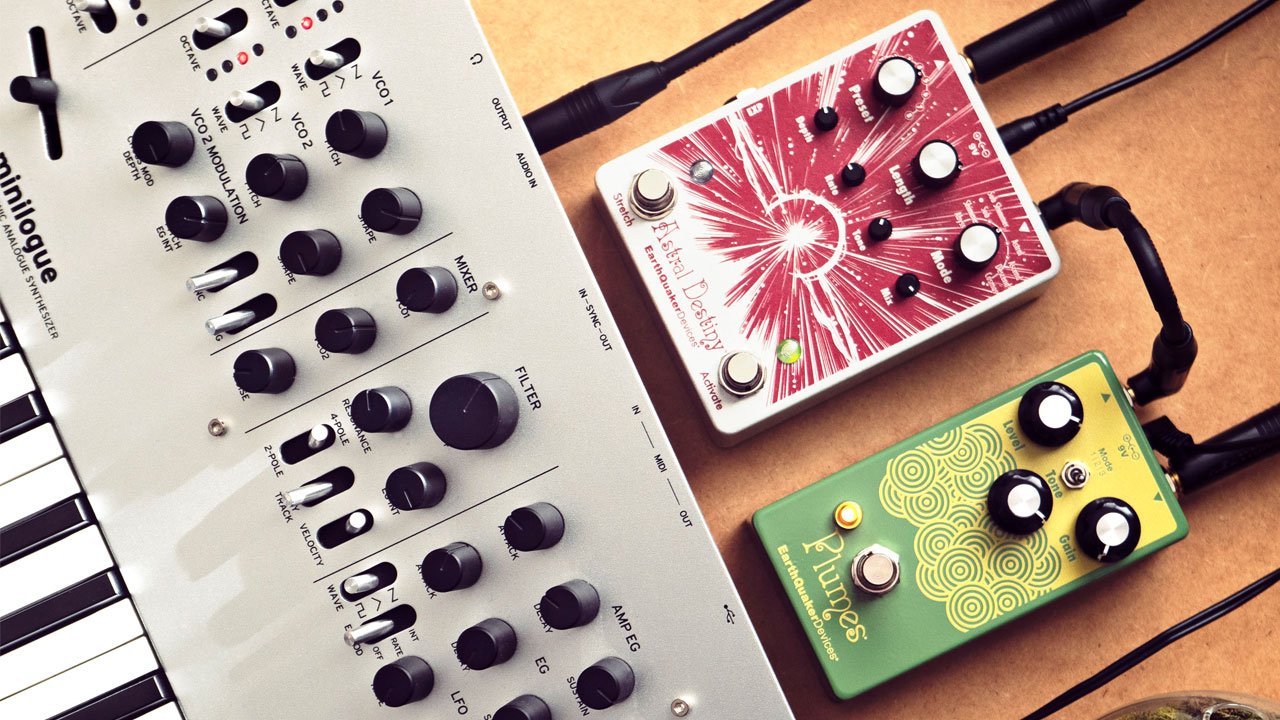
Guitars and basses almost always need the high-impedance input labeled Instrument or Inst/Hi-Z on your interface, because plugging a passive instrument into a standard mic or line jack can load the pickups incorrectly and leave you with a thin, noisy signal. Keyboards and pianos output a stronger line-level signal, so you will get the cleanest results when you hook up keyboard to audio interface using a line input instead of the instrument input. Setting the proper gain setting on the audio interface follows the same principle for any source: start with the knob fully down, play or sing at your loudest level, and slowly raise the gain until your DAW meters show a healthy signal peaking around -15 to -6 dBFS without flickering into orange or red. If you want to add character before conversion, the typical signal flow is to go to preamp to audio interface by connecting the external preamp’s line output into a line input on the interface, keeping the interface’s own gain stage as low as possible to hear the preamp’s tone rather than cascaded noise. A common question is how to connect a guitar to an audio interface when you have a collection of stompboxes. You can connect guitar pedals to audio interface by running a standard instrument cable from the last pedal in your chain into the interface input that matches the pedal's output level, treating your entire pedalboard as a single, unified source where the high-impedance input preserves the interaction between your pickups and the first buffer or true-bypass pedal. You can also connect bass to audio interface using the exact same method, as the instrument input handles the low frequencies and impedance requirements of a bass guitar without any special adjustments. For stereo effects like reverb or delay, use two cables from the pedal’s outputs into two line inputs on your recording device to capture the full stereo image, and always engage a pedal’s cabinet simulator if you are not using an amp modeler later in your digital audio workstation, since a raw distortion circuit without a cab SIM often sounds harsh and fizzy. To connect helix to audio interface, you can use the standard quarter-inch outputs set to line level and run them into the line inputs on your recording hardware, or use a digital connection like S/PDIF or USB to bypass the Helix’s analog output stage entirely and keep your tone in the digital domain. Set the Helix output block to match the input you choose, and engage the ground lift if you hear hum when using the XLR outputs. You can connect piano to audio interface using standard quarter-inch TS or TRS cables into the line inputs, matching the output level switch on the back of the keyboard to the input you are using, where a setting of +4 dBu usually works best with balanced TRS inputs and -10 dBV often matches unbalanced RCA or quarter-inch inputs. If your digital piano has only USB, you can record the MIDI data and use a virtual instrument inside your machine, but use the dedicated audio outputs to capture the actual tone of the instrument. To connect DJ controller to audio interface, you can record your full mix including crossfader cuts and effects, and some DJ software lets you route each deck to a separate output so you can send multiple stereo pairs into your recording hardware for multitrack recording and more control over levels and EQ in post-production. Always set your controller’s master output to unity gain, then adjust the input gain on your recording device so the loudest part of your mix peaks safely in the green zone. To connect PS4 to audio interface, you can run an HDMI audio extractor to pull the stereo signal out of the digital stream, then connect the extractor’s analog outputs to a pair of line inputs on your recording hardware. The core lesson across every instrument remains the same: identify whether your source is instrument level, line level, or requires a digital connection, then choose the matching input on your recording hardware and set your levels conservatively to guarantee a clean capture every time.
Using pedals, modelers, and outboard gear
Once your instrument is connected, adding pedals or a multi-effects processor follows the same level-matching logic that applies everywhere else on the interface. If you use a Helix or similar modeler, set the 1/4" outputs to Instrument for stompboxes or a guitar amp and to Line for studio monitors or a mixer. When you want to re-amp a dry track later, assign a source like Guitar to USB 7 or 8 under Global Settings > Ins/Outs > Re-amp Src. To shape your tone with hardware EQ before it hits the DAW, you can hookup two channels equaliser to audio interface by patching it through the line-level inserts, which keeps the signal clean by placing the EQ after the preamp but before conversion. Some interfaces advertise onboard DSP, yet the reality of compression audio interface built in is not always as advertised. A few models offer genuine channel-strip processing in their control software, while others only include a basic limiter to prevent digital clipping during recording, so check your interface’s companion app to see which type you actually have.
Monitoring and playback setup
Once your inputs are dialed in, the next step is getting sound back out so you can actually hear what you’re recording or mixing. A common point of confusion is where to plug in headphones on audio interface hardware, since the dedicated headphone port provides the amplified signal your cans need while the line outputs on the back send a line-level signal meant for a separate amplifier. If you need to run multiple pairs of cans for a vocal booth or a band tracking session, you can hook up an audio interface to a headphone amp by feeding a line-level signal from the interface’s rear outputs into the amp’s input using the appropriate balanced or unbalanced cable. That arrangement relies on the line out on a audio interface, which carries a playback signal meant for studio monitors or outboard gear rather than passive speakers. To make your computer come through your audio interface for everyday tasks like playing backing tracks or referencing a mix, you need to select the interface as the system output device. On Windows, for instance, you can go to Start > Settings > System > Sound and choose the interface under Output, or click the speaker icon in the taskbar and choose the interface’s name from the list. If the overall level feels weak even with the volume knob turned up, trying to make an audio interface louder may involve checking your headphone impedance, as some interfaces can handle loads up to 600 ohms while many lower-powered models simply need a dedicated headphone amp to reach a comfortable listening level.
Recording and software routing
Because an interface sends separate signals to your system rather than blending them into a single stereo output, getting your guitar into a communication app means telling that specific program which channel to listen to. When you want to record guitar through audio interface hardware, the same principle applies inside your recording software. You select the interface’s dedicated input as the track source. You arm the track. Then you monitor through the interface’s headphone output rather than your machine’s built-in speakers. If your goal is simply to use audio interface for audio playback and capture across the whole system, set it as the default input and output device at the operating-system level first. This gives every application a clear path to the hardware.
Voice and video apps add an extra layer because they expect a single, combined device for both sides of a call. To use my audio interface in Discord, open User Settings via the cogwheel in the lower-left corner. Go to Voice & Video. Pick the interface as both the Input Device and Output Device. If you hear nothing, switching the Audio Subsystem to Legacy often resolves the routing conflict. The steps to use an audio interface with Skype follow the same logic under Options > Audio Device. There you point the app at the interface’s channels directly. On macOS, be aware that Discord does not officially support audio interfaces for voice chat at this time. You may need to rely on a software loopback utility as a workaround.
Connecting DJ and mixer setups
Integrating a DJ controller or external mixer with your audio interface hinges on understanding signal routing rather than mixing. A DJ setup requires an interface capable of at least four mono outputs, providing two stereo pairs so you can send separate deck audio to the mixer’s stereo channels.
Many modern DJ mixers simplify this by including a built-in USB audio interface, letting the software send unmixed audio directly to the mixer. When you need to use mixer with audio interface hardware that lacks this feature, the computer connects to the DJ mixer or controller by USB while turntables or CDJs/XDJs connect to the mixer with RCA audio cables.
Turntables must be plugged into a channel marked PHONO or PHONO/LINE, and CDJ/XDJ units go into a channel marked CD/LINE, LINE, or PHONO/LINE. Once the physical connections are secure, you set the channel input selector to the matching USB source, which could be a setting like USB-A or USB-B on a DJM-TOUR1 or DJM-900NXS2, or USB or USB 1/2 on a DDJ-SZ.
If your only goal is to add more inputs to an audio interface, the interface treats each connected source as a discrete channel to pass to your system rather than blending them together.
Hooking up game consoles
Getting game audio from a console into your setup is surprisingly straightforward. Both the Xbox One and PS4 can treat a class-compliant USB audio interface as their sound card. Plug the interface into a free USB port on the console. Route your monitor speakers or headphones from the interface's outputs. You will hear the game world with the same clarity you get when recording on a machine.
The real friction appears when you try to combine that high-quality game audio with voice chat. The two consoles handle the chat path completely differently. On PS4, go to Party > Party Settings > Chat Audio and choose to prioritise party or game chat. Then use the Output to Headphones setting to control what you hear.
On Xbox One, the official voice chat path does not route through a generic USB interface. It does not route through a generic USB interface. Voice chat requires an Xbox Live Gold membership. This means you can absolutely use an audio interface with an Xbox One for rich stereo game sound. However, you will need to keep a chat headset connected to your controller for talking to teammates. The two audio streams remain separate by design. You are not blending them inside the interface. Instead, you hear the game through your monitors while the chat stays in your headset.
Troubleshooting noise and strange behavior
When you first connect everything and hear an aggressive hum or buzz, the culprit is almost always a ground loop between your machine, interface, and other powered gear. Before chasing exotic fixes, make sure you ground audio interface hardware properly by running it from the same power strip as your main system and amplifier to keep all the equipment at a shared electrical reference. If you are using a laptop, temporarily unplugging the charger can instantly reveal whether the power brick is injecting noise into the chain.
Bizarre digital artifacts have simpler causes than a failing interface. If your audio interface tuning music an octave down when playing music, the playback is likely not locked to a sample rate that matches the project, and a 48 kHz file forced through a 44.1 kHz clock will play back slow and pitched down. Toggle the sample rate in your audio control panel and the playback should snap back to normal pitch immediately.
When you use audio interface with guitar, plugging straight in and expecting sound from the monitors skips a critical step because the digital workstation still needs to process the raw signal. You may need to create an armed track in a DAW with input monitoring enabled, or load a standalone amp simulator that listens to your interface’s instrument channel.











